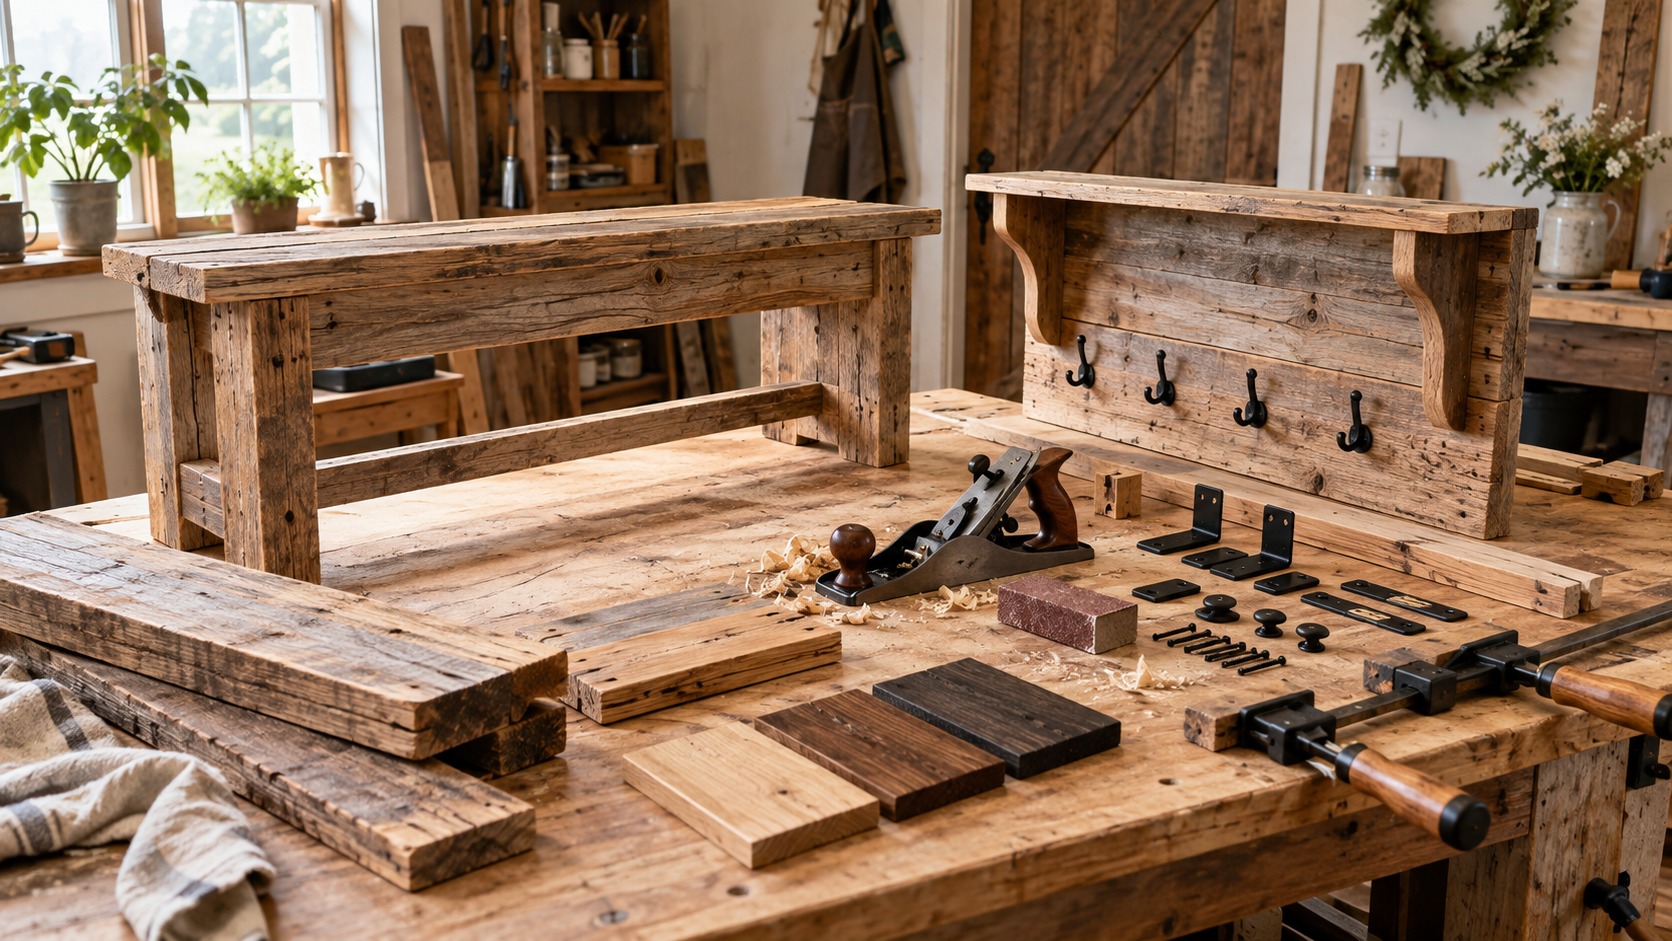
Farmhouse woodworking works best when the project feels useful first and rustic second. A good piece should solve a real storage, seating, display, or organization problem while using warm wood, simple lines, visible grain, and honest joinery. If the distressing is heavier than the design, the project can start to look staged instead of lived in.
The strongest rustic interiors usually mix practical builds with restraint: a bench that fits the entry, a shelf that holds everyday dishes, a table that can take use, a peg rail that earns its wall space, or a blanket ladder that is scaled to the room. The project should look like it belongs to the house, not like a prop copied from a sign aisle.
A: Useful shape, honest wood, simple lines, practical hardware, and a finish that feels lived-in.
A: No. Check for nails, pests, rot, lead paint, chemical odor, and moisture before using it.
A: Use less than you think, then view the piece in the room before adding more wear.
A: A tray, picture ledge, peg rail, or simple bench gives farmhouse character without complex joinery.
A: Yes. Rustic style can show texture, but the piece should sit, hang, and function correctly.
A: Match the finish to spills, cleaning, touch, sunlight, and how often the project will be handled.
A: Yes. Keep one finish dominant so the room feels layered instead of busy.
A: Hit studs when possible or use rated anchors matched to the load and wall type.
A: Avoid loose fibers, active damage, unsafe coatings, strong odors, and boards that will not stay flat.
A: It is finished when it is stable, cleanable, safe to touch, and useful in its room.
Start With a Useful Farmhouse Shape
Farmhouse style depends on simple forms: straight legs, sturdy aprons, open shelves, plank tops, rails, pegs, and framed panels. Those shapes are friendly to DIY woodworking because they do not require delicate curves or complex joinery to look intentional.
Before choosing stain or distressing, decide what the project must do. A mudroom bench needs strength and shoe storage. A kitchen shelf needs safe mounting and enough depth for dishes. A coffee table needs proportions that suit the seating area. Function keeps rustic design grounded.
Choose Wood With Character, Not Chaos
Knots, grain changes, saw marks, and color variation can make rustic pieces feel warm. Too many defects in the wrong place can make the project weak or messy. Split ends, loose knots, deep checks, and badly twisted boards should be cut around or rejected for structural parts.
Pine, poplar, cedar, oak, reclaimed boards, and construction lumber can all work, but each has tradeoffs. Softwoods dent easily and take stain unevenly. Hardwoods cost more but wear better. Reclaimed wood needs careful inspection for nails, lead paint, insects, and hidden damage.
Use Reclaimed Wood Safely
Reclaimed wood is appealing for farmhouse projects, but it should be treated as unknown material until inspected. Remove metal, scan for hidden fasteners, clean dirt from the surface, and avoid sanding old paint unless you know it is safe. Older finishes can contain lead or other hazards.
Reclaimed boards are best used where their history is visible but not dangerous. A shelf face, tabletop accent, picture ledge, or decorative panel may be a good fit. Structural legs, bed frames, and seating supports need material you can trust.
Build an Entry Bench
An entry bench is one of the most useful farmhouse projects because it handles shoes, bags, coats, and daily traffic. A simple frame with a plank seat, lower shelf, and sturdy legs can look rustic without being complicated. The key is strength and proportion.
Keep the seat height comfortable and the bench depth practical for the hallway or mudroom. Add stretchers or a lower shelf to prevent wobble. If the bench will hold baskets, size the openings around actual baskets instead of guessing from a photo.
Make a Peg Rail
A peg rail is classic farmhouse woodworking because it is simple, useful, and visually quiet. It can hold coats, aprons, hats, towels, dog leashes, baskets, or kitchen tools. A straight board, evenly spaced pegs, softened edges, and secure mounting are enough.
Spacing matters more than decoration. Leave enough room for bulky items and mount the rail into studs or solid backing when it will carry weight. A peg rail full of real household items will look better than one overloaded with decorative clutter.
Build Open Kitchen Shelves
Open shelves can fit farmhouse interiors well, but they must be built and mounted for real loads. Dishes, jars, cookbooks, and serving pieces are heavier than they look. Brackets, cleats, anchors, and wall framing matter.
Use boards deep enough for the items they will hold without making the shelf feel bulky. Ease the front edge so it feels finished. A clear coat, paint, or stain should be durable enough for cleaning because kitchen shelves collect dust and grease.
Create a Rustic Coffee Table
A farmhouse coffee table can be built with a simple base, thick top, and lower shelf. The design should match the scale of the room. Oversized chunky legs can overwhelm a small living room, while a thin top may look weak under a heavy rustic base.
Plan for everyday use. Leave room for feet, baskets, remotes, and cleaning. If the top is made from several boards, think about movement, gaps, and crumbs. A slightly eased edge is more comfortable than a sharp plank corner at shin height.
Try a Blanket Ladder
A blanket ladder is a beginner-friendly project, but it still needs clean angles and safe spacing. The rails should lean steadily without rocking, and the rungs should be fastened securely. It is decorative, but it should not feel flimsy.
Keep distressing light on pieces that will touch blankets. Rough gouges and splinters can snag fabric. Smooth touch points first, then add finish. Rustic should not mean abrasive.
Build a Farmhouse Tray
A wooden tray is a small project with a lot of style flexibility. It can use a plank base, simple side rails, handles, and a finish that matches the room. Trays are good practice for square assembly and clean edge treatment.
If the tray will carry food or drinks, choose a finish suitable for that use and avoid leaving deep cracks where crumbs and spills collect. A tray that looks rustic but cannot be wiped clean will become annoying quickly.
Make Picture Ledges
Picture ledges are practical in rustic interiors because they display frames, small art, plates, or seasonal pieces without making dozens of nail holes. A back board, narrow shelf, and front lip are enough for a clean build.
Keep the ledge straight and mount it securely. Long ledges show waves in the wall or board, so choose straight stock and use a level. If the ledge will hold heavier items, mount into studs or use appropriate anchors.
Build a Console Table
A narrow console table works well behind a sofa, in an entry, or along a dining-room wall. It can be built with simple legs, aprons, a plank top, and a lower stretcher or shelf. The narrow depth makes it less intimidating than a dining table.
Keep the base stable and the top proportional. A tall narrow table can rack if the legs are not tied together well. Add stretchers, corner blocks, or a lower shelf if the design needs more stiffness. Rustic style looks better when the piece does not wobble.
Try a Wall-Mounted Mail Organizer
A farmhouse mail organizer can combine small shelves, slots, hooks, and a chalkboard or cork detail without becoming a large build. It is useful near an entry, mudroom, kitchen command center, or office nook.
Plan the compartments around real items: envelopes, keys, sunglasses, leashes, charging cords, or small notebooks. If the organizer is too shallow or the hooks are too close together, it becomes decorative clutter instead of storage.
Build a Dining Table Carefully
A farmhouse table is a bigger commitment than a shelf or tray. It needs a flat top, stable base, comfortable overhang, and joints that handle people leaning, sliding chairs, and seasonal wood movement. Rustic style does not excuse wobble.
Consider starting with a smaller console table, bench, or coffee table before building a dining table. If you do build a dining table, plan the top attachment so the wood can move. A rigidly trapped solid-wood top can split or cup over time.
Use Simple Joinery Well
Farmhouse projects often look best with straightforward joinery done cleanly. Pocket screws, dowels, half laps, bridle joints, dados, screws with plugs, and basic mortise-style details can all work when they suit the load and the visible style.
Do not rely on glue alone for parts that carry weight or get bumped. Benches, tables, shelves, and racks need joinery and fasteners that match use. Rustic pieces should still be structurally honest.
Distress With Restraint
Distressing should look like natural wear, not random damage. Real wear happens on edges, corners, handles, feet, and surfaces that hands or objects touch. Gouges in the middle of a shelf face or evenly spaced hammer marks can look fake.
Start light. Ease edges, add a few rub-through spots, and let stain or glaze settle into grain. You can always add more, but heavy distressing is difficult to undo. The best rustic pieces still look cared for.
Choose Finish Around Use
Paint, stain, oil, wax, polyurethane, shellac, and water-based clear coats all create different farmhouse looks. The choice should depend on the project. A decorative sign can use a simple finish. A kitchen table, bench, or shelf needs more durability.
Test finish on scrap from the same board. Pine can blotch, reclaimed wood can darken unpredictably, and end grain can drink stain. A sample prevents surprises on the finished piece.
Mix Painted and Natural Wood
Farmhouse interiors often look richer when painted wood and natural wood are balanced. A painted base with a stained top can feel classic. Natural shelves on a painted wall can add warmth. Too much of one finish can make the room feel flat.
Use the room as the guide. If the space already has wood floors, beams, or cabinets, painted projects may provide contrast. If the room is mostly white or gray, a warm wood project may be the missing texture.
Scale Projects to the Room
Rustic projects can become visually heavy. Thick legs, chunky shelves, oversized signs, and dark stain need enough space around them. Measure the room, nearby furniture, traffic paths, and wall height before building.
A narrow hallway may need a slim peg rail instead of a deep bench. A small kitchen may need one open shelf rather than a wall of heavy boards. Good farmhouse design feels relaxed because the scale is right.
Plan Hardware Early
Hooks, pulls, hinges, brackets, corner straps, and handles can change the entire look of a farmhouse project. Choose hardware before drilling or finishing so the scale, color, and mounting method fit the piece.
Black hardware is common, but it is not the only option. Aged brass, oil-rubbed bronze, iron, simple wood pegs, and painted hardware can all work. Avoid adding decorative metal that serves no purpose if the project already has enough character.
Use Breadboard Ends Carefully
Breadboard ends are common on farmhouse tabletops, but they are not just decorative caps. Solid wood moves across its width, so breadboard construction needs to allow movement. Screwing or gluing everything rigidly can lead to cracks or gaps.
For beginner projects, a simpler plank top may be a better choice unless you understand the joinery. If the look is important, study the method before building. Rustic design should not hide a construction problem waiting to split.
Make New Wood Look Less New
New boards can look too crisp for a rustic room, but aging them should be subtle. Ease sharp corners, soften end grain, vary the stain slightly, and let grain show. A tinted wax or glaze can settle into details and reduce the fresh-from-the-store look.
Avoid random abuse. Chains, hammers, and heavy gouges can make a piece look artificial if they are used evenly across every surface. Real wear is uneven and concentrated where hands, feet, and objects touch.
Keep Surfaces Cleanable
Rustic texture is appealing until dust, grease, crumbs, and lint collect in every groove. For kitchen, dining, entry, and bathroom pieces, keep the working surfaces smooth enough to wipe. Save rougher texture for faces that are mostly decorative.
This is especially important for reclaimed boards. A beautiful rough board may be perfect on a wall panel but frustrating as a tabletop. Use texture where it can be enjoyed without making the piece hard to live with.
Anchor Wall Projects Properly
Many farmhouse projects end up on the wall: shelves, peg rails, organizers, signs, ledges, and racks. The mounting method matters as much as the build. A heavy rustic shelf with dishes or books should be tied into studs, blocking, or hardware rated for the load.
Do not depend on drywall alone for heavy pieces. Plan hidden cleats, keyholes, brackets, or visible hardware as part of the design. Secure mounting keeps the piece safe and also helps it sit tight to the wall instead of sagging over time.
Final Farmhouse Woodworking Review
Good farmhouse woodworking starts with useful projects, honest materials, and simple forms. Entry benches, peg rails, open shelves, coffee tables, trays, picture ledges, blanket ladders, and console tables all fit rustic interiors when they are scaled to the room and built for real use.
Choose wood carefully, distress lightly, use joinery that matches the load, test finishes on scrap, and keep touch surfaces smooth enough for daily life. The best rustic projects feel warm and practical, not overworked. They belong in the room because they solve a problem and age gracefully.