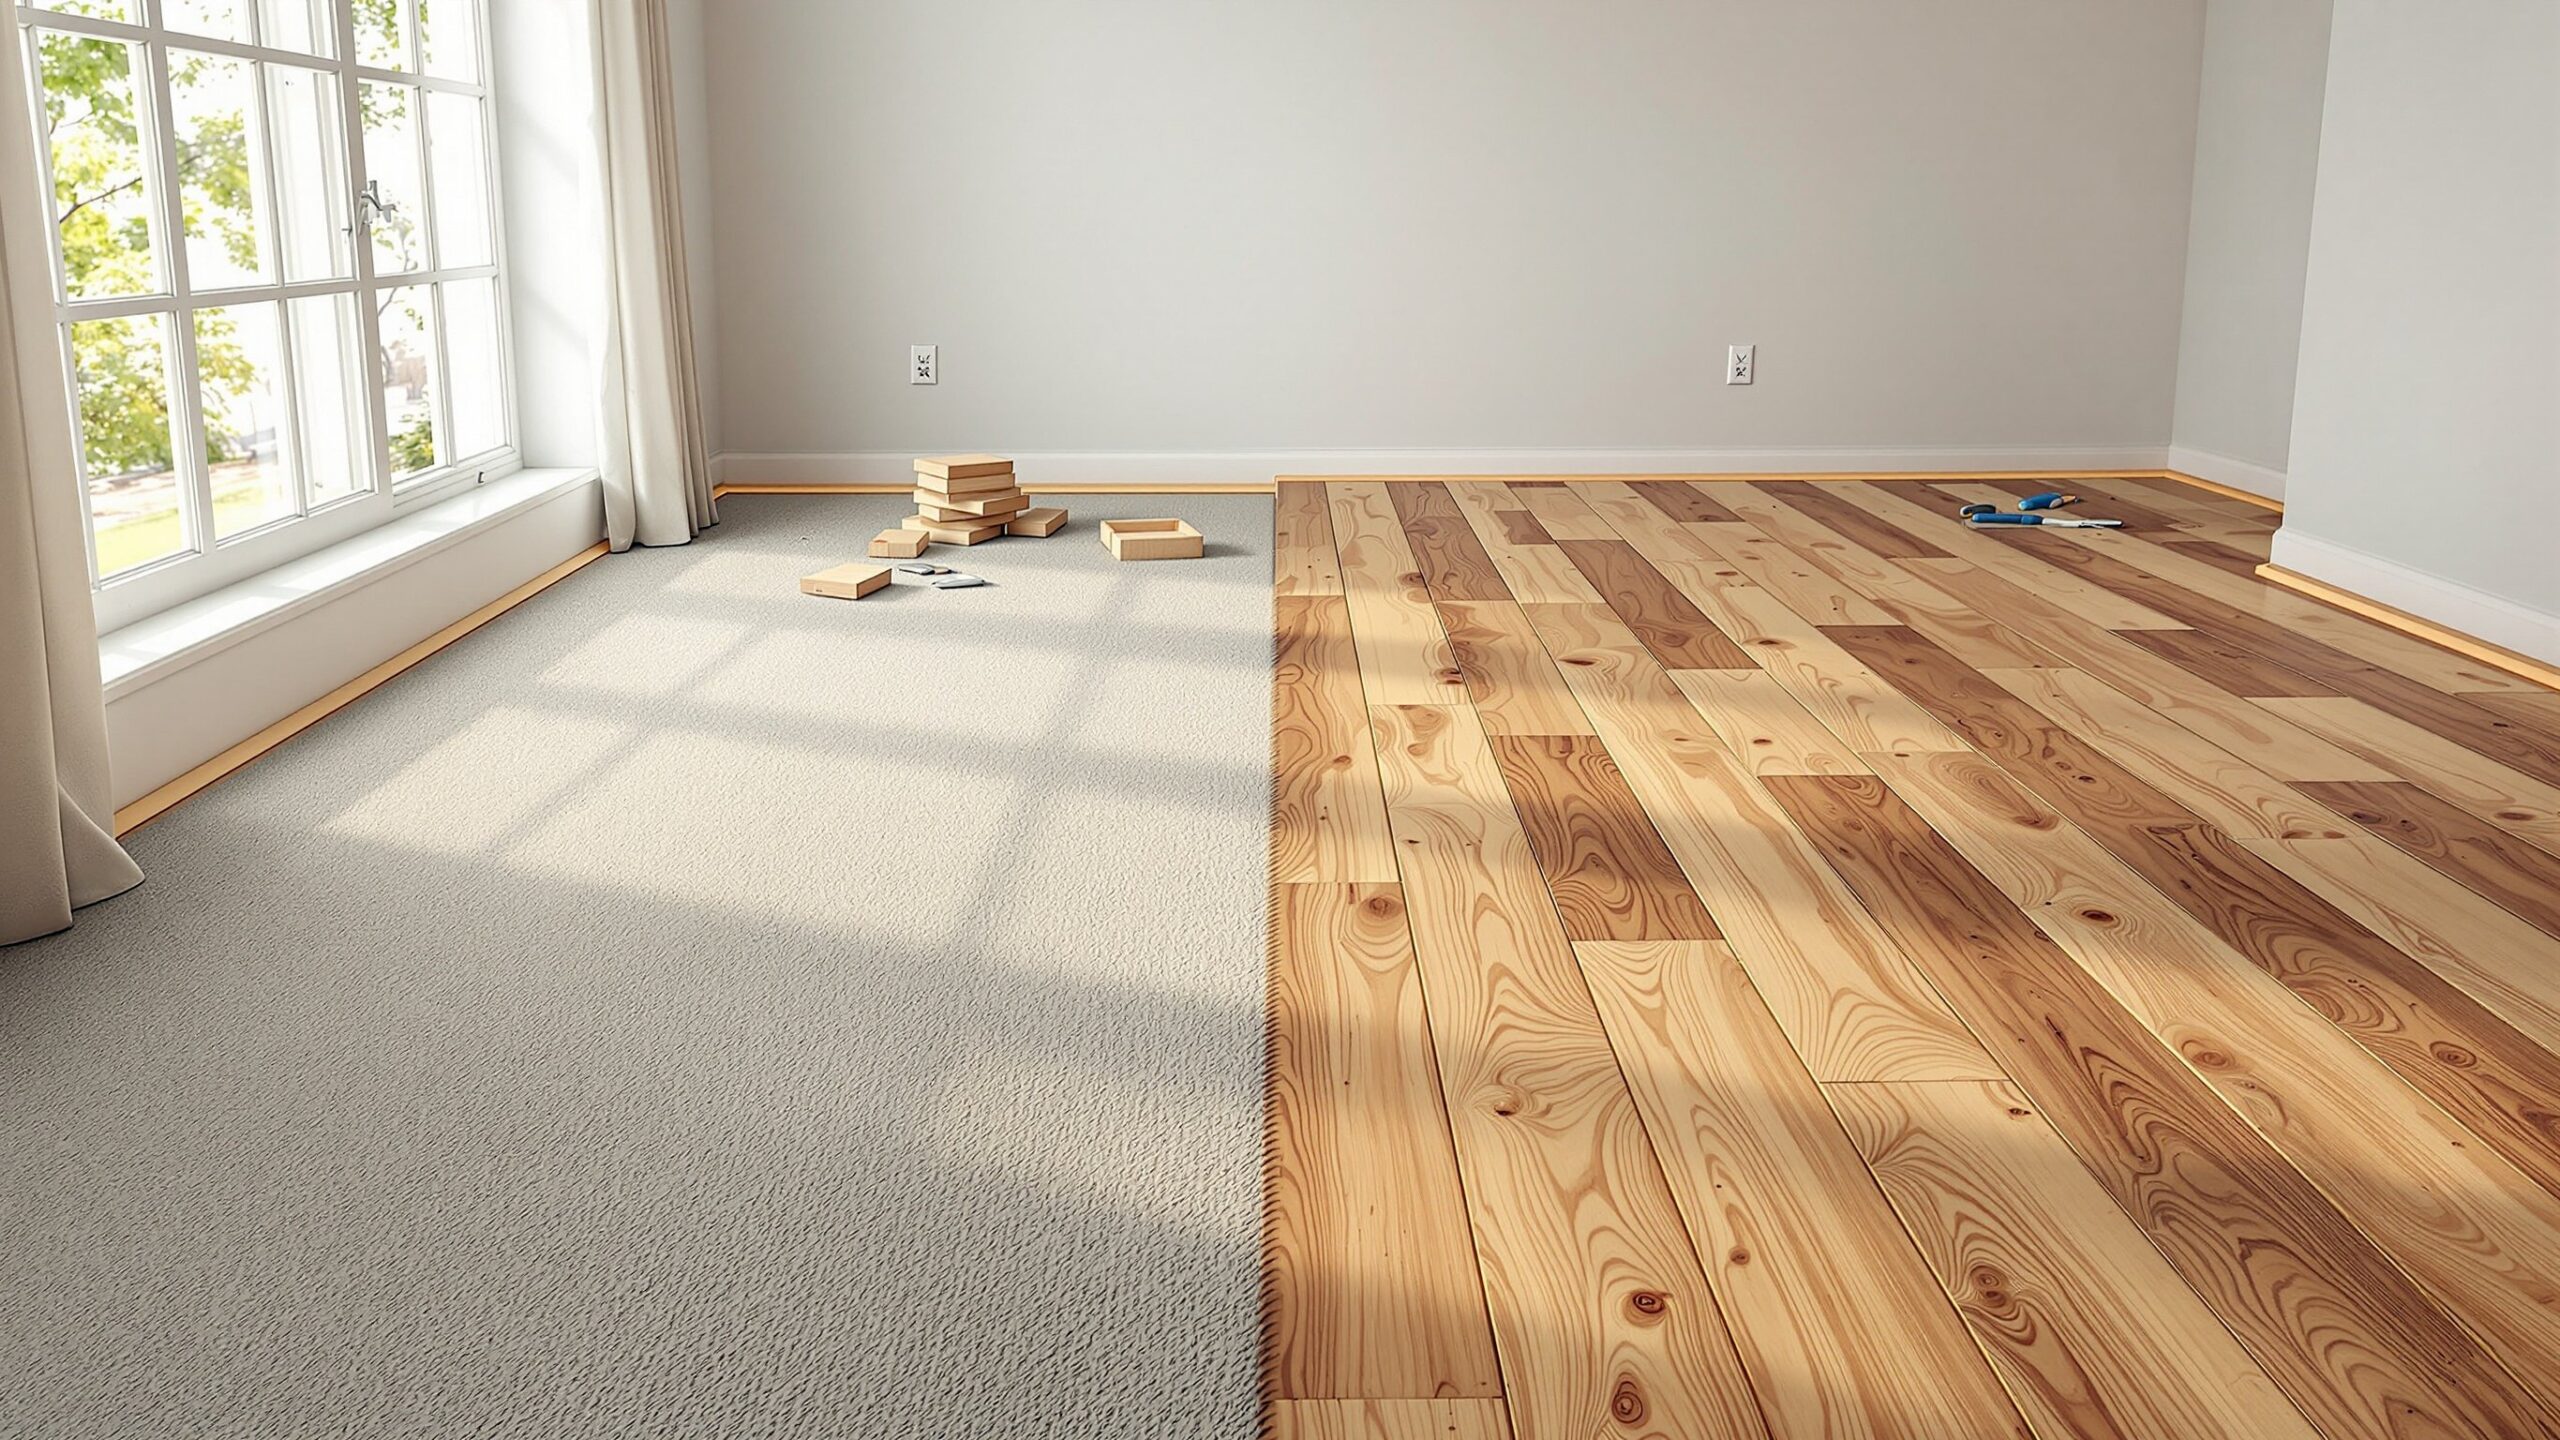
On Drill and Skills, Flooring Upgrades is where tired surfaces get a fresh start and every step feels solid, quiet, and intentional. This is your playbook for taking on projects that instantly change how your home looks and sounds—from swapping dingy carpet for luxury vinyl plank to laying down classic hardwood, tile, or durable laminate. We’ll walk through what really matters before the first board goes down: checking subfloors, planning layouts, and understanding expansion gaps, underlayment, and moisture. You’ll learn how to choose materials that can handle pets, kids, basements, and busy entries without falling apart in a year. Along the way, we’ll demystify jargon like wear layers, AC ratings, and floating floors, and show you how to use the right tools so cuts, seams, and transitions look pro-level. Whether you’re refreshing a single bedroom or upgrading a whole main floor, this sub-category gives you the confidence, steps, and ideas to create floors that feel solid, clean, and built to last.
A: Sometimes—floating systems often can, but height, doors, and manufacturer rules matter.
A: Removing them looks cleaner, but you can use matching quarter round if removal isn’t practical.
A: A straightforward bedroom can often be done in a day or weekend by a prepared DIYer.
A: Many LVP products are water-resistant or waterproof—check specs and seal edges where required.
A: Look for scratch-resistant finishes, higher wear layers, and rugs in favorite pet pathways.
A: Yes—just plan transitions, thresholds, and colors so changes feel intentional.
A: Use breathable coverings like rosin paper or builders’ board, not plastic tarps.
A: Basic saws, spacers, and layout tools cover many projects; tile and solid hardwood need more gear.
A: Complex patterns, staircases, structural subfloor repairs, and large tile jobs are good times to call in help.
A: Save labeled boxes for future repairs and small projects like closets or built-ins.