Welcome to Display Pieces & Decor Structures—where building meets styling, and everyday rooms get a gallery-level upgrade. This Drill and Skills category is for makers who love the “final 10%”: the shelves that frame a collection, the pedestals that elevate a centerpiece, the arches that define a backdrop, and the clean, intentional structures that make decor feel designed—not dropped. Inside these articles, you’ll learn how to plan proportion, choose materials, and build display-ready pieces that look sharp from every angle. We’ll cover load paths and anchoring, hidden supports, balancing weight, leveling on imperfect floors, and finishing moves that separate “DIY” from “custom.” Expect smart tutorials for floating shelves, picture ledges, plant stands, wall niches, sculptural partitions, ceiling-hung accents, display plinths, and modular showcases—plus tips for lighting, spacing, and visual rhythm so your work photographs beautifully. Whether you’re creating a holiday install, a permanent feature wall, or a clean stage for your favorite objects, you’ll find approachable builds with pro-grade polish. Pick a project, grab your tools, and start crafting structures that make the room feel curated, confident, and completely yours.
A: Use a stud-mounted cleat or concealed bracket rated for the load, not drywall anchors alone.
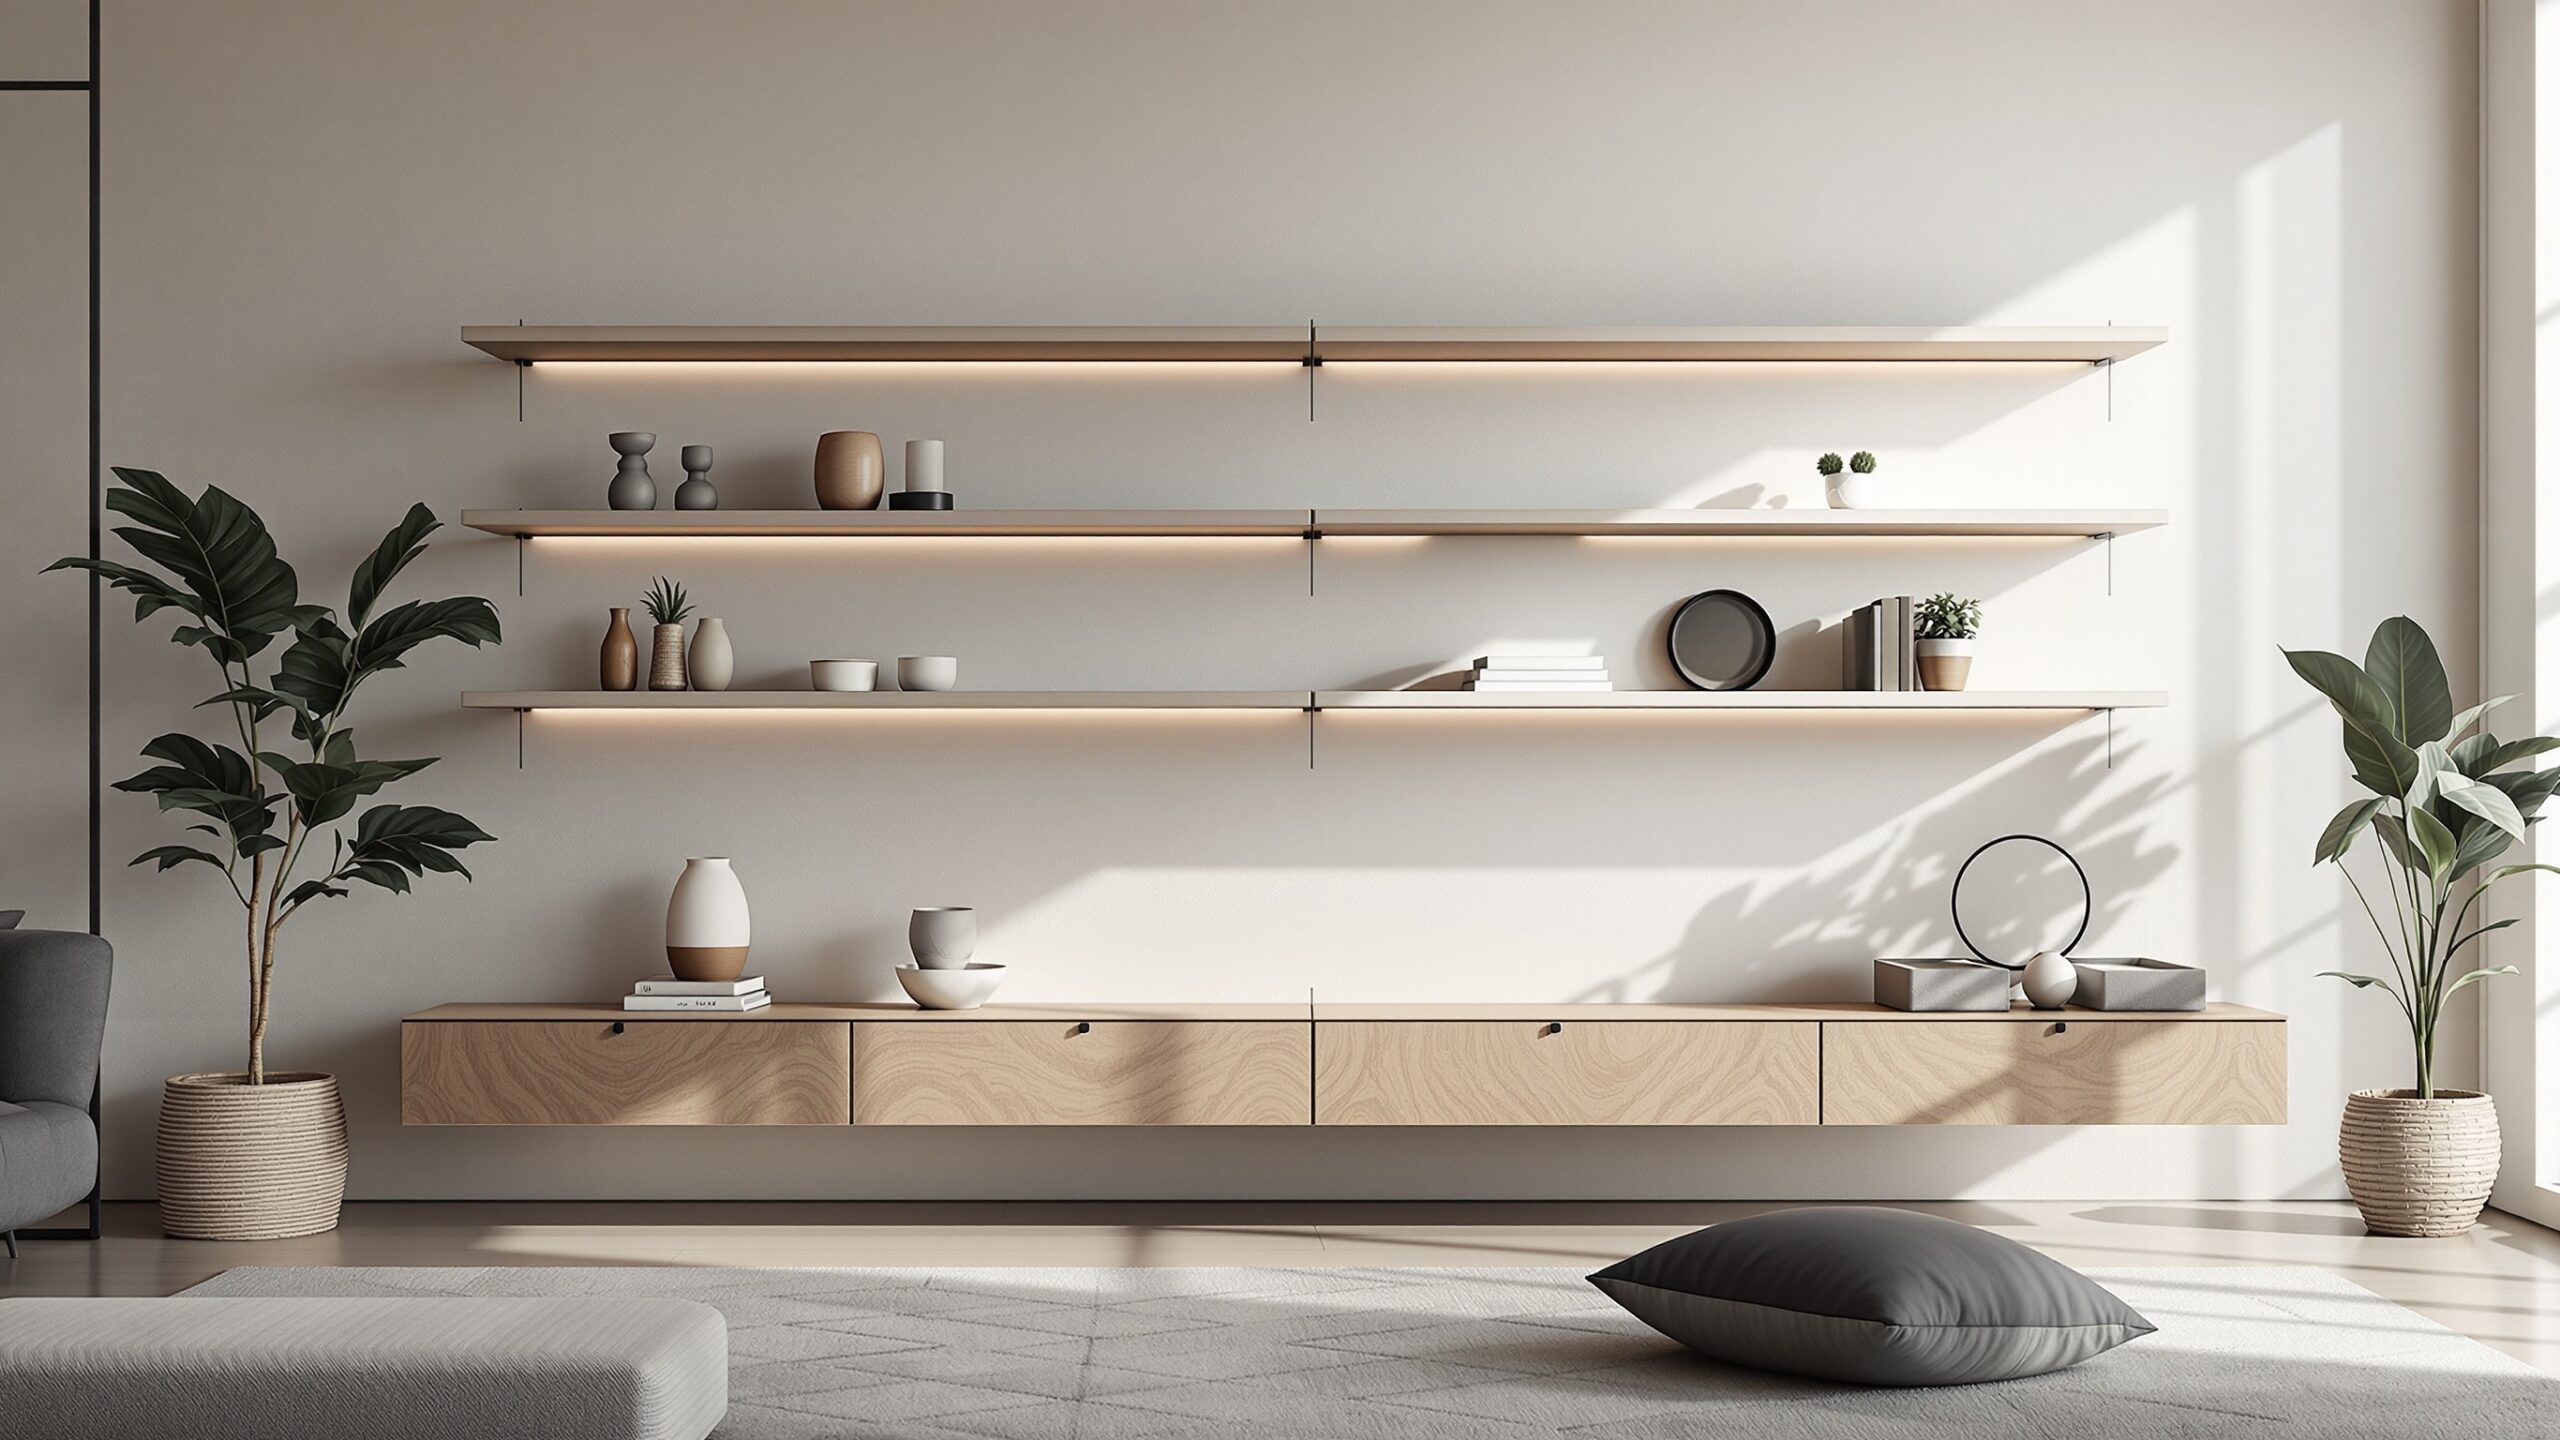
A: Picture ledges, simple box shelves, and small plinths—straight cuts, big impact.
A: Shorten spans, add a front lip/cleat, or use thicker material and hidden ribs.
A: MDF paints smoother; plywood is stiffer—choose based on size and durability needs.
A: Fill seams, sand between coats, and use quality primer plus thin, even topcoats.
A: Yes—plan wire paths, use low-voltage options, and keep access for maintenance.
A: Aim for eye level for focal items; adjust for furniture height and traffic flow.
A: Into studs/masonry with proper anchors and a level ledger board during install.
A: Use subtle lips, museum putty, or grippy pads depending on the display items.
A: Tight reveals, consistent spacing, clean caulk lines, and matching trim details.