A great workshop doesn’t start with more tools—it starts with a smarter map. Workshop Setup & Layouts is where your space becomes a project partner: benches placed where cuts feel natural, storage that keeps essentials in reach, and pathways that let you move from idea to build without tripping over yesterday’s scraps. Whether you’re carving out a corner in a garage, turning a shed into a maker bunker, or optimizing a full-size shop, layout is the upgrade that makes every drill, clamp, and jig feel sharper. Here you’ll find practical strategies for work triangles, power planning, lighting that kills shadows, and dust control that actually keeps up. We’ll explore modular benches, mobile stations, wall systems, and “zones” for drilling, assembly, sanding, and finishing—so projects flow instead of stalling. Think of it as leveling up your workshop like a well-designed game: clear objectives, efficient routes, and a space that rewards good habits. Build smarter, faster, and safer—starting with the layout.
A: A clear main bench plus a dedicated tool wall or cart for “daily drivers.”
A: Enough to walk behind and clamp—aim for comfortable pass-through lanes.
A: Fixed for heavy work; rolling is great for small spaces and flexible layouts.
A: On a charging shelf away from dust-heavy stations, with tidy cable routing.
A: Add task lights at the bench and any drill/cut station—angle them to avoid glare.
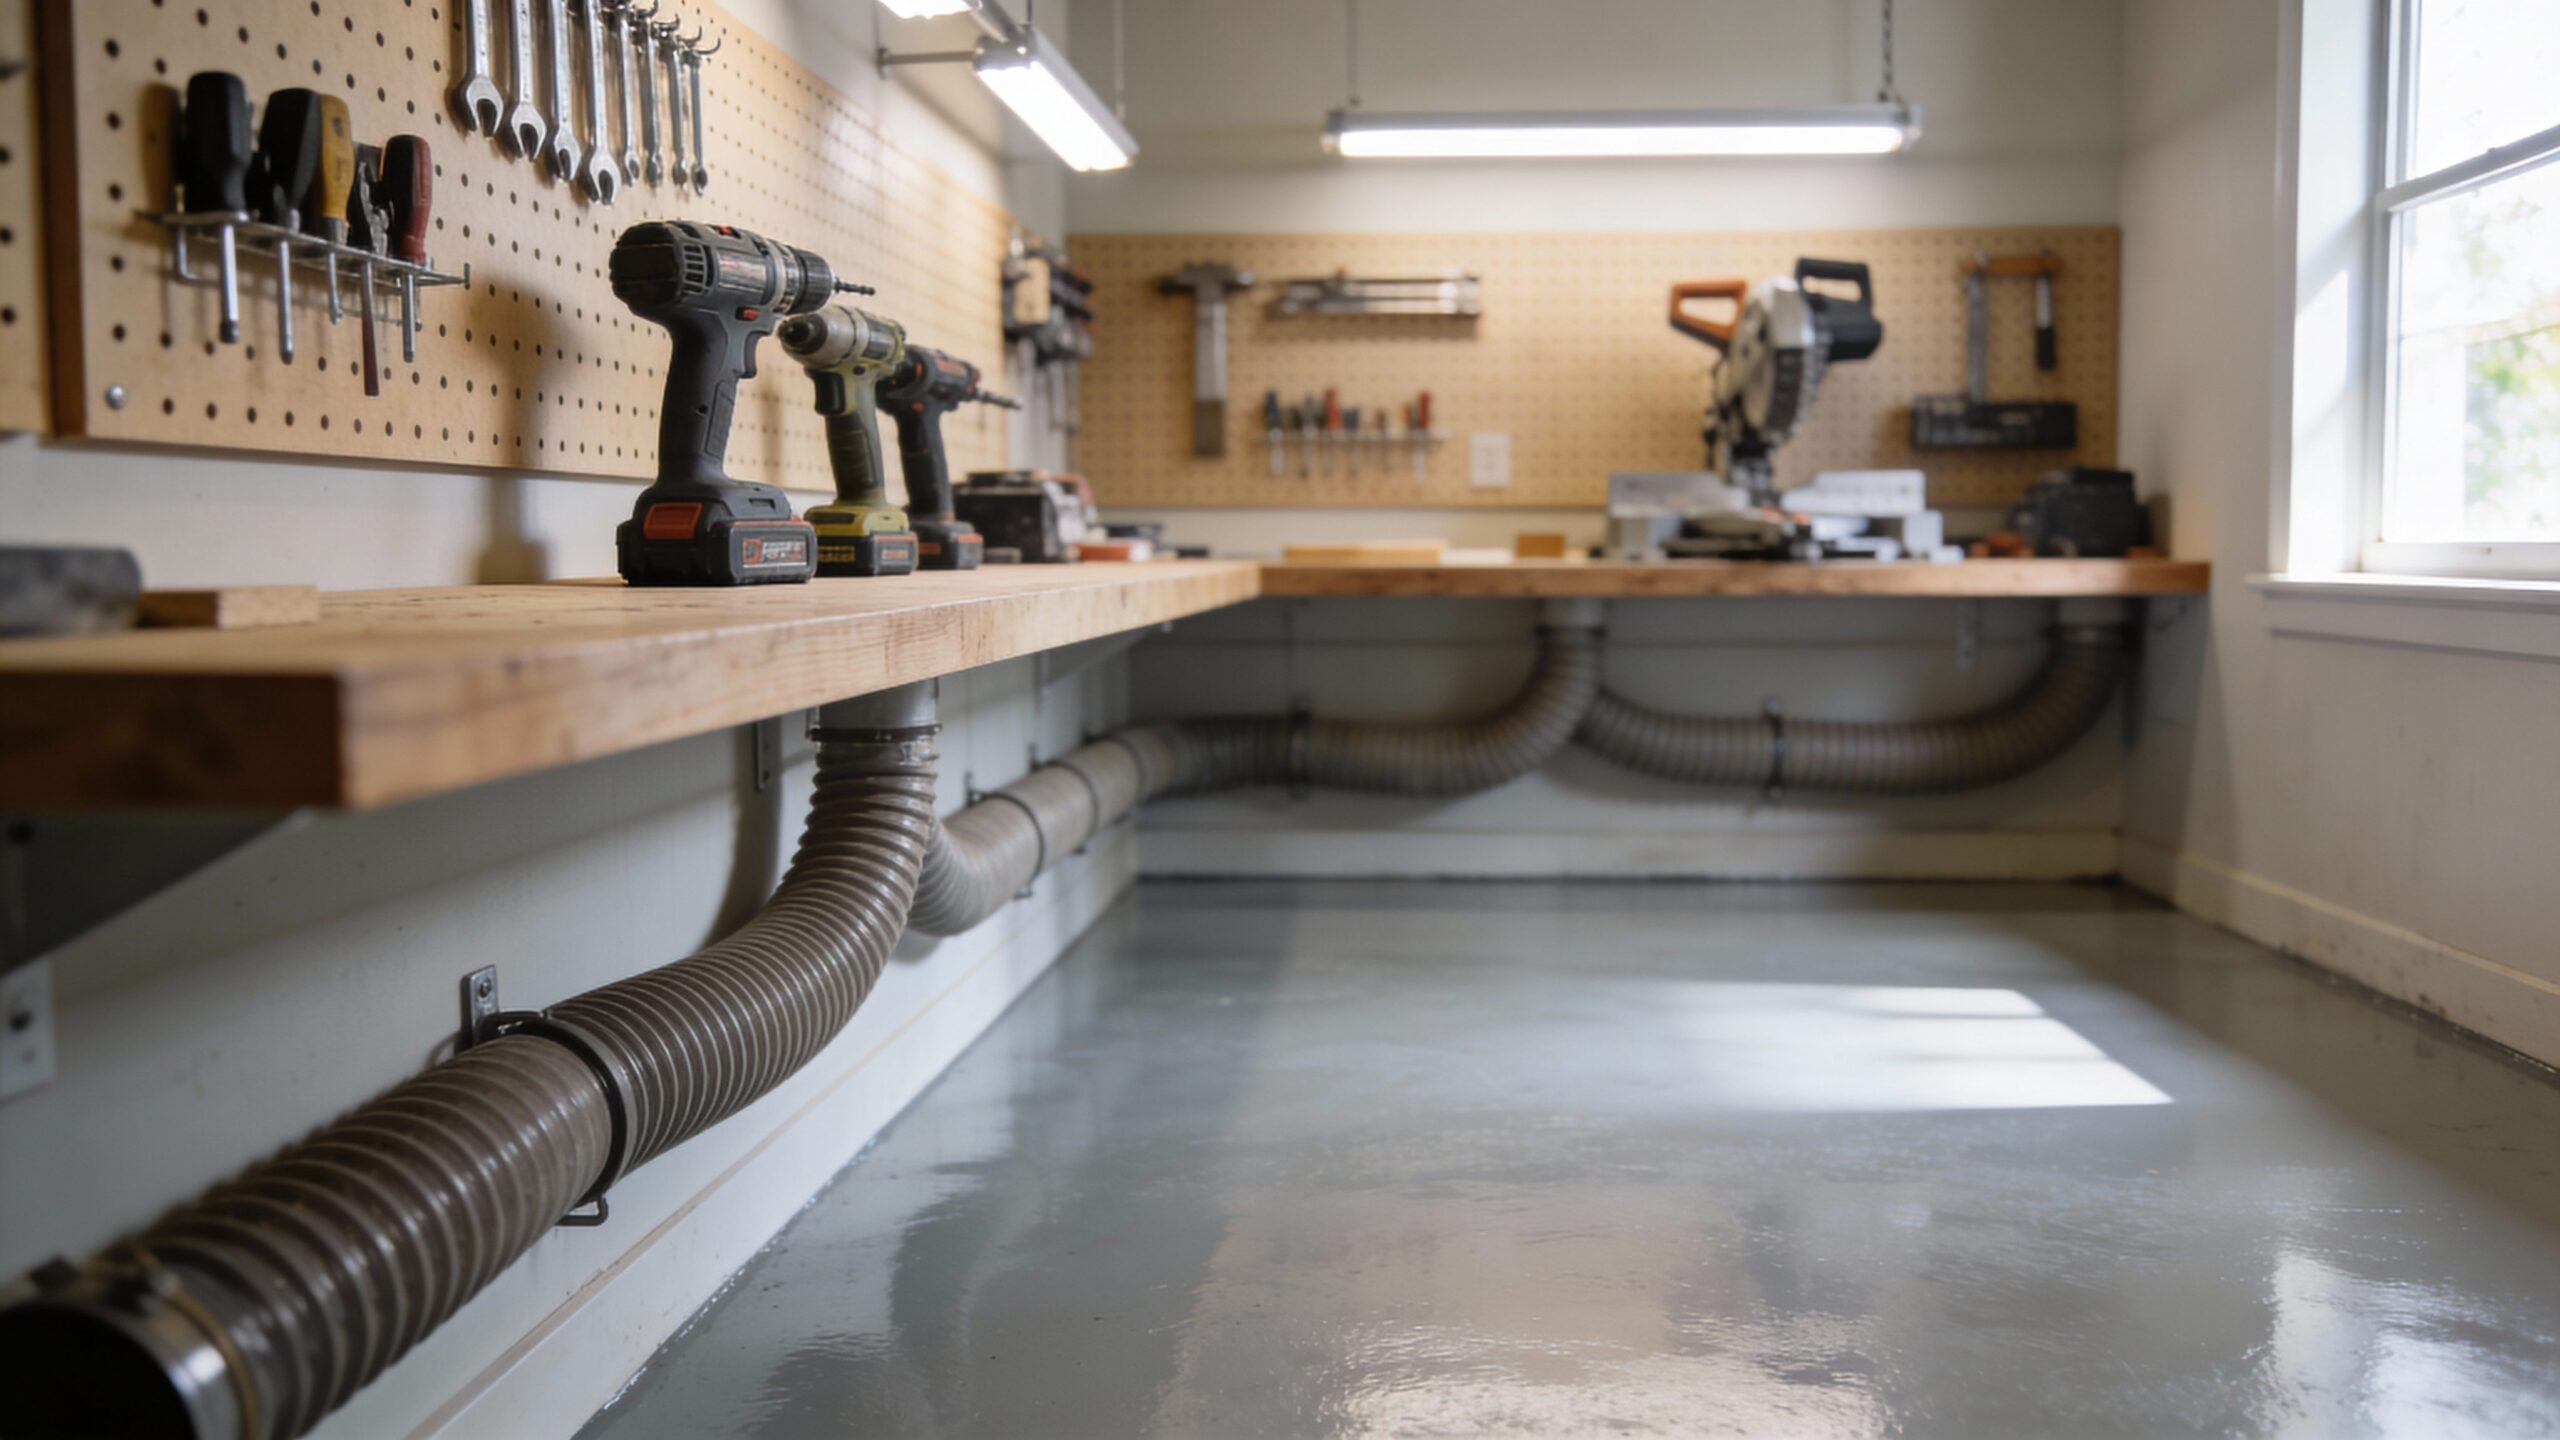
A: Shop vac near the cutting zone + hose hooks + sweep routine after each session.
A: Give each tool a “home” on the wall/cart and do a five-minute reset.
A: Use mobile stations and keep the center open for reconfigurable project space.
A: Lumber/parts intake and a staging zone—so materials don’t migrate through the shop.
A: Go vertical, keep floors clear, and store current projects on a cart or shelf.