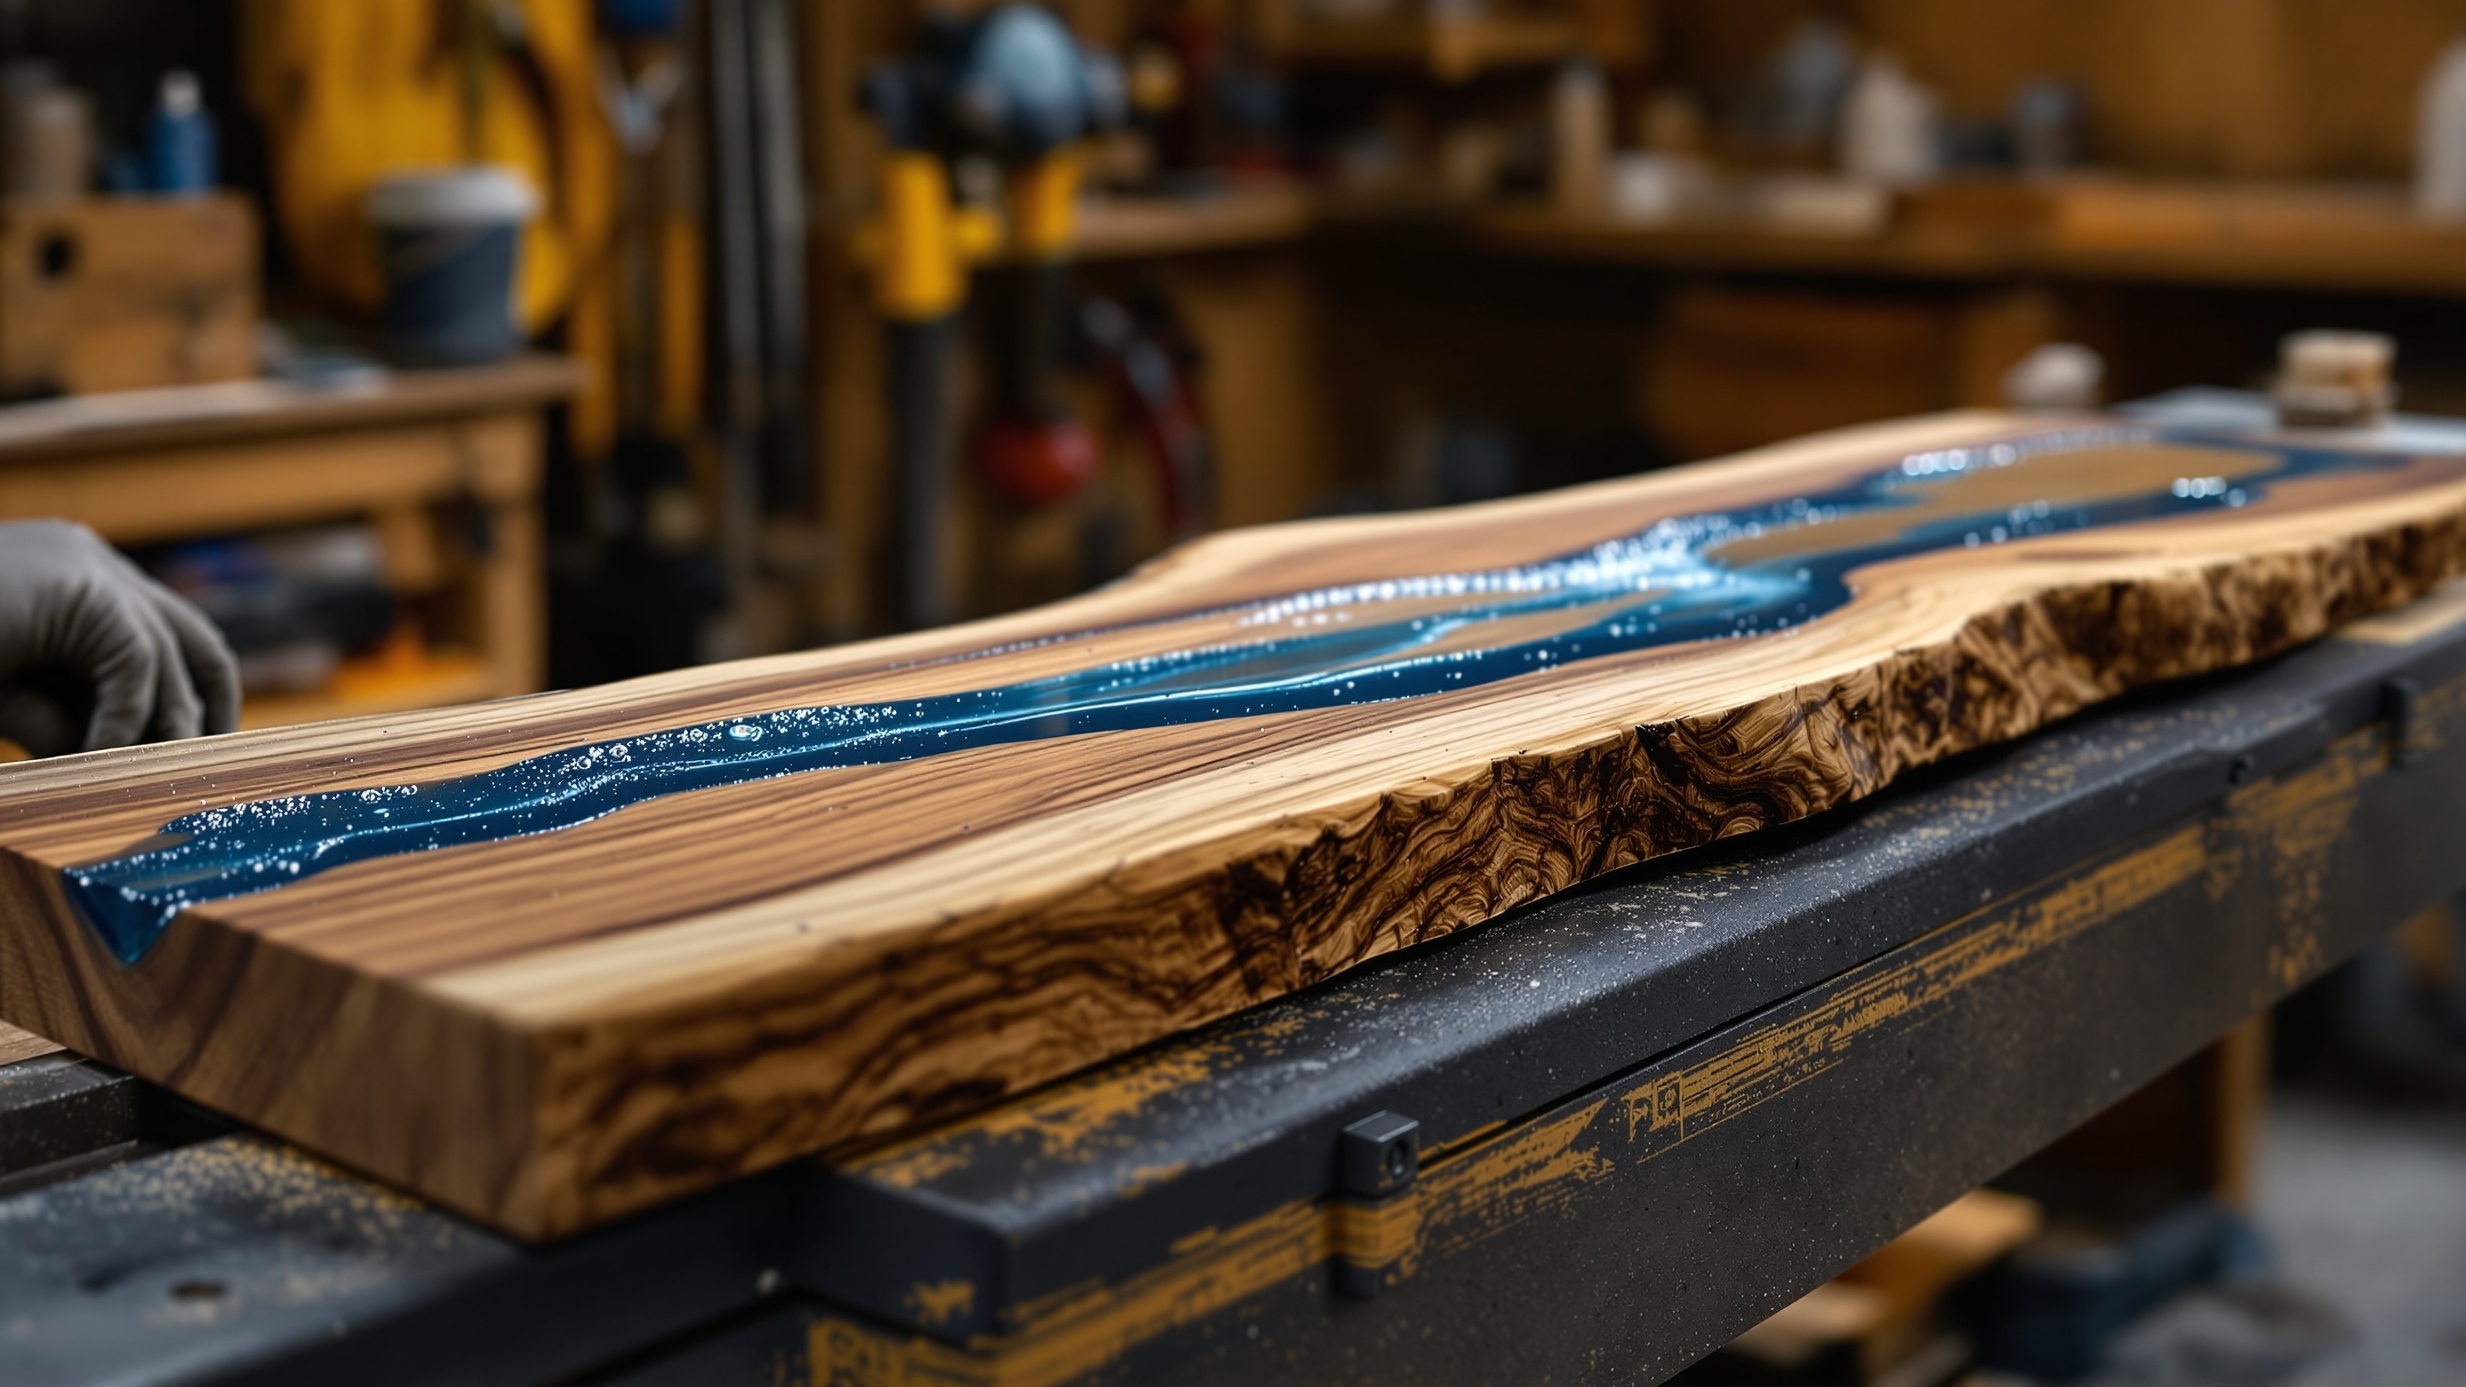
Live-edge & resin furniture is where the forest meets the future: wild grain, flowing sapwood, and glassy “river” pours that freeze motion into a tabletop. This Drill and Skills category is your workshop map for turning rough slabs and tricky chemistry into heirloom pieces that feel equal parts nature and modern design. Explore articles on slab selection, moisture and drying, flattening and joinery, and how to stabilize checks and knots without losing character. Then step into the pour: dial in mix ratios, temperature windows, mold prep, sealing, and pigment swirls that stay crisp instead of cloudy. From ocean blues to smoky charcoal swirls, you’ll learn finishes that pop, bases that stay true, and safe, repeatable workflows every time for any space. Expect deep dives on bubble control, pressure pots versus heat, edge dams, and how to pour in layers for dramatic depth. Get guidance on sanding grits, polishing schedules, and topcoats that resist scratches and UV yellowing. You’ll also find tips for shop setup, ventilation, PPE, and cleanup so the magic stays fun, not stressful.
A: Not always, but the slab must be properly dried and stable for your environment.
A: Use melamine/HDPE, seal seams with caulk, and do a quick test fill before pouring.
A: Either works—use light passes and keep moving to avoid overheating or rippling the surface.
A: Usually no; thick pours can overheat. Layer pours are safer and cleaner.
A: Common causes are moisture, under-mixing, incompatible pigments, or temperature issues.
A: For clarity, progress through high grits consistently, then polish with pads and compound.
A: It depends—some use a protective topcoat for scratch resistance and UV stability.
A: Use elongated holes or figure-eight fasteners to allow seasonal wood movement.
A: Bark can loosen; many builders remove it or stabilize it thoroughly for longevity.
A: Start small—end tables or serving boards teach the full workflow with lower risk.
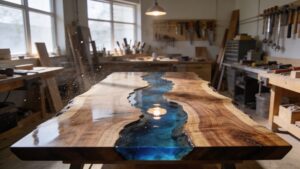
Epoxy River Tables Explained: How to Build a Showpiece from Scratch
Discover how raw wood and liquid resin transform into breathtaking epoxy river tables. This complete guide walks you through every step—from slab selection to final polish—so you can create a true showpiece that blends craftsmanship, creativity, and modern design.
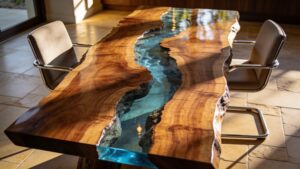
The Ultimate Guide to Live-Edge Resin Tables: Design, Build, and Finish
Live-edge resin tables turn raw wood into functional art. This guide walks through design choices, slab prep, epoxy pouring, finishing, and pro-level details that help transform a natural wood slab into a dramatic showpiece built to impress.