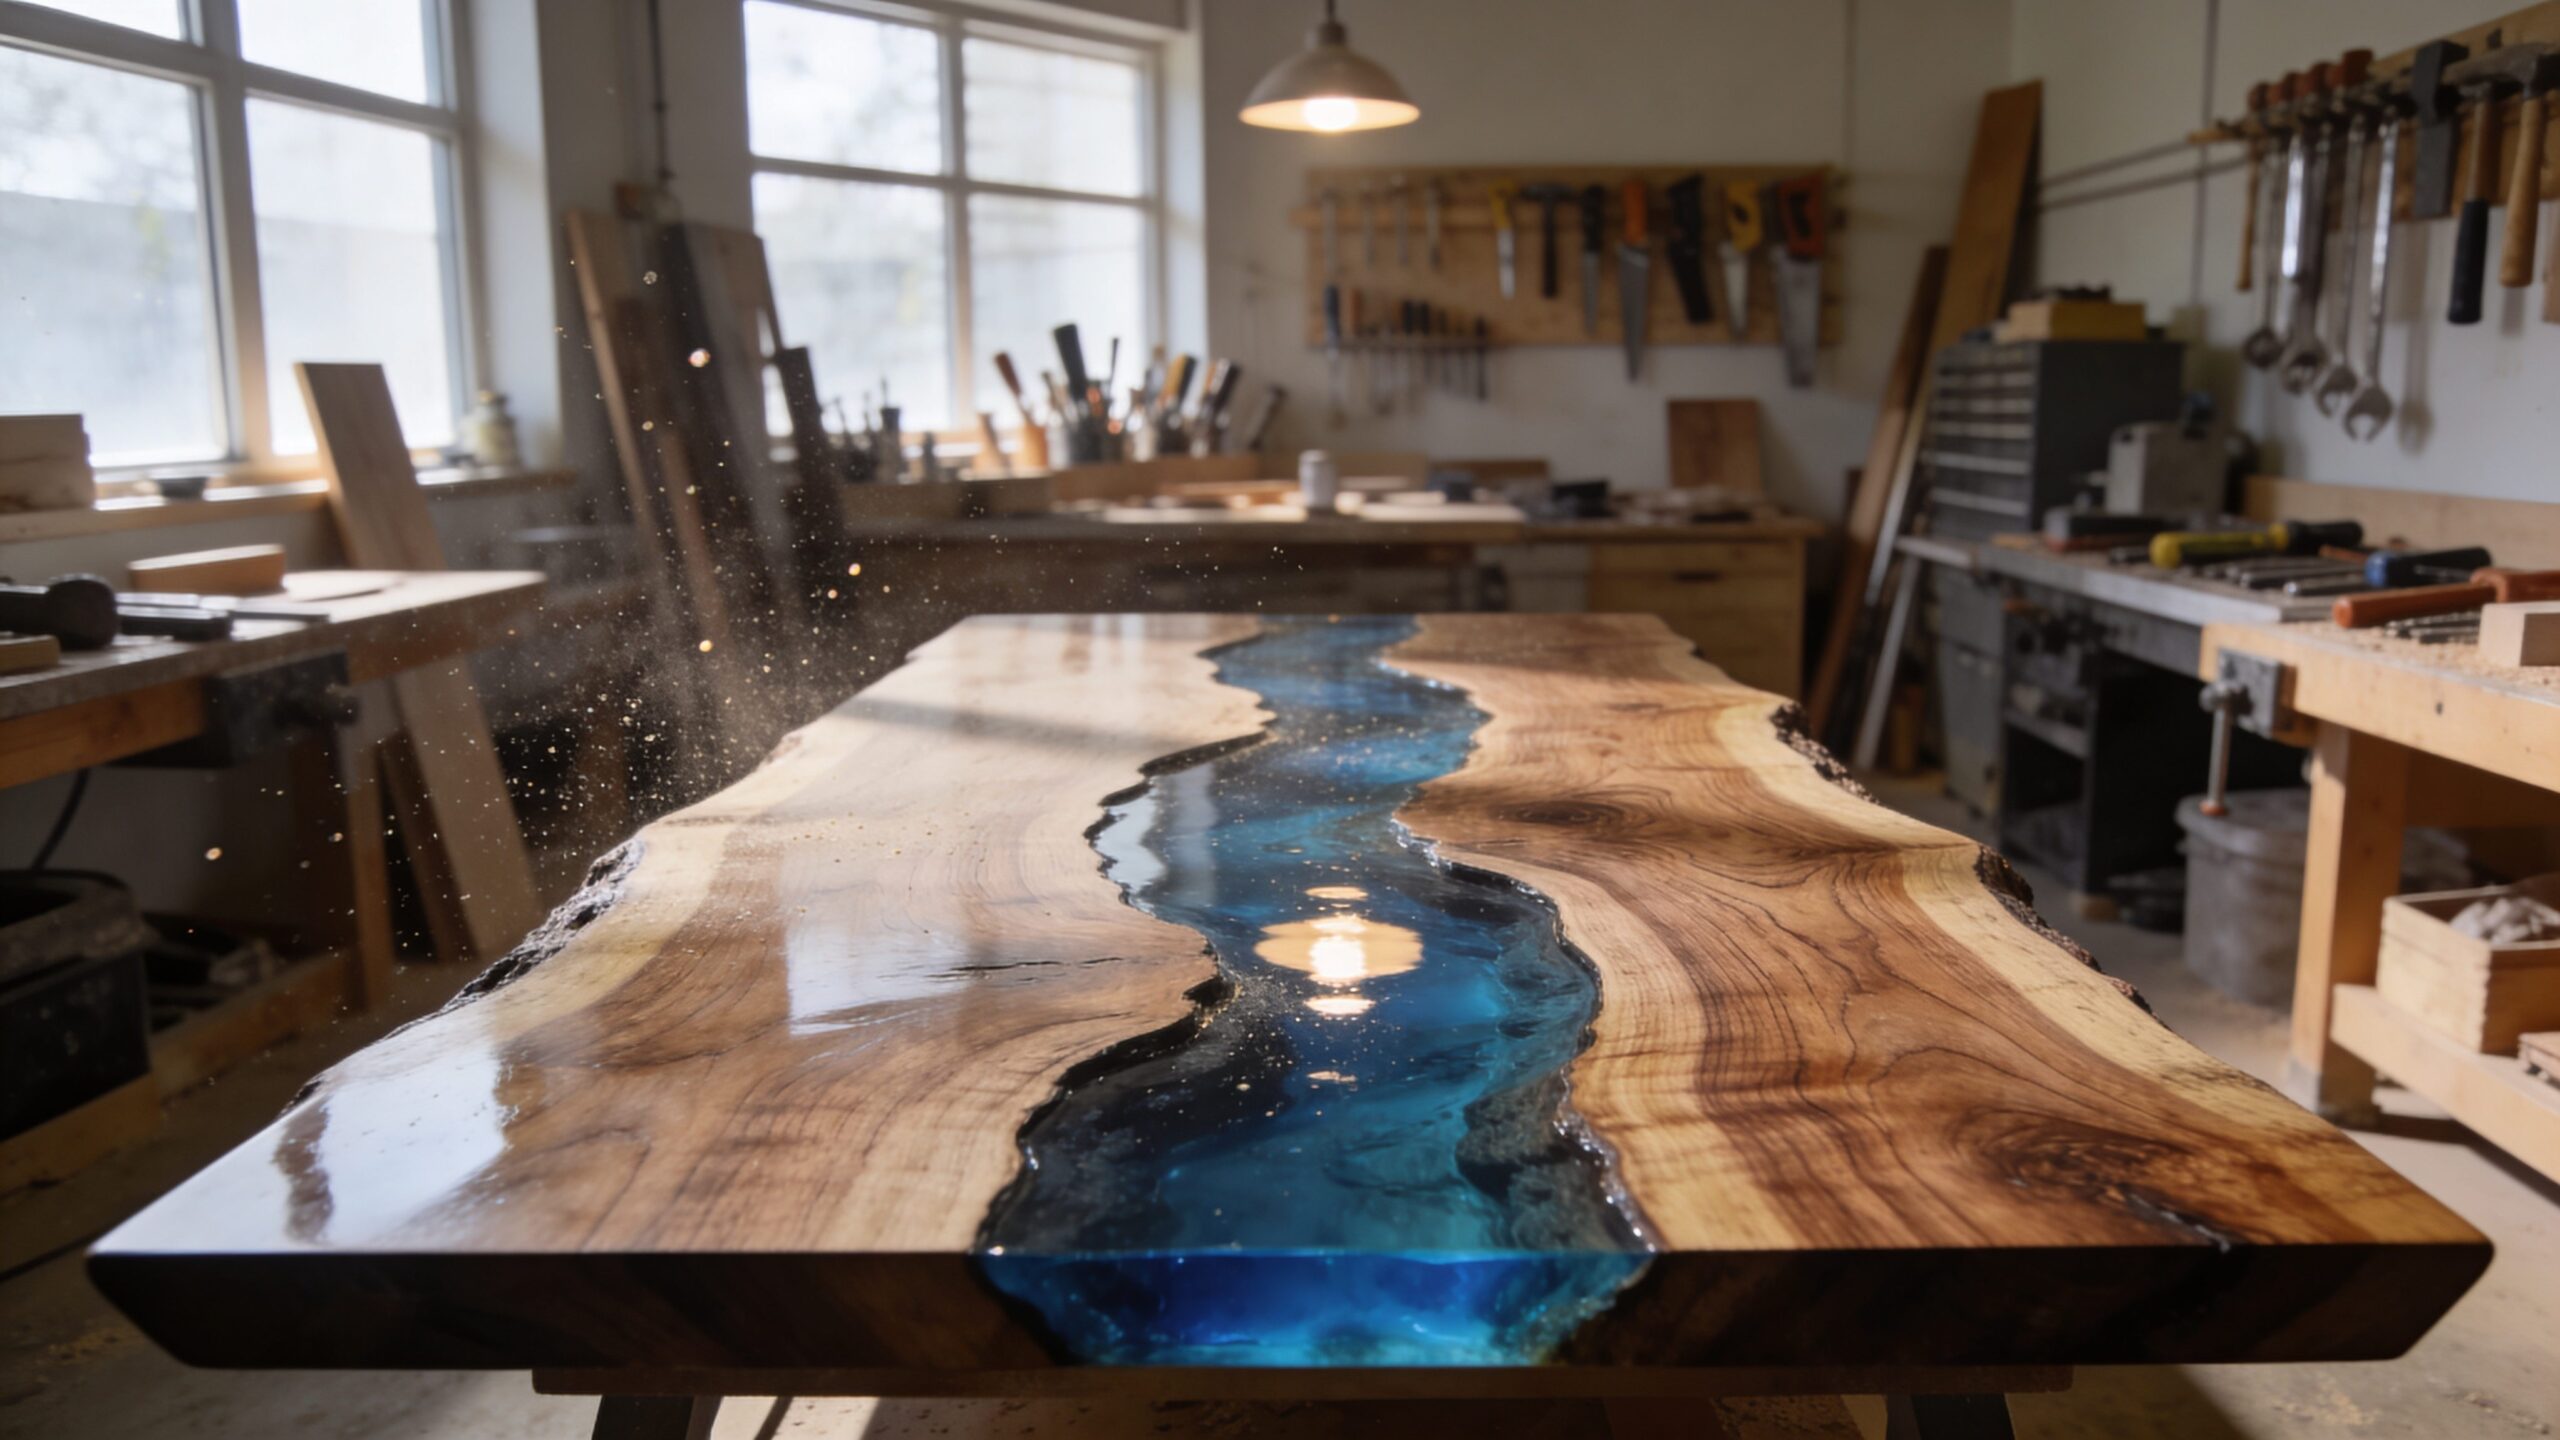
What Makes Live-Edge Resin Tables So Captivating
Live-edge resin tables are more than furniture. They are statement pieces that combine the untamed beauty of natural wood with the sleek depth of modern epoxy. A live-edge slab keeps the original outer contour of the tree, preserving curves, cracks, knots, and organic movement that standard lumber usually removes. When resin is added, those natural features become part of the design instead of flaws to hide. The result is a table that feels both ancient and futuristic. The wood brings warmth, grain, texture, and history. The resin adds clarity, color, contrast, and visual drama. Together, they create a centerpiece that works in luxury dining rooms, modern offices, rustic cabins, creative studios, and high-end showrooms.
A: Yes, but starting with a small coffee table or side table is usually smarter.
A: Walnut is a favorite, but maple, oak, elm, and acacia can also work beautifully.
A: Kiln-dried wood is strongly recommended because it lowers the risk of movement and cracking.
A: Bubbles often come from trapped air in the wood, fast mixing, or pouring without a seal coat.
A: Cure time varies by product, but many pours require several days before heavy sanding.
A: No. Thick river pours usually need deep-pour epoxy designed for larger casting depths.
A: Sand through fine grits, then polish with suitable pads and compounds.
A: Yes, when built correctly, but they still need protection from extreme heat and harsh abuse.
A: Usually yes, because bark can loosen and separate after the table is finished.
A: Sticky resin usually comes from incorrect measuring, poor mixing, or unsuitable curing conditions.
Understanding the Live-Edge Look
The term “live-edge” refers to wood that still follows the natural edge of the tree. Instead of cutting every side into a straight line, the maker preserves the slab’s original shape. This can include sweeping curves, bark lines, voids, checks, mineral streaks, and irregular edges.
That natural edge is what gives the table its personality. A perfectly straight board can be beautiful, but a live-edge slab feels alive. It carries the story of the tree, including how it grew, twisted, healed, and aged. When resin is poured between two slabs or into natural openings, the table becomes a blend of organic sculpture and functional design.
Choosing the Right Wood Slab
The slab is the soul of the build. Walnut is one of the most popular choices because of its rich brown color, dramatic grain, and premium look. Maple can create a brighter, cleaner design, while oak brings strength and bold grain. Elm, cherry, acacia, ash, and olive wood can also produce stunning results depending on the style you want. The most important factor is moisture content. A slab that is not properly dried can warp, crack, or move after the resin cures. Kiln-dried wood is usually the safest choice for furniture builds because it has been dried in a controlled environment. Air-dried slabs can work too, but they need to be checked carefully before use.
Designing the Table Before You Build
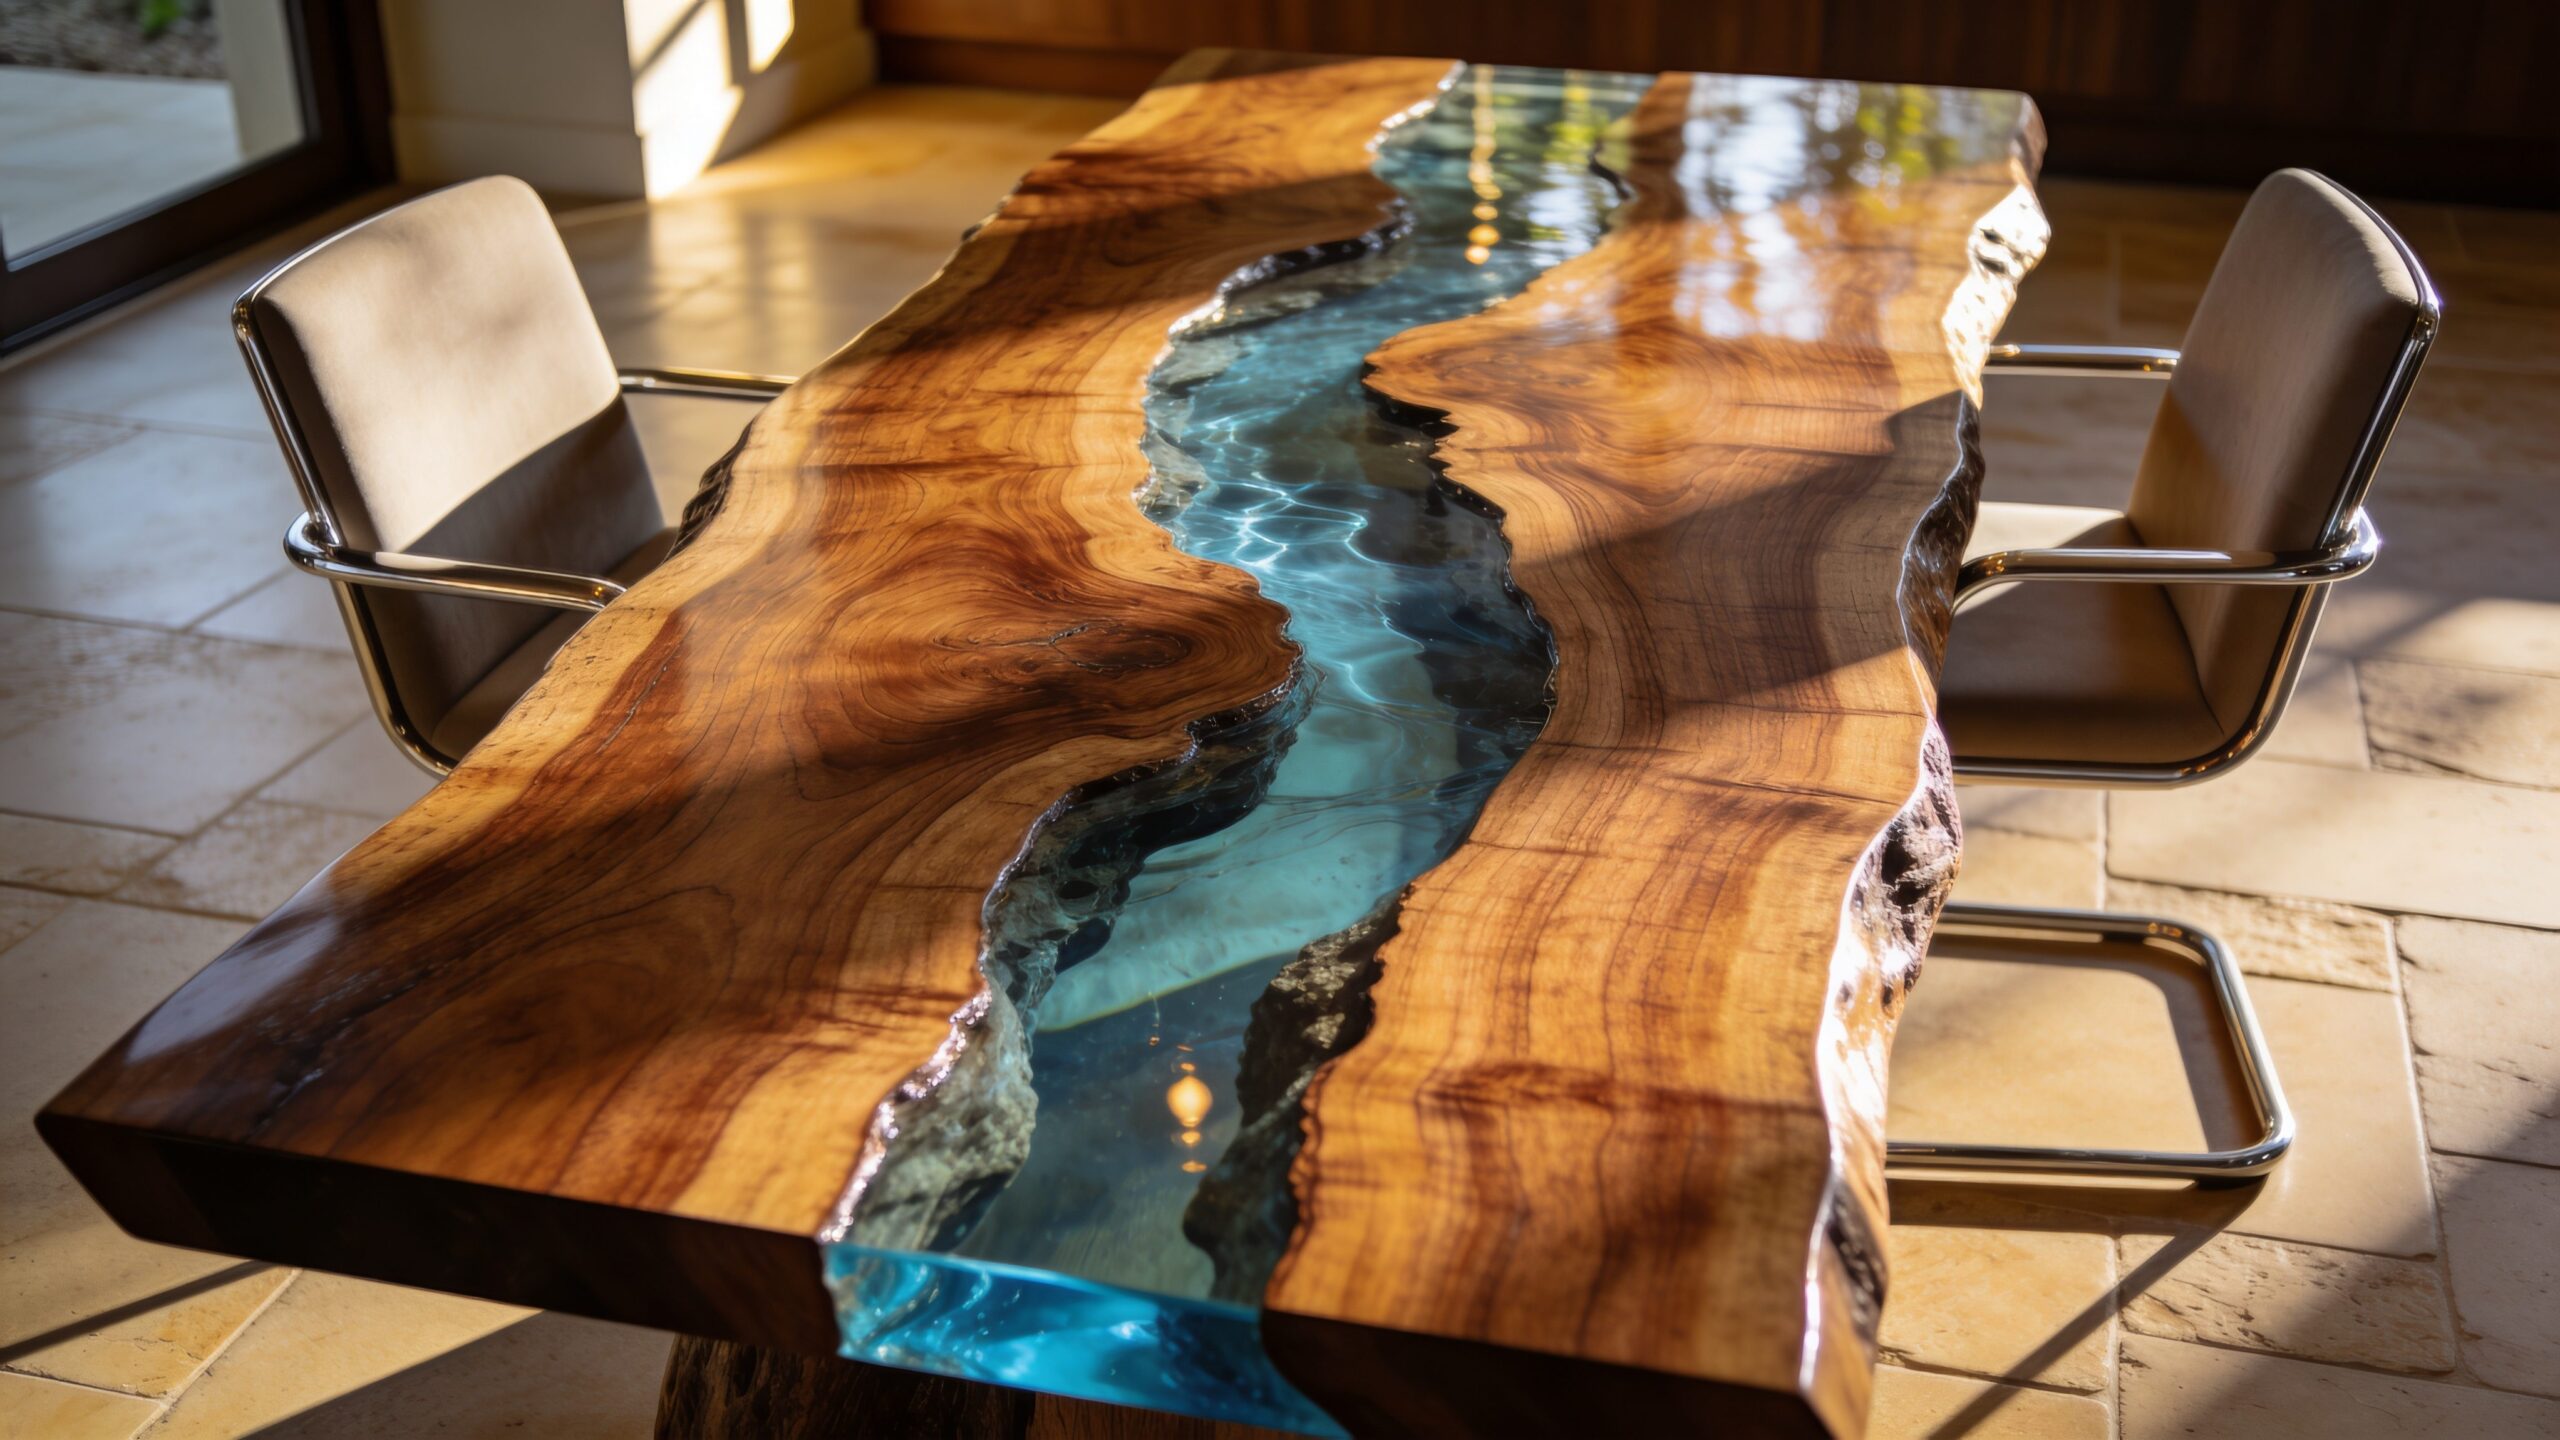
A successful live-edge resin table begins with a clear design plan. Decide whether the resin will run through the middle like a river, fill cracks and voids, cover the entire surface, or act as a subtle accent. A river table usually uses two slabs facing inward, with the natural edges forming the resin channel.
Color also changes the entire mood of the piece. Clear resin creates a glass-like look that highlights the wood. Blue resin suggests water and movement. Black resin feels bold and architectural. White resin gives a clean modern effect. Metallic pigments can add depth, but they should be used carefully so they do not overpower the wood.
Preparing the Slab
Preparation determines whether the finished table looks professional or homemade. The slab must be flattened, cleaned, dried, and stabilized before resin touches it. Any loose bark, dirt, dust, and soft material should be removed. Cracks and voids should be inspected so you know where resin may flow. Many makers remove bark entirely because it can separate over time. The live-edge shape remains, but the fragile bark layer is cleaned away. After that, the slab should be sanded, vacuumed, and wiped clean. If the wood has large cracks or punky sections, they may need stabilizing before the main pour.
Building a Strong Resin Mold
The mold holds the table shape while the epoxy cures. It must be flat, sturdy, and leak-resistant. Melamine is commonly used because resin releases from it more easily than raw wood. Some builders also use mold-release tape or mold-release spray to help with removal.
Every seam must be sealed. Even a small gap can allow epoxy to leak out, wasting expensive material and creating a messy failure. Silicone is often used along the inside seams. Before pouring resin, the slabs should be clamped or weighted down so they do not float when epoxy is added.
Sealing the Wood First
Wood contains tiny air pockets. If you pour deep resin directly onto unsealed wood, air can escape into the epoxy and create bubbles. A thin seal coat helps reduce this problem. The seal coat is brushed over the live edge, cracks, knots, and porous areas before the main pour. This step also improves resin clarity near the wood. Without sealing, bubbles may continue rising for hours. A careful seal coat gives the final river a cleaner, deeper, more polished appearance.
Mixing and Pouring Epoxy Resin
Epoxy resin usually comes in two parts: resin and hardener. These must be measured accurately and mixed thoroughly. The wrong ratio can lead to soft spots, cloudy patches, sticky areas, or curing failure. Follow the manufacturer’s instructions closely, especially for deep pours.
Temperature matters. If the room is too cold, resin may cure slowly or become cloudy. If it is too hot, the epoxy can overheat, crack, or cure too quickly. For large tables, deep-pour epoxy is usually better than tabletop epoxy because it is designed for thicker layers.
Controlling Bubbles
Bubbles are one of the biggest challenges in resin furniture. They can come from mixing, pouring, or air escaping from the wood. A heat gun or torch can help release surface bubbles, but too much heat can damage the resin or create waves. The best strategy is prevention. Mix slowly, seal the wood, pour carefully, and keep the workspace clean. Some makers use pressure chambers for smaller resin parts, but large tables depend mostly on preparation, patience, and good epoxy technique.
Sanding the Surface
Once the resin cures, the table usually needs flattening and sanding. This is where the piece begins to transform from rough build to refined furniture. A router sled, planer, wide belt sander, or professional slab-flattening service can help create a level surface.
After flattening, sanding progresses through grits. Starting too fine wastes time, while stopping too early leaves scratches. The goal is to remove tool marks, level the resin with the wood, and prepare the surface for finish. Dust control is important because resin dust and wood dust can spread quickly.
Choosing the Right Finish
The finish protects the wood and defines the final look. Oil finishes bring out grain depth and create a natural feel. Hardwax oils are popular because they offer a smooth, furniture-grade finish while keeping the wood warm and touchable. Polyurethane can add stronger protection, while epoxy topcoats create a glossy, glass-like surface. The right finish depends on how the table will be used. A dining table needs durability against spills and cleaning. A decorative console table may prioritize appearance. A desk needs a smooth writing surface and resistance to daily wear.
Polishing the Resin
If you want a high-gloss resin river, polishing is essential. After sanding through fine grits, polishing compounds can bring the resin to a reflective shine. This process takes patience, but it creates the deep, glassy look people expect from premium resin furniture.
For a more subtle style, resin can be finished with a satin or matte surface. This reduces glare and can make the table feel more refined. Gloss is dramatic, but matte finishes can look sophisticated in modern interiors.
Selecting Table Legs or a Base
The base should support the table visually and structurally. Metal legs are popular because they contrast nicely with organic wood. Black steel gives an industrial look, brushed metal feels modern, and custom welded bases can turn the table into a sculptural piece. Wood bases can work beautifully too, especially when the design leans rustic, traditional, or craftsman-inspired. Whatever base you choose, it must be strong enough to support the slab and resin. Large live-edge tables can be very heavy, so stability matters.
Common Mistakes to Avoid
One of the most common mistakes is using wood that is not dry enough. Another is underestimating how much resin is needed. Builders also run into trouble when molds are not sealed properly, resin is mixed incorrectly, or the pour is too deep for the epoxy type.
Rushing is the enemy of resin work. A live-edge resin table rewards patience. Every stage, from slab selection to polishing, affects the final result. The best builds feel effortless when finished, but they are usually the product of careful planning and disciplined execution.
Why Live-Edge Resin Tables Are Worth the Work
A live-edge resin table is difficult to fake. The depth, weight, grain, and handmade details give it presence. It can anchor a room, start conversations, and become the most memorable piece in a home or workspace. For builders, the reward is even greater. You are not just assembling furniture. You are shaping raw natural material into something functional, durable, and visually unforgettable. That is why live-edge resin tables continue to dominate showpiece builds: they combine craftsmanship, design, and drama in one spectacular project.