Replacing a light switch can be a reasonable beginner project only when the wiring is simple, the power can be verified off, the box is dry and undamaged, and the new switch matches the old switch function. It is not a good place to guess if the box is crowded, the wires are brittle, multiple switches control the same light, or the old device does not match the new instructions.
The safe approach is to slow the job down before any wire is moved. Identify the switch type, shut power off at the breaker, test every conductor, photograph and label the original connections, inspect the box, and stop when the wiring does not make sense. A light switch is small, but the circuit behind it still deserves full respect.
A: No. Isolate the circuit at its supply and verify absence of voltage correctly before touching wiring.
A: Not reliably in every switch box. Identify the circuit arrangement and device requirements rather than relying solely on color.
A: Select a replacement designed for the existing switching arrangement; similar front appearance does not establish compatibility.
A: Stop and have the wiring evaluated or select an appropriately compatible control; never use the grounding conductor as its neutral.
A: No. Follow the specific device's instructions for wire preparation, placement, conductor count, and tightening.
A: Only terminals specifically approved for the conductor are suitable. Aluminum branch wiring warrants an electrician's assessment before replacement.
A: It has not detected voltage under those conditions; that alone does not verify the wiring is de-energized.
A: Have the overheating and damaged materials evaluated before replacing the device or restoring normal use.
A: After installation is safely enclosed, verify intended operation from each control location; unexpected behavior needs review with power isolated.
A: Stop when power cannot be verified off, wiring is unfamiliar or damaged, grounding is uncertain, or the replacement instructions cannot be matched confidently.
Decide Whether This Is a Simple Replacement
A basic single-pole switch that controls one light from one location is the most beginner-friendly scenario. The project becomes more complicated when two or more switches control the same light, when the switch also controls a fan, when a dimmer or smart switch is involved, or when several cables and splices are packed into the box.
If the existing switch is burned, hot, buzzing, wet, loose in the wall, or surrounded by damaged insulation, treat it as a warning rather than a cosmetic swap. A replacement switch should solve a known, simple device problem. It should not be used to cover up a circuit problem that needs an electrician.
Identify the Switch Type Before Shopping
Look at what the switch actually does. A single-pole switch controls one load from one location. A three-way switch is used when two switches control the same light. A four-way switch appears between three-way switches when three or more locations control one light. Dimmers, timers, sensors, fan controls, and smart switches add their own requirements.
Do not choose the replacement by handle shape alone. Three-way switches, single-pole switches, and dimmers can look similar from the front while using different terminals and wiring logic. Buy the replacement that matches the circuit function, load type, and device instructions.
Turn Power Off at the Breaker
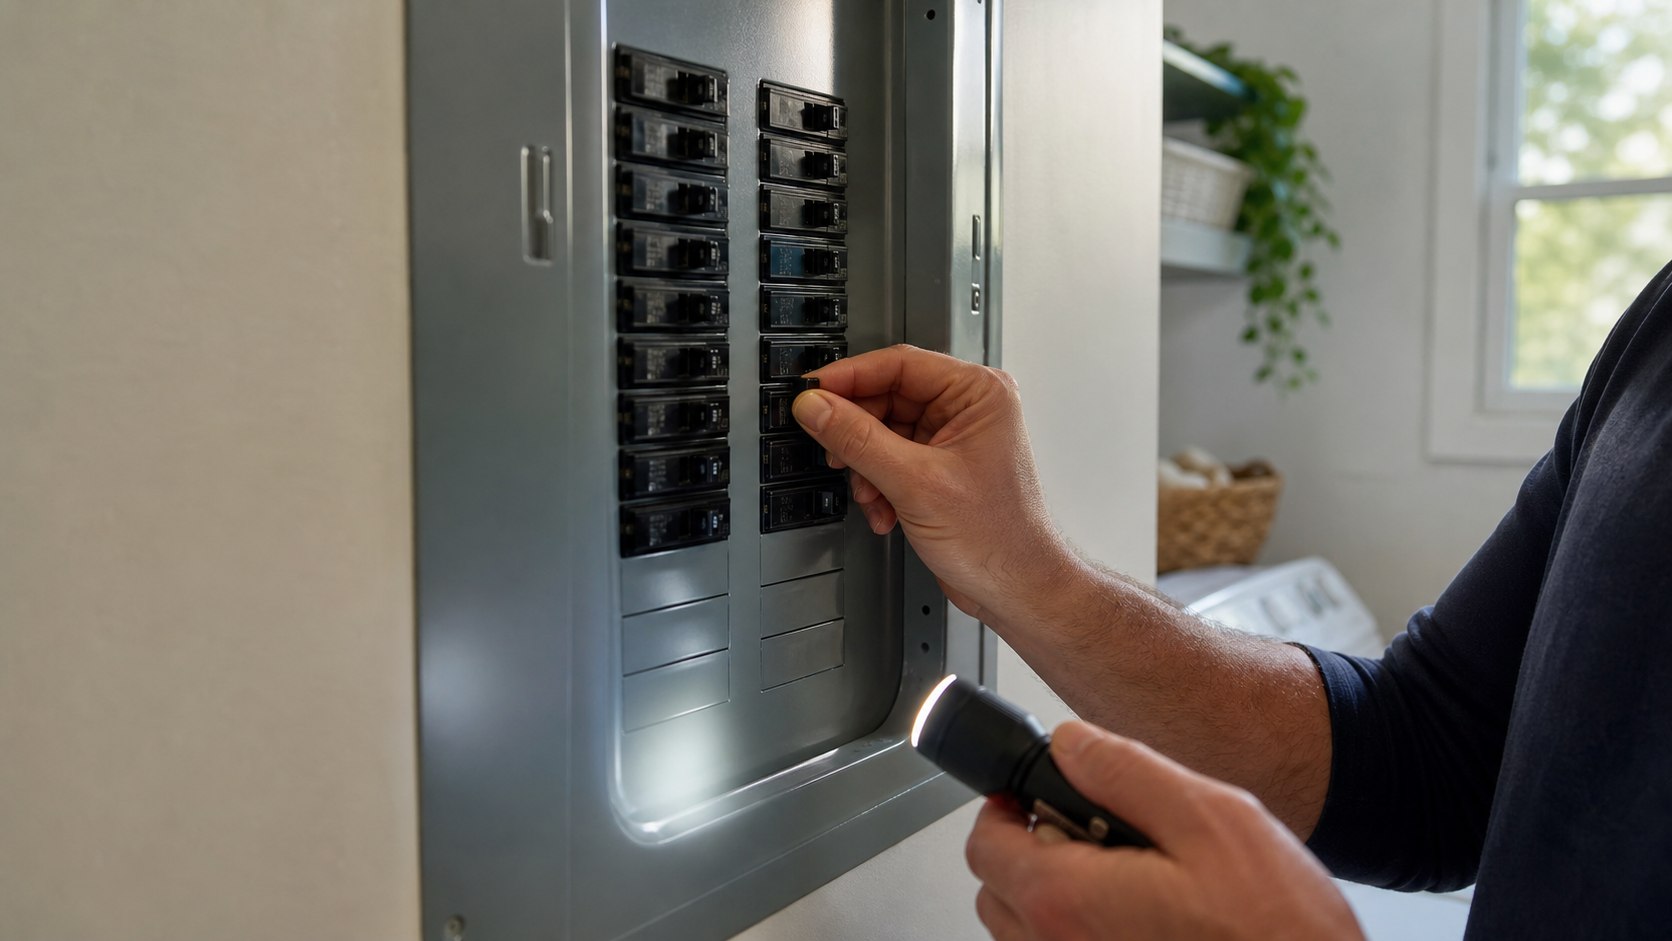
Turn off power at the breaker, not only at the wall switch. A switch can be in the off position while energized wires remain in the box. If the panel directory is vague, take time to identify the correct breaker before opening the circuit.
Tell other people in the house what you are doing. If the panel is far from the room, put a note on it or have someone nearby so the breaker is not turned back on while the box is open. A simple device swap still needs control over the circuit.
Verify Power Is Off
Use an appropriate tester before touching conductors. Test the tester on a known live source, check the switch box, then test the tester again on the known live source so you know it still works. Check every conductor in the box, not just the wire you expect to be hot.
If any wire still tests energized, stop. The wrong breaker may be off, the box may contain more than one circuit, or the wiring may be different from what you expected. Do not keep working because the light is off. The tester, not the lamp, decides whether the box is safe to handle.
Remove the Cover and Inspect First
After power is verified off, remove the wall plate and look before loosening the switch. Check for scorch marks, melted plastic, cracked insulation, moisture, loose mounting screws, broken box edges, damaged cable, or wire connectors that look overheated. These clues matter more than the desire to finish quickly.
If anything looks burned, brittle, wet, or suspicious, put the project on pause. A new switch will not fix damaged wiring, overheating, water intrusion, or a failing box. Those conditions need proper diagnosis before a device is replaced.
Photograph the Original Wiring
Take clear photos from more than one angle before disconnecting anything. Capture the switch terminals, wire colors, cable entries, ground connection, wire connectors in the back of the box, and any markings on the old device. Make sure the photos are sharp enough to zoom in.
Photos are not a substitute for understanding the circuit, but they protect you from memory errors. They are also useful if you stop and call an electrician. A good photo of the untouched wiring is far more helpful than a pile of loose wires and a guess.
Label Before Disconnecting
Use tape labels when more than two insulated conductors are attached or when the switch is anything other than a simple single-pole device. If you know the function, label line, load, common, or traveler. If you do not know the function, label the original terminal location instead.
This is especially important for three-way switches. The common terminal is not interchangeable with the traveler terminals. If the common wire is moved to the wrong place, the light may work only in certain switch positions or not at all.
Understand Color as a Clue, Not Proof
Black and red wires are often hot conductors, white wires are often neutrals, and bare or green wires are grounding conductors. Older wiring, switch loops, reidentified wires, multi-way switching, and previous repairs can break the simple color pattern. Color helps, but it does not prove function by itself.
A white wire connected to an old switch may not be a neutral. A bundle of white wires in the back may be neutrals, but you still need to understand what the new device requires. When color and function are unclear, stop rather than inventing a wiring plan.
Check Neutral Requirements
Many smart switches, timers, sensors, and illuminated controls require a neutral conductor. Older switch boxes may not contain one, especially if the box was wired as a switch loop. The absence of a neutral is not something to work around casually.
Never use the ground as a neutral. Grounding conductors are for safety faults, not normal return current. If the new device requires a neutral and the box does not clearly provide one, choose a compatible switch or call an electrician to evaluate options.
Inspect the Box and Space
Some switch boxes are shallow, crowded, brittle, or poorly mounted. Smart switches and dimmers are often larger than basic toggle switches, so they need more room. Wires should fold back without being crushed, sharply kinked, or forced against the device.
If the switch barely fits, the box may not be suitable for the new device. Forcing a large control into a small box can loosen connections, stress insulation, and make future service harder. Box fill and conductor condition matter as much as the switch itself.
Match Ratings and Load Type
The replacement switch must match the circuit and the load. Lighting, ceiling fans, bathroom fans, LED bulbs, dimmable fixtures, and smart controls may need different devices. A light dimmer is not the same as a fan speed control. A switch rated for one type of load may not be acceptable for another.
Read the device label and instructions. Check voltage, amperage, wire size, load type, grounding, neutral requirement, strip length, and whether the device is approved for single-pole or multi-way use. The right switch is chosen by function, not by appearance.
Check Dimmer and Bulb Compatibility
If the replacement is a dimmer, make sure the bulbs are dimmable and that the dimmer supports that bulb type. LED bulbs, incandescent bulbs, low-voltage fixtures, and specialty lighting can behave differently. Flicker, buzzing, limited dimming range, or lights that will not turn fully off often point to compatibility trouble.
Do not solve dimmer problems by mixing random bulbs or ignoring heat. Read the dimmer’s load range and bulb recommendations. If the fixture, bulbs, and dimmer do not match, use a compatible device rather than forcing the wrong control into service.
Be Careful With Smart Switches
Smart switches add requirements that a basic toggle switch may not have. They may need a neutral, a specific line and load orientation, a ground connection, enough box space, Wi-Fi signal, pairing steps, or a minimum load. The wiring must be correct before the app setup matters.
If the smart switch instructions do not match the box, do not improvise. Choose a no-neutral model only when it is listed for that use, and follow its load requirements. A smart switch should make control easier, not turn an unclear wiring box into an experiment.
Move Wires Methodically
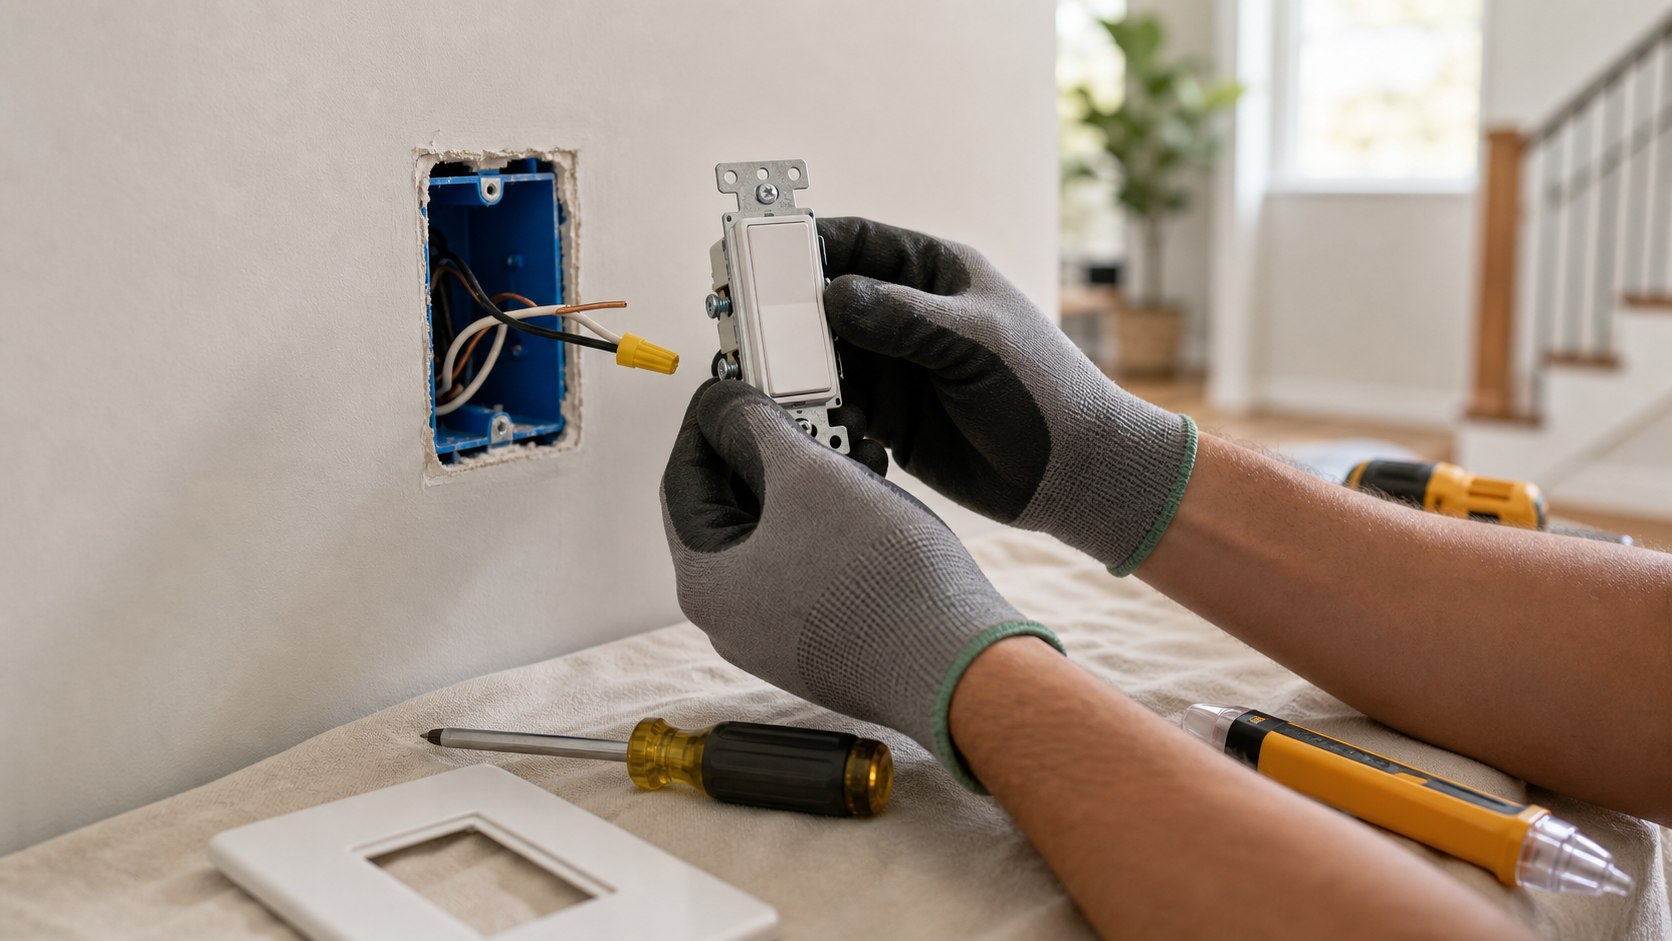
When the circuit is verified off and the wiring is understood, move one connection at a time. Use the terminal style allowed by the new device instructions. Many homeowners prefer screw terminals because the connection is visible and secure when made correctly.
Do not loosen unrelated wire connectors in the back of the box just to see what happens. Those splices may feed other lights, outlets, or switches. A simple replacement should avoid redesigning the circuit. If a splice is loose or damaged, that is a separate repair issue.
Respect Three-Way and Four-Way Wiring
Multi-way switches are where many beginner mistakes happen. On a three-way switch, the common terminal is the critical one to identify before removal. Traveler wires go on traveler terminals, and the common wire must stay with the common terminal on the new switch even if the screws are arranged differently.
Four-way switches add another layer because they sit between two three-way switches. If you are not comfortable identifying the switch type and terminal functions, stop before disconnecting anything. Multi-way circuits are manageable when documented, but frustrating and unsafe when guessed.
Connect Ground Correctly
The grounding conductor should connect to the device grounding screw when present and to a metal box when required. Grounding helps protective devices respond during faults and helps keep metal parts from becoming energized. It is not optional decoration.
Do not cut off grounds, ignore loose ground bundles, or use a neutral terminal as a grounding point. If the box has no clear grounding path, pause and evaluate the installation. Older homes can require special handling to make replacements safe and code-compliant.
Fold Wires Back Gently
Before mounting the switch, fold conductors neatly into the box. Avoid sharp bends right at terminals. Keep bare copper from touching hot terminal screws. Make sure wire connectors remain tight and that no insulation is pinched under the device strap.
The switch should sit flat without heavy pressure. If you have to force it, something is wrong with wire routing, box size, device depth, or conductor length. Fix the fit before tightening the mounting screws and installing the wall plate.
Test With the Plate Still Off
After the switch is mounted and the area is clear, restore power and test the light. For three-way or four-way circuits, test every switch location in multiple positions. If the switch does not work as expected, turn power off before investigating.
Do not keep cycling a breaker, poking wires, or flipping switches while confused. Wrong behavior means the circuit needs to be rechecked with power off. If the original labels and photos do not explain the problem, call an electrician before making more changes.
Listen, Smell, and Feel After Startup
A new switch should not buzz loudly, smell hot, spark, smoke, or become warm under a normal lighting load. Some dimmers may make slight electronic noise in certain situations, but loud buzzing, flickering, heat, or odor is not something to ignore.
If anything feels wrong, turn the power off and stop using the switch. The problem may be load compatibility, a loose connection, a damaged device, incorrect wiring, or a deeper circuit issue. Early warning signs are easier to fix before heat damages the box or conductors.
Install the Wall Plate Carefully
Once the switch works normally, install the wall plate without overtightening it. Plastic plates can crack, and a crooked plate can reveal that the device is not sitting square in the box. The switch should operate freely without rubbing the plate opening.
If the wall surface is damaged around the box, repair the wall separately rather than using the plate to hide a loose device. The device should be supported by the box, not by the cover plate or surrounding drywall.
Know When to Call an Electrician
Call an electrician if power cannot be verified off, more than one circuit appears in the box, insulation is damaged, the box is burned or wet, aluminum wiring is present, grounding is unclear, the box is overcrowded, or the wiring does not match the new switch instructions.
Also call for help if the switch controls a fan and light combination you do not understand, if multiple switches are involved and labels are unclear, or if the breaker trips after replacement. A safe stop is better than turning a small switch project into a circuit repair.
Leave the Box Easier to Understand
A good replacement should make the next repair easier, not harder. Keep wire bends neat, avoid burying labels until the work is confirmed, and do not stuff extra unused hardware or cut wire pieces into the box. The finished box should be orderly enough that a future electrician can read it quickly.
If you discover confusing work from a previous repair, document it instead of copying it blindly. A clear photo, the device instructions, and notes about what the switch controls can prevent the same confusion from repeating years later.
Keep a Record of the Replacement
After the project is complete, keep the device instructions and a photo of the finished wiring if the box is unusual. Note whether the switch is single-pole, three-way, dimmer, smart, or fan-rated. If a bulb compatibility issue appears later, that record helps.
Light switches tend to be forgotten once they work. A small record makes future troubleshooting easier and gives the next person a better starting point. Safe electrical work is not only about making the light turn on; it is about leaving the circuit understandable and serviceable.