A leaking pipe can sometimes be stabilized without replacing the whole section right away, but that does not mean every patch is permanent. The first goal is to stop water, protect the room, and understand whether the leak is a small visible seep or a sign that the pipe, fitting, valve, or hose has failed.
Temporary repairs can buy time when the leak is accessible, clean, small, and on the right kind of pipe. They should not hide corrosion, pressure problems, split plastic, sewage leaks, or damage inside walls. A good repair plan separates emergency control from the permanent fix the plumbing may still need.
A: Sometimes, but the repair must match the pipe, leak type, pressure, and location.
A: Shut off the water, dry the area, and find the exact point where water returns.
A: They can work well on straight, round pipe when sized correctly and installed over clean material.
A: Use it only where the product is rated for the pipe, water exposure, temperature, and pressure.
A: No. It needs the right pipe, pressure rating, stretch, overlap, and access around the pipe.
A: Replace leaking flexible supply hoses instead of patching them.
A: Check washer position, nut alignment, pipe seating, trap fit, and whether parts are cracked.
A: Follow the product cure time and restart water slowly while watching the repair.
A: No. Leave it visible until it stays dry under normal use.
A: Replace pipe that is split, corroded, unsupported, repeatedly leaking, frozen, or damaged near fittings.
Shut Off Water Before Patching
Do not try to patch a pressurized leak while water is still feeding it. Use the nearest fixture stop, branch valve, appliance valve, or main shutoff. Open a lower faucet if needed to relieve pressure, and keep towels or a bucket under the leak while the line drains.
If the valve will not close, leaks when touched, or feels ready to break, stop and get help. A patch does not matter if the shutoff fails and releases more water than the original leak.
Once the water is off, protect the area. Move stored items, unplug nearby devices if safe, and keep water away from outlets, cords, flooring seams, and cabinet materials.
Find the Exact Leak Point
Water travels along pipe, insulation, framing, cabinets, and hoses. A drip at the bottom of a pipe may come from a fitting, valve stem, supply connector, or joint above it. Dry the area and use a paper towel to find the first wet spot.
Mark the leak with tape once you find it. If more than one area is wet, inspect each one separately. Patching the wrong spot wastes time while the real source keeps leaking.
Watch the leak shape. A pinhole seep, a crack, a split, a dripping threaded joint, a leaking valve stem, and a damp supply hose all call for different repairs.
Identify the Pipe Material
Repair products depend on pipe material. Copper, galvanized steel, PEX, CPVC, PVC, and flexible supply connectors all behave differently. A clamp or putty that works on a straight copper pipe may be wrong for a plastic fitting, hose, or drain line.
Look for markings, color, fittings, location, and whether the pipe carries pressurized supply water or gravity drainage. Product labels matter. Do not assume a patch is approved for potable water, hot water, pressure, or a specific plastic unless the instructions say so.
If the pipe is brittle, swollen, badly corroded, or crumbling, temporary products may make the situation worse. Weak pipe often needs replacement, not coating.
Clean and Dry the Surface
Most repair products need a clean surface. Remove loose dirt, grease, corrosion flakes, paint, and standing water as safely as possible. Dry the area thoroughly before applying clamps, putty, or wrap.
Be gentle around damaged pipe. Aggressive scraping on thin, pitted, or swollen material can enlarge the hole. If the pipe looks fragile, shut water off and call for replacement instead of disturbing it.
A clean surface does not guarantee a permanent repair, but it gives temporary products the best chance to hold long enough to protect the house.
Use a Repair Clamp on Straight Pipe
A pipe repair clamp can control a small leak on a straight, round section of pipe. The rubber gasket sits over the leak and the metal clamp holds pressure against it. Position the gasket squarely and tighten evenly.
The goal is firm compression, not crushing the pipe. Clamps are not ideal for elbows, tees, threaded joints, flexible hoses, irregular surfaces, or fittings with movement. They work best when the leak is small and the pipe around it is still sound.
Treat the clamp as damage control unless a plumber confirms it is acceptable long term. Keep the repair visible and check it often until the permanent plan is handled.
Use Epoxy Putty With Limits
Epoxy putty can seal some small leaks when the pipe material, temperature, pressure, and surface condition match the product instructions. Knead it completely, press it around the leak, feather the edges, and let it cure fully before restoring pressure.
Putty is not a cure-all. It may fail on wet, dirty, flexible, hot, or badly corroded surfaces. It is also a poor answer for a leak caused by pipe movement, cracked fittings, or pressure that has already split the material.
If water keeps weeping through the patch area, the surface may not be suitable. Shut water off again and use a more reliable temporary control or call for repair.
Understand Pipe Repair Tape
Self-fusing silicone tape and rated pipe wraps can slow small leaks when wrapped under the correct tension on the right surface. Follow the stretch, overlap, and cure instructions exactly. The wrap needs contact with itself and enough length beyond the leak to grip.
Ordinary tape, duct tape, and random layers of plastic are not plumbing repairs. They may redirect water briefly, but they do not solve pressure, corrosion, or pipe damage.
Repair tape is usually temporary. Leave the area accessible, label the repair date, and schedule the correct replacement if the pipe or fitting is failing.
Handle Threaded Joint Leaks Carefully
A threaded metal joint may leak because it is loose, corroded, cracked, cross-threaded, or poorly sealed. Tightening can sometimes help, but force can also break old pipe or twist another section loose.
If the joint is old galvanized pipe, near a wall, close to a water heater, or part of the main supply, be conservative. Disassembling threaded plumbing often requires backup wrenches and judgment about how much force the pipe can take.
A small seep at a threaded joint may look simple but become a larger repair quickly. When corrosion is visible, professional replacement is often safer than trying to tighten it harder.
Fix Drain Leaks Differently
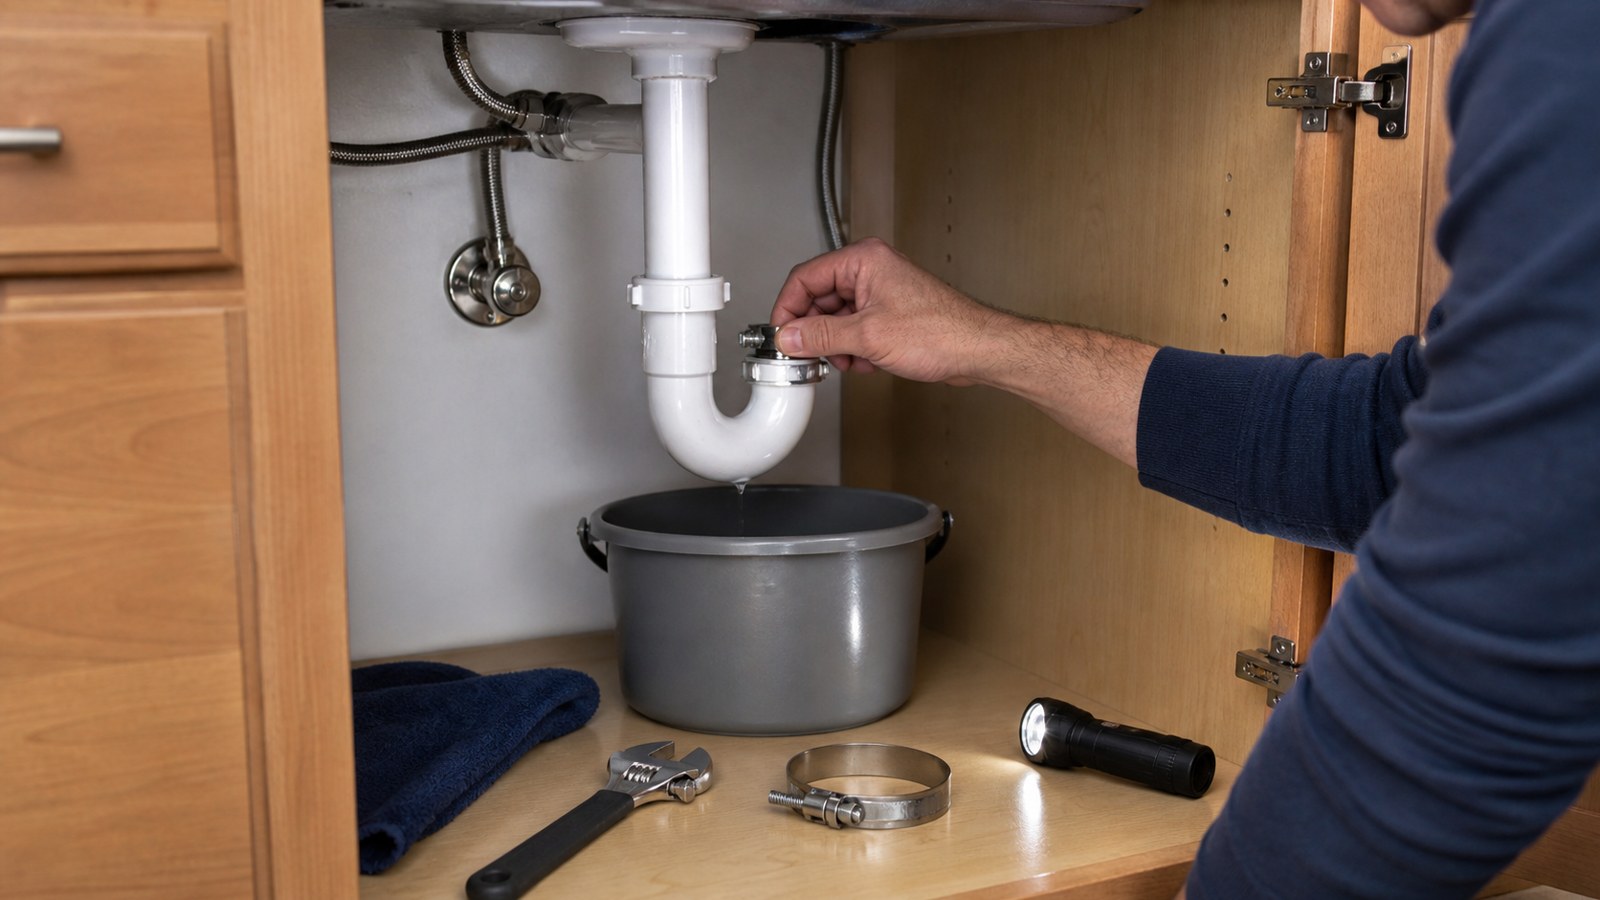
Drain pipes are usually not pressurized like supply lines. A sink trap drip may need a new slip-joint washer, better alignment, or gentle tightening rather than a patch. Dry the trap, fill the basin, release the water, and watch where the leak appears.
Slip-joint washers must face the correct direction and sit squarely. Overtightening plastic parts can deform washers or crack fittings. If the trap is brittle, split, or badly stained from old leaks, replacement is better than coating the outside.
Never treat sewage or major drain backups as a simple pipe patch. Wastewater leaks require more caution, cleanup, and often professional help.
Replace Failing Supply Hoses
Many leaks blamed on pipes actually come from braided supply lines, toilet connectors, faucet hoses, dishwasher lines, refrigerator lines, or washing machine hoses. A hose with rust, bulges, fraying, damp crimps, cracks, or kinks should be replaced, not patched.
Buy the correct length and connector size so the hose routes without tension. The washer inside the connector does the sealing, so overtightening can cause new leaks.
After replacement, open water slowly, dry the connections, and check again after normal use. Hoses are inexpensive compared with cabinet, flooring, or ceiling damage.
Give Curing Products Enough Time
Epoxy, wraps, and some patch systems need cure time before they can handle pressure. Read the instructions for your pipe material, temperature, and conditions. Restoring water too soon can ruin a repair that might have held long enough to prevent damage.
Keep the area dry while the product cures. If water returns immediately, do not keep adding more product over the top. Shut the water off and reassess the repair type.
Fast does not mean instant. A temporary patch still has to bond, harden, or compress correctly before it can be trusted even briefly.
Restart Water Slowly
After the repair, open the valve slowly. Sudden pressure can blow out a weak patch or expose another failing spot nearby. Keep a towel, bucket, and flashlight ready.
Watch the patch, nearby fittings, and the area below for several minutes. Then check again after normal use and later the same day. A patch that survives the first minute can still seep after pressure changes, temperature changes, or pipe movement.
If the leak returns, do not keep layering products blindly. The pipe may need replacement, or the patch may be wrong for the material and leak type.
Reduce Movement and Pressure
If the leak happened because the pipe was unsupported, vibrating, rubbing against framing, or under high pressure, the patch is only part of the answer. Secure loose pipe, protect it from sharp edges, and check whether water hammer or pressure is contributing.
High house pressure can stress valves, hoses, fittings, and appliances. Repeated leaks in different places may point to a system issue, not bad luck.
Movement-related leaks often return near the same spot. A temporary patch on a shaking pipe is likely to fail unless the movement is corrected.
Be Careful With Hot-Water Lines
Hot-water pipes add heat and expansion to the repair. Some patch products are not rated for hot water, and some adhesives soften or fail when the line warms up. Read the temperature rating before using any product on a hot-water supply.
Let the pipe cool before handling it when possible. Hot water can also make a small seep look inconsistent because expansion changes the gap slightly. If a patch holds cold but leaks hot, the repair is not reliable.
Watch for Freeze Damage
A frozen pipe may split in more than one place. The first visible leak might not be the only failure. After thawing, inspect the entire accessible run, nearby fittings, and any area where water could have expanded inside the pipe.
Do not patch one obvious split and assume the system is safe. Frozen-pipe damage often needs section replacement and insulation or heat protection so the same failure does not return during the next cold spell.
Do Not Hide the Repair Too Soon
After any temporary pipe repair, leave the area open and visible. Do not immediately reinstall insulation, close an access panel, restock the cabinet, or push appliances back so tightly that the repair cannot be checked.
A temporary patch should be watched through several normal uses. If it is under a sink, run hot and cold water. If it is near an appliance, run the appliance. If it is on a supply line, check after pressure has been restored for a while.
Protect the Area While Waiting
If a temporary repair needs to hold until parts or help arrive, keep the area visible. Move stored items, place a pan where it can be monitored, and avoid hiding the repair behind insulation, boxes, or cabinet contents.
Do not leave an active temporary repair unchecked during travel or overnight if the leak could damage finished space. Shut off water when practical. A repair that needs constant watching is not stable enough to trust unattended.
Use leak alarms under sinks, near water heaters, behind washers, and under appliances when possible. They can catch a failing temporary repair before the room is soaked.
Plan the Permanent Repair
Write down the pipe material, size, leak location, repair product used, and when water was restored. Photograph the area before storage or insulation goes back. This record helps a plumber replace the right section later.
Permanent repair may mean replacing a pipe section, valve, fitting, hose, trap, or connector. It may also mean correcting pressure, support, corrosion, freezing risk, or appliance movement.
The visible leak is only one piece of the story. A good permanent repair addresses why the leak happened, not just where water appeared.
Know When Replacement Is Required
Replace rather than patch when pipe is badly corroded, split lengthwise, brittle, swollen, repeatedly leaking, hidden in a wall, near electrical hazards, carrying sewage, or connected to equipment that adds risk. Also call for help when the shutoff does not work.
Temporary patches are useful for buying time, not for pretending the pipe is new. If the pipe has reached the end of its life, replacement is the real repair.
The safest outcome is not always the fastest patch. Sometimes the best DIY move is stopping water, protecting the area, and getting the failing section replaced correctly.
Final Leaking Pipe Review
Leaking pipes can sometimes be controlled without immediate replacement when the leak is small, visible, and on sound pipe. Shut off water, identify the material, locate the exact source, clean the surface, choose the right temporary product, and restart pressure slowly.
Use clamps, putty, and repair tape with realistic expectations. Replace failing hoses and brittle drain parts. Call a plumber for hidden leaks, corrosion, sewage, active spray, failed valves, or repeated problems. A careful temporary repair protects the house while the permanent repair is planned.