Flickering lights are easy to dismiss, but the pattern matters. One lamp that flickers with an old bulb is a different problem from several rooms dimming when an appliance starts or the whole house getting brighter and darker. The first step is not taking switches apart. The first step is noticing where, when, and how the flicker happens.
Homeowner troubleshooting should stay conservative: check bulbs, fixtures, plug-in lamps, dimmer compatibility, and recent changes. Stop if there is heat, buzzing, burning smell, sparks, discoloration, water, or whole-house brightness changes. Those symptoms can point to loose connections, service issues, or other electrical problems that need qualified help.
A: Usually start with the bulb, but stop if there is heat, buzzing, odor, or visible damage.
A: Common causes include incompatible dimmers, poor bulb quality, enclosed fixtures, heat, or failing drivers.
A: Test bulb compatibility first, then consider an LED-rated dimmer if the pattern points to the control.
A: Note the appliance and duration; a brief dip is different from repeated pulsing or breaker trips.
A: It can point to service, utility, panel, or neutral issues and should be taken seriously.
A: Yes, especially in ceiling fans or fixtures that vibrate, but do not tighten hot or damaged sockets.
A: Yes. Moisture, corrosion, covers, and damp-rated parts make them worth checking carefully.
A: Leave the circuit off and call an electrician instead of repeatedly resetting it.
A: Protect sensitive electronics if flicker is severe, whole-house, or tied to service problems.
A: Record rooms, timing, bulb types, switches, appliances, weather, breaker trips, and recent electrical changes.
Start With the Flicker Pattern
Write down whether the flicker affects one bulb, one fixture, one room, one circuit, or the entire house. Notice whether it happens randomly, when a switch is touched, when a dimmer is low, when an appliance starts, during wind, or after a recent fixture or bulb change.
This pattern tells you where to look. One bulb usually points to the bulb, socket, fixture, or lamp. A group of lights may point to a switch, dimmer, circuit, or shared fixture driver. Whole-house flicker deserves faster attention because it can involve service equipment or utility supply.
Know the Immediate Stop Signs
Stop using the light or circuit if you smell burning, see sparks, hear buzzing, notice scorch marks, feel heat at a switch or fixture, see melted plastic, or find water near electrical equipment. Do not remove panel covers or open electrical boxes to investigate.
Flicker paired with heat or arcing is not a normal nuisance. Turn the affected light off if it is safe, avoid touching damaged parts, and call an electrician. If the issue appears utility-wide or involves service equipment, contact the utility as well.
Check the Bulb First
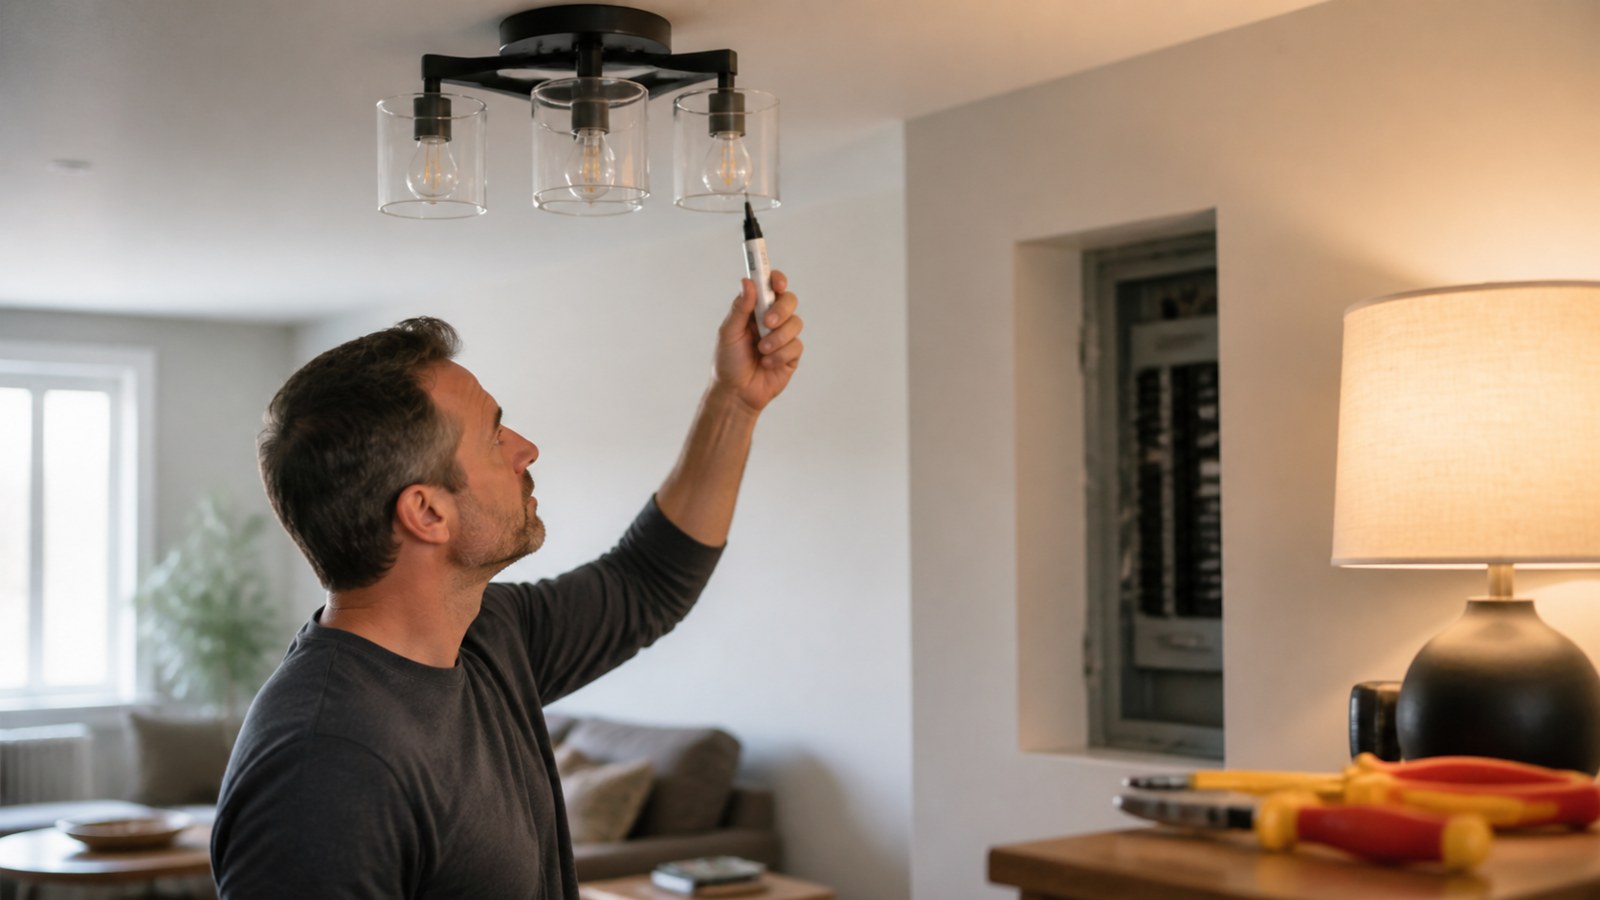
If one light flickers, turn it off and let it cool. Make sure the bulb is seated properly and matches the fixture rating. A loose bulb, failing LED, wrong bulb type, or bulb that is not rated for an enclosed fixture can cause flicker without a deeper wiring problem.
Do not exceed the fixture wattage rating. Oversized bulbs can overheat sockets, wiring, and insulation. If the socket is scorched, cracked, loose, or smells burned, stop using the fixture and have it inspected.
Try a known good bulb of the correct type. If the flicker disappears, the old bulb was likely the issue. If the flicker stays with the fixture, the problem may be in the socket, switch, dimmer, connection, or circuit.
Check Fixture and Bulb Compatibility
Fixtures have limits for bulb shape, wattage, heat, and sometimes enclosed use. Some LED bulbs are not made for enclosed fixtures because heat shortens their life or causes erratic behavior. Recessed lights can also flicker when trims, thermal protection, or retrofit kits do not match the fixture.
If a light flickers after being on for a while, heat may be part of the clue. A bulb that works cold and fails warm may be overheating, incompatible, or near the end of its life. Replace it with a correct bulb before assuming the wiring is bad.
When fixture labels are missing, be conservative. Use a lower-wattage bulb suited to the fixture style, and avoid questionable combinations that create extra heat.
Look at Dimmer Issues
LED bulbs and dimmer switches must be compatible. Older dimmers designed for incandescent bulbs can make LEDs flicker, shimmer, buzz, or refuse to dim smoothly. Some bulbs are not dimmable at all, even if they physically fit the fixture.
If the light is stable at full brightness but flickers near the bottom of the dimming range, compatibility is a likely suspect. Some modern dimmers have trim adjustments that set the low-end range. Others simply need to be replaced with a dimmer made for the bulb load.
Do not replace a dimmer if the wiring is confusing, damaged, or part of a multi-way switch setup you do not understand. Multi-way dimmers and smart switches can be less straightforward than a basic switch.
Check Plug-In Lamps
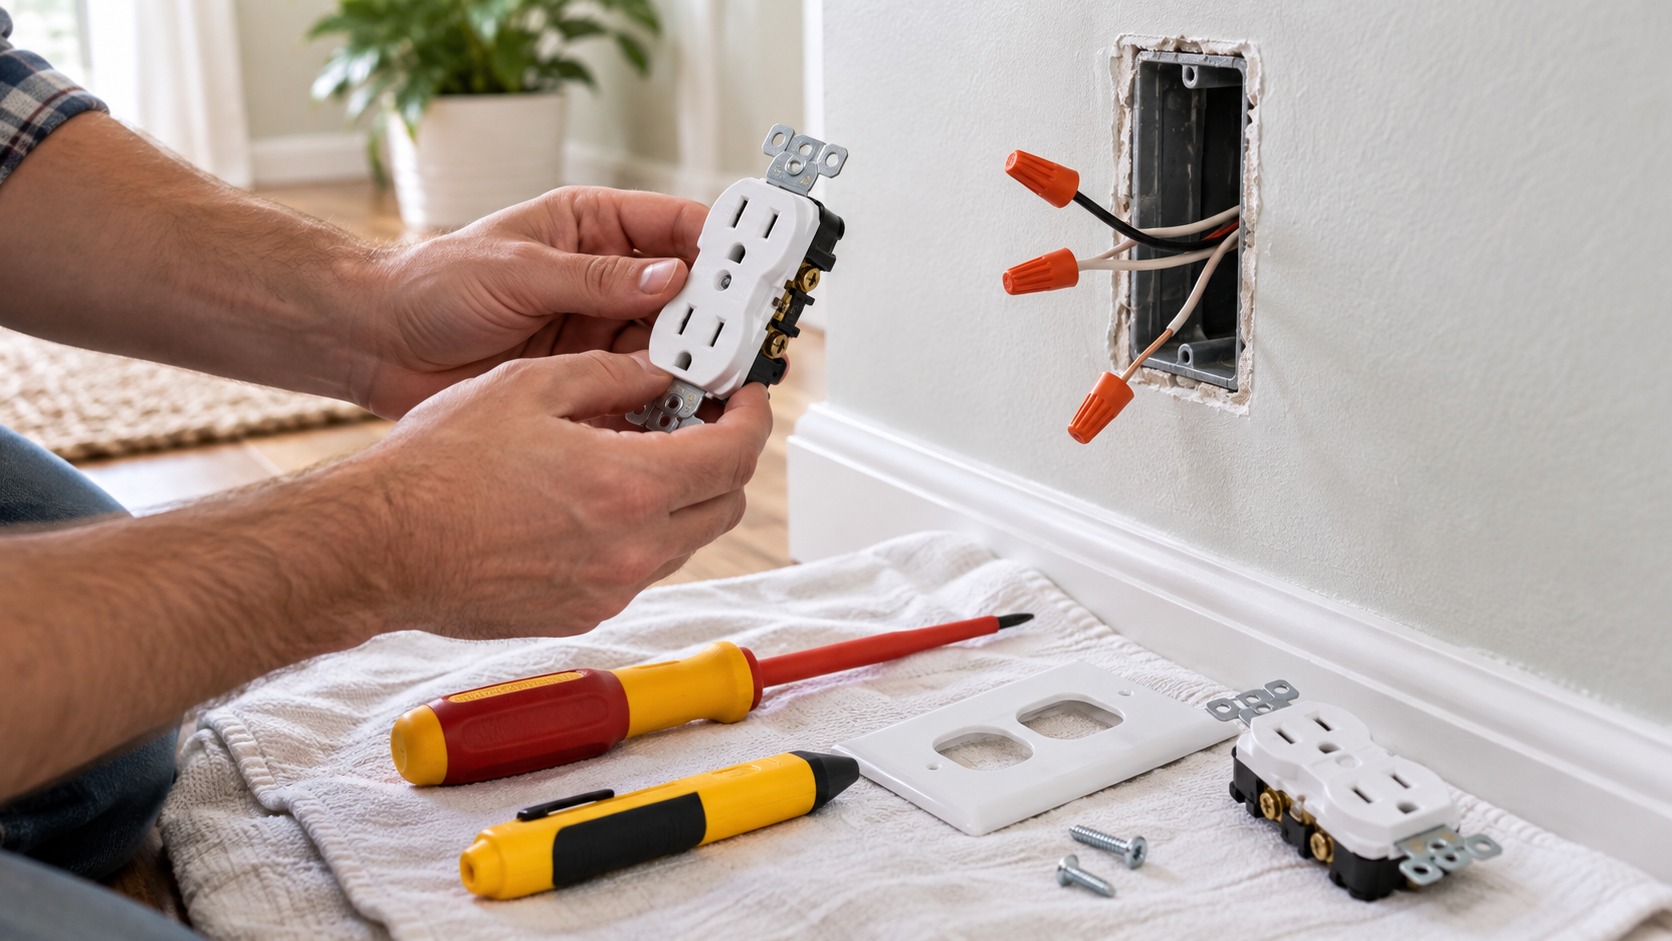
For a table lamp or floor lamp, inspect the plug, cord, lamp switch, bulb socket, and outlet fit. A loose plug, cracked cord, worn switch, or outlet that no longer grips well can cause intermittent contact and flicker.
Do not wiggle the cord to make the lamp work. Intermittent contact can create heat and arcing. Unplug lamps with damaged cords, warm plugs, buzzing switches, or flicker that changes when the cord moves.
If several lamps flicker on the same outlet or power strip, stop using that outlet or strip until the cause is clear. A failing power strip should be replaced, and a loose receptacle should be inspected.
Notice Switch Symptoms
A switch that crackles, sparks, sticks, feels warm, smells hot, or makes lights flicker when touched should not be ignored. Turn the light off and avoid using that switch until it can be checked.
Loose connections and worn switch contacts can create heat inside the box. That is not something to keep testing. If the switch is old, damaged, or part of a more complicated circuit, call an electrician instead of guessing.
For lights controlled from multiple locations, note which switch position seems related to the flicker. Three-way and four-way circuits have more conductors and are easier to miswire if replaced casually.
Watch Appliance Starts
Lights may briefly dim when a large motor starts, such as an air conditioner, refrigerator, furnace blower, sump pump, compressor, vacuum, or table saw. A tiny momentary dip can be normal in some homes.
What matters is severity and change. Deep dimming, repeated pulsing, flicker that has become worse, or lights brightening and dimming together should be evaluated. The appliance may be drawing a heavy starting load, the circuit may be overloaded, or the electrical system may need attention.
Write down which appliance was running and which lights changed. That information is useful for an electrician because it separates random flicker from load-related flicker.
Separate One Circuit From Whole-House Flicker
If only one room or group of lights flickers, the issue may be local to that circuit, fixture group, switch, or dimmer. If lights across the whole house brighten and dim, the concern is much broader.
Whole-house flicker can point to utility issues, service connections, panel problems, or a neutral issue. If some lights brighten while others dim, treat it seriously. That kind of symptom can damage electronics and should not be handled by opening the panel.
Call the utility or an electrician promptly for whole-house brightness changes, especially if the pattern is new or worsening.
Ask Whether Neighbors See It Too
If flicker happens during storms, wind, construction, or utility work, ask a nearby neighbor whether their lights are also changing. If several homes are affected, the issue may be on the utility side.
If only your home is affected, the source is more likely inside your service, panel, circuits, fixtures, or connected loads. Either way, the observation helps decide who should be called first.
Do not assume a neighborhood issue is harmless. Utility-side problems can still damage equipment or create unsafe voltage conditions. Report repeated or severe flicker.
Check Recent Changes
Flicker that begins after a new bulb, dimmer, smart switch, fixture, appliance, generator, remodel, or electrical repair deserves attention. The timing may point to compatibility, wiring changes, disturbed connections, or a new load that the circuit does not like.
Make a simple timeline. What changed? When did the flicker start? Is it tied to one switch, one fixture, one appliance, or one time of day? Those notes can shorten troubleshooting dramatically.
If someone else did the work, share the exact symptom with them. Do not keep using a newly installed fixture or switch if it buzzes, heats, smells odd, or behaves unpredictably.
Protect Sensitive Electronics
Repeated flicker or brightness changes can be hard on electronics. If safe, unplug computers, entertainment equipment, chargers, and smart devices until the cause is understood. Surge protectors may help with some events, but they do not fix loose connections or supply problems.
Do not use expensive electronics as test equipment. If lights are changing throughout the house, the priority is finding the electrical problem, not seeing whether devices survive it.
For home offices, network equipment, and media rooms, consider backup power or surge protection after the root cause is handled. Protection is useful, but it is not a substitute for a stable circuit.
Look at Recessed and LED Fixture Groups
Rows of recessed lights can flicker because of dimmer mismatch, transformer or driver problems, heat protection, incompatible retrofit trims, or shared wiring issues. If every light in a row flickers together, the cause is probably not one loose bulb.
If one light in the row flickers, swap in a compatible known-good lamp or module if the fixture allows it. If the flicker follows the lamp, the lamp is suspect. If it stays with the location, the fixture or connection may need attention.
For integrated LED fixtures, the driver may fail before the rest of the fixture. Replacement may involve the fixture, driver, or an electrician depending on the design.
Do Not Ignore Outdoor and Damp Areas
Exterior lights, porch lights, garage fixtures, landscape transformers, bathroom lights, and basement fixtures can flicker because moisture has reached a connection, fixture, or device. Water changes the safety level quickly.
If flicker follows rain, humidity, washing, or snow melt, turn the affected light off and have the fixture inspected. Do not keep resetting breakers or using damp electrical equipment.
Outdoor fixtures should be rated for the location, properly sealed, and installed with suitable boxes and covers. A mismatched indoor fixture outdoors can create repeated failures and safety risk.
Check Ceiling Fans With Lights
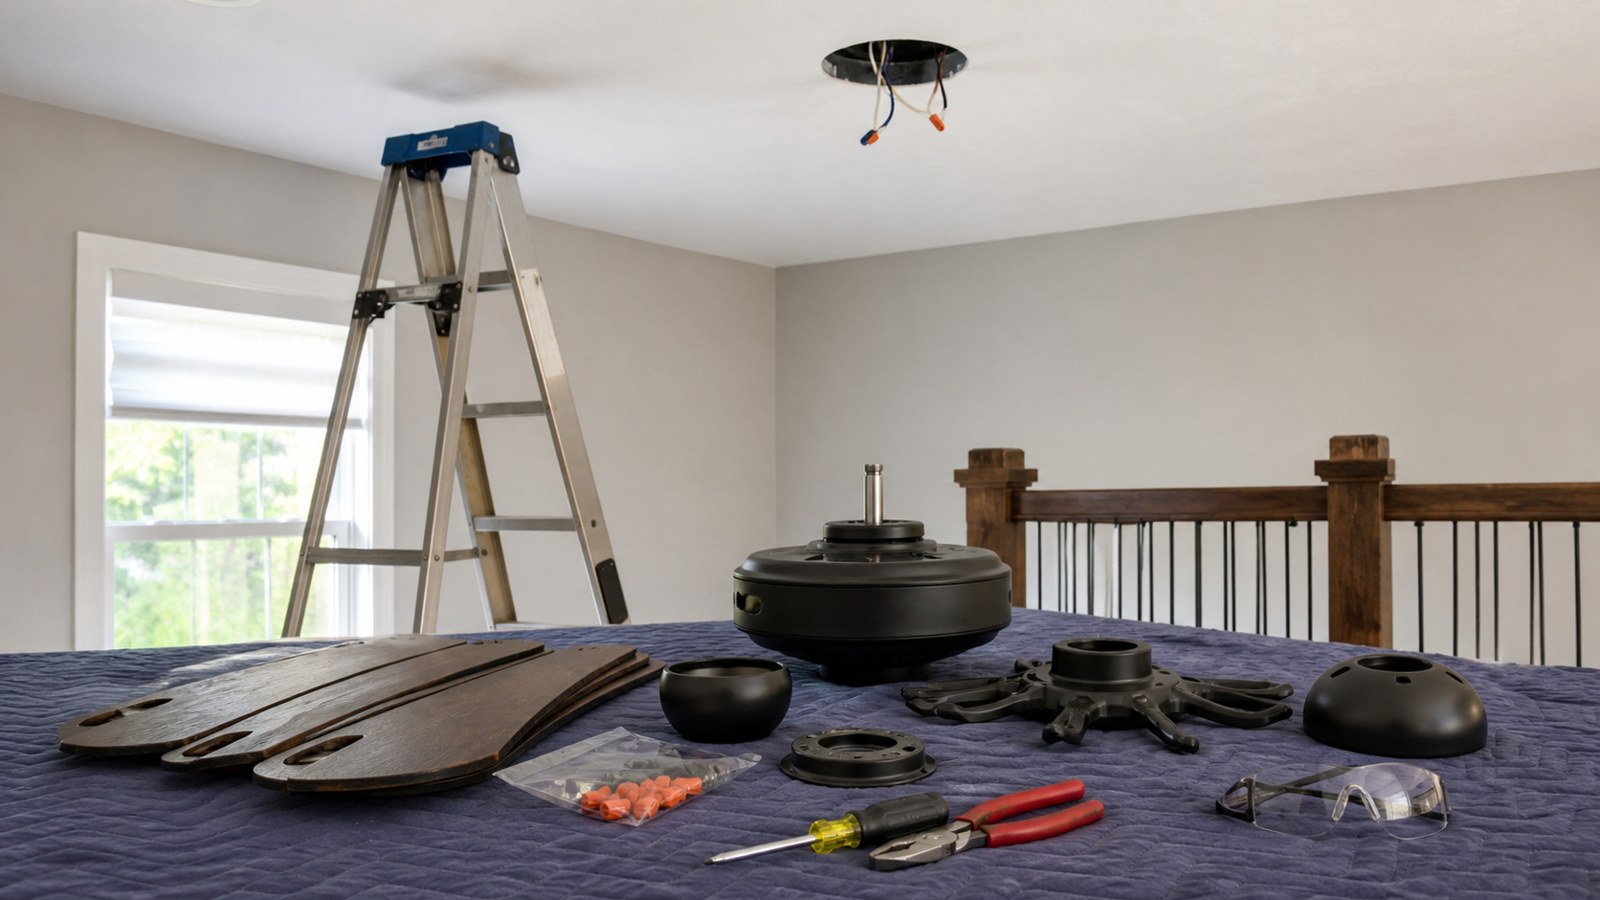
Ceiling fans add another layer because vibration, pull chains, remote receivers, light kits, and fan speed controls can all affect the light. If the flicker happens only when the fan runs, note the speed and whether the light kit moves or buzzes.
Use bulbs approved for fan vibration and for the fixture enclosure. Loose light-kit parts, failing receivers, and incompatible dimming remotes can all cause flicker. If the fan wobbles, heats, smells odd, or has wiring symptoms, stop using it until it is checked.
Consider Smart Bulbs and Controls
Smart bulbs, smart switches, motion sensors, timers, and Wi-Fi dimmers can flicker when they are mismatched with the fixture or load. Some smart switches require a neutral wire. Some smart bulbs should not be placed on dimmers at all.
If flicker started after adding smart controls, review the product requirements. Remove the smart bulb or device from the equation when possible by testing with a compatible standard bulb. If the wiring requirements are unclear, do not guess inside the switch box.
Watch for Breaker Trips
Flicker paired with a tripped breaker is different from a harmless shimmer. A breaker trip means the circuit saw overload, fault, arcing, leakage, or another unsafe condition depending on the breaker type. Do not keep resetting it to see what happens.
If lights flicker and a breaker trips repeatedly, leave the breaker off and call an electrician. The problem may involve a device, fixture, circuit, or wiring issue that should be diagnosed before the circuit is used again.
Document Before the Service Call
Good notes help an electrician or utility worker. Write down which lights flicker, what else was running, whether the flicker is dimming or brightening, how long it lasts, whether weather matters, and whether any switches, outlets, fixtures, or breakers feel warm.
A short video can also help if the flicker is intermittent. Do not put yourself at risk to capture it, but recording the pattern from a safe distance can make the problem easier to explain.
Bring In an Electrician for Flicker Red Flags
Call an electrician when flicker affects multiple rooms, gets worse, comes with heat or buzzing, appears after electrical work, involves a warm switch or outlet, happens with no clear bulb or dimmer cause, or repeats after simple checks.
Call urgently if lights brighten and dim across the house, if some lights get brighter while others dim, if there are scorch marks, if a breaker trips repeatedly, or if the panel area smells hot. Those are not bulb problems.
There is no need to open boxes or panels to prove the issue yourself. Good notes about the pattern are safer and more useful than risky investigation.
Final Flickering Lights Review
Fixing flickering lights starts with pattern recognition. One bulb may need a correct replacement. A dimmed LED may need a compatible dimmer. A plug-in lamp may have a cord or outlet issue. A fixture group, appliance-related dip, or whole-house brightness change points to a bigger concern.
Handle the simple visible checks first, then stop when the symptoms involve heat, sound, smell, water, repeated flicker, or multiple circuits. Flicker is information from the electrical system, and the safest repair is the one that respects what the pattern is telling you.