Replacing an electrical outlet is only a good DIY project when the circuit is easy to identify, the power can be verified off, the wiring is in sound condition, and the replacement device matches the location. The visible swap looks simple, but the safety of the repair depends on the connections hidden inside the box.
The right approach is slow and conservative. Confirm the breaker, test before touching conductors, inspect for heat or moisture damage, understand whether the outlet is standard, switched, GFCI-protected, or part of a larger feed-through circuit, and stop when the wiring does not make sense. A new receptacle should make the installation safer, not merely newer.
A: Only after the circuit and installation conditions are assessed. Heat, moisture, damaged conductors, or repeated trips require more than a device swap.
A: Device selection must comply with the actual circuit and applicable requirements; changing the face does not upgrade the wiring or circuit capacity.
A: Not as the sole verification method. Safe isolation requires appropriate procedures and verification by someone qualified to perform them.
A: The intended circuit function must be identified first. An old broken tab is evidence to investigate, not an instruction to duplicate without understanding.
A: No. Have an electrician select any approved alternative for ungrounded wiring and apply its required limitations and labels.
A: No. Consult the exact device instructions for its terminal design and accepted conductor types rather than assuming the methods are interchangeable.
A: It should not substitute for correct device and box support; the underlying mounting needs to be repaired.
A: The installer must evaluate capacity, conductor arrangement, and an approved solution before forcing the device into position.
A: Its documented test and reset operation, intended downstream protection, installation requirements, and required markings should be verified.
A: Use a qualified electrician for uncertain isolation, unfamiliar circuits, grounding questions, damaged wiring, aluminum conductors, wet equipment, or any work beyond your qualifications and local authorization.
Decide Whether a Simple Swap Is Appropriate
An outlet may be a good replacement candidate when plugs no longer grip, the face is cracked, paint has clogged the slots, the device is outdated, or the receptacle feels loose in the box. Those are device-level problems when the wiring behind the outlet is otherwise healthy.
Do not treat every bad outlet as a simple swap. Heat, buzzing, burning smell, scorch marks, repeated breaker trips, repeated GFCI trips, water exposure, or a device that feels warm under normal use can point to a larger electrical problem. A new outlet may hide the symptom without fixing the cause.
The first decision is whether the old device failed from age and wear or whether the circuit is warning you. When the symptom suggests heat, overload, moisture, or damaged wiring, the safer next step is diagnosis, not replacement.
Choose the Correct Receptacle
The replacement outlet needs to match the circuit, room, and use. A standard duplex receptacle, GFCI receptacle, tamper-resistant receptacle, weather-resistant receptacle, or a specialty device may all look similar from a distance but serve different purposes.
Do not choose by color and price alone. Kitchens, bathrooms, laundry areas, garages, basements, exterior locations, and other areas may need specific protection or device types. Living areas may require tamper-resistant devices. Outdoor outlets may need weather-resistant devices and appropriate covers.
Amperage matters too. A receptacle should match the circuit and wiring. Do not install a device because it looks heavier duty unless the circuit is actually designed for it. When in doubt, match the existing approved setup or ask an electrician.
Know the Rules Before You Start
Electrical rules vary by location, occupancy, and scope of work. A like-for-like device replacement may be treated differently from adding an outlet, moving a box, changing a two-prong outlet to three-prong, or altering protection in a kitchen, bath, garage, or exterior wall.
Homeowners should also think about landlords, condo rules, insurance, permits, and resale. The safest-looking repair can still become a problem if it violates local requirements or hides wiring that should have been inspected.
If the work requires a licensed electrician where you live, follow that requirement. A legal, inspected repair is part of safety, not paperwork separate from it.
Gather Tools That Help You Verify
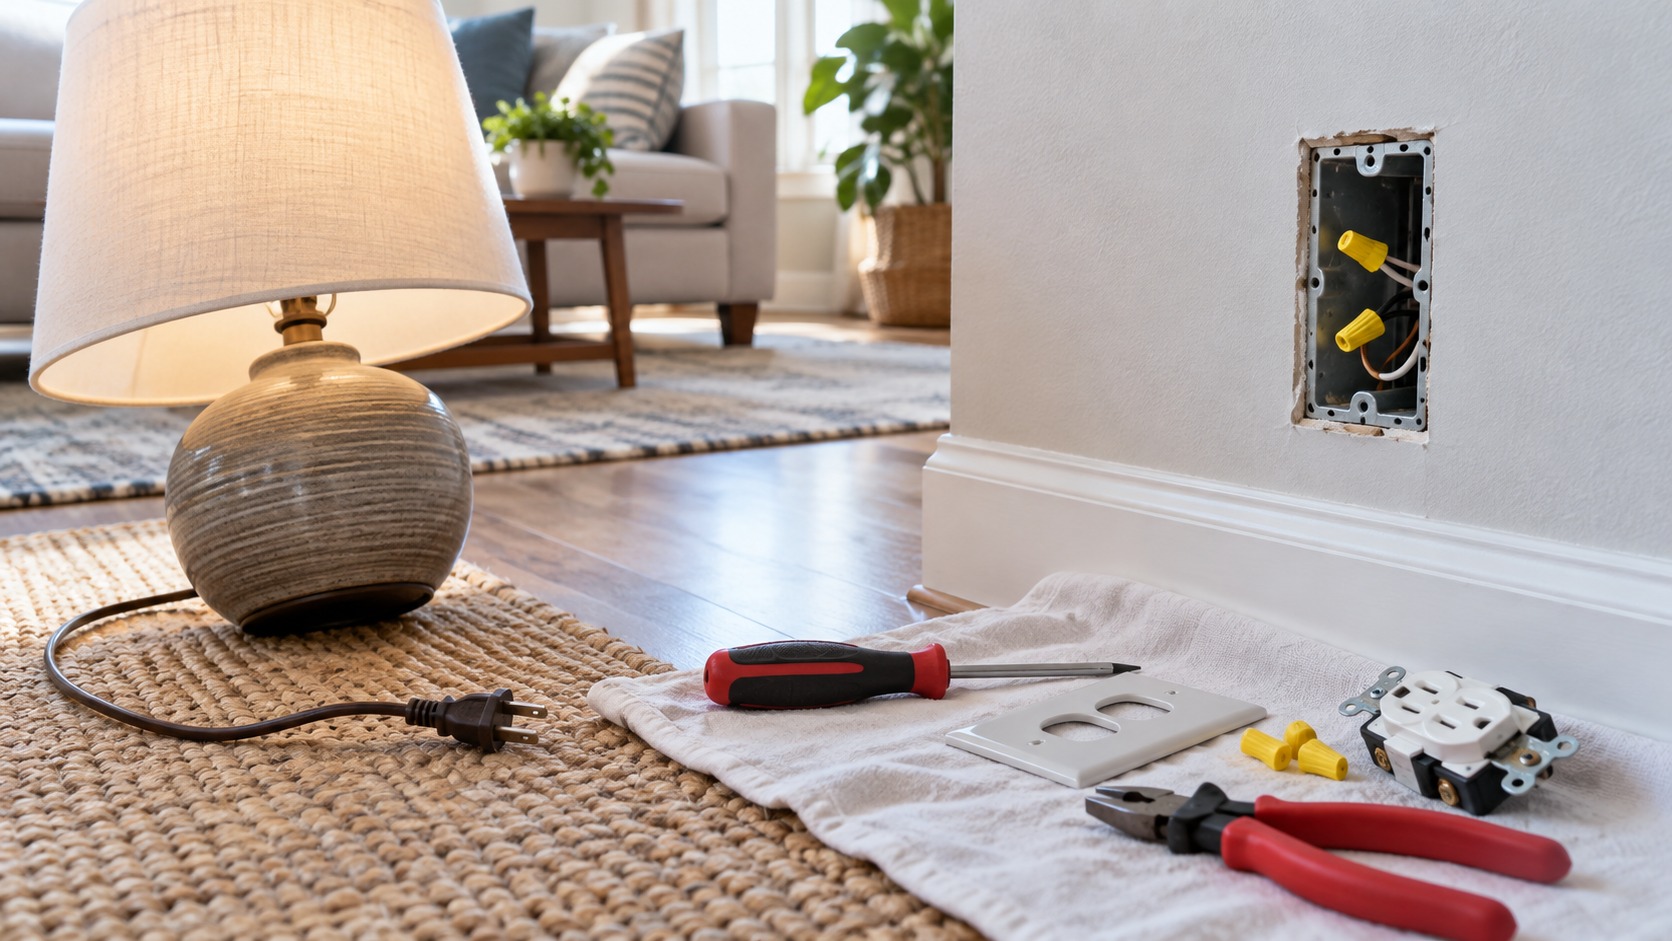
Useful tools include a non-contact voltage tester, plug-in outlet tester, screwdrivers, wire strippers, needle-nose pliers, flashlight, and the correct replacement device and cover plate. A meter may be appropriate for someone trained to use it correctly.
Testers need to be treated as safety tools, not decorations. Check a tester on a known live outlet before relying on it, then check again after turning the circuit off. Weak batteries, user error, and limited tester types can all create false confidence.
Use sharp, clean tools. A worn screwdriver can slip off terminal screws. Poor strippers can nick conductors. Damaged conductors inside a crowded box are exactly the kind of problem you are trying to avoid.
Turn Off the Right Breaker
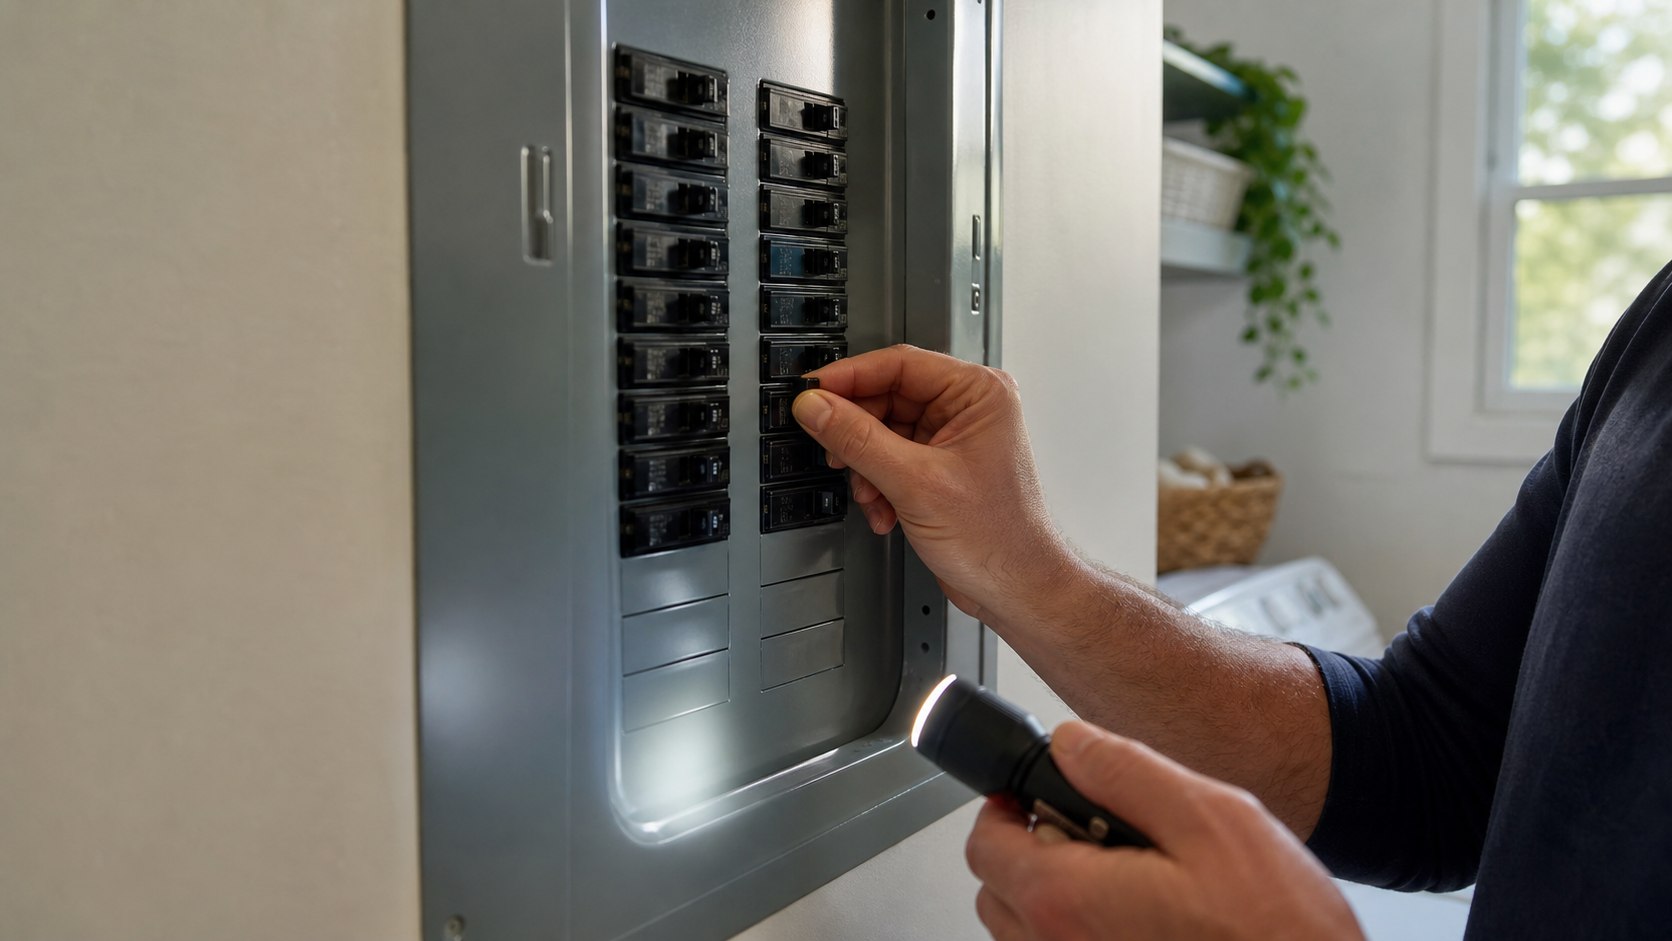
Panel labels are often wrong, incomplete, or outdated after years of remodeling. Turn off the breaker you believe controls the outlet, then test the receptacle. If anything still shows power, stop and identify the correct breaker before going farther.
Check nearby outlets and lights too. Sometimes a room is served by more than one circuit. Sometimes one box has more than one feed. If the wiring behaves in a way you did not expect, do not assume the box is dead just because one receptacle stopped working.
Never work on a live outlet as a shortcut. The job is small enough that there is no good reason to accept that risk.
Verify Power Again After the Cover Is Removed
After the wall plate is off, test again before touching the device. A plug-in tester can help before the cover is removed, and a non-contact tester can warn of voltage near the device, but the goal is certainty before conductors are handled.
If you are qualified to use a meter, verify between relevant conductors and grounding paths. If you are not comfortable proving the circuit is dead, stop and call an electrician. The safe repair depends on verification, not trust in a breaker label.
Keep one hand away from the box while checking and avoid touching bare conductors. Even during a simple replacement, treat the outlet as energized until testing proves otherwise.
Inspect Before Disconnecting Anything
Remove the cover plate and study the outlet before loosening the mounting screws. Look for cracks, heat marks, melted plastic, discoloration, corrosion, moisture, damaged insulation, loose mounting ears, a recessed box, or a box that shifts in the wall.
These clues tell a story. A cracked face from age is different from a scorched device. A loose yoke is different from a loose splice. Moisture inside a box in a bathroom or exterior wall is different from an old receptacle that simply no longer grips plugs.
If you smell burning, see melted insulation, or find a device that has clearly overheated, stop. That circuit should be inspected before a new outlet is installed.
Document the Wiring Layout
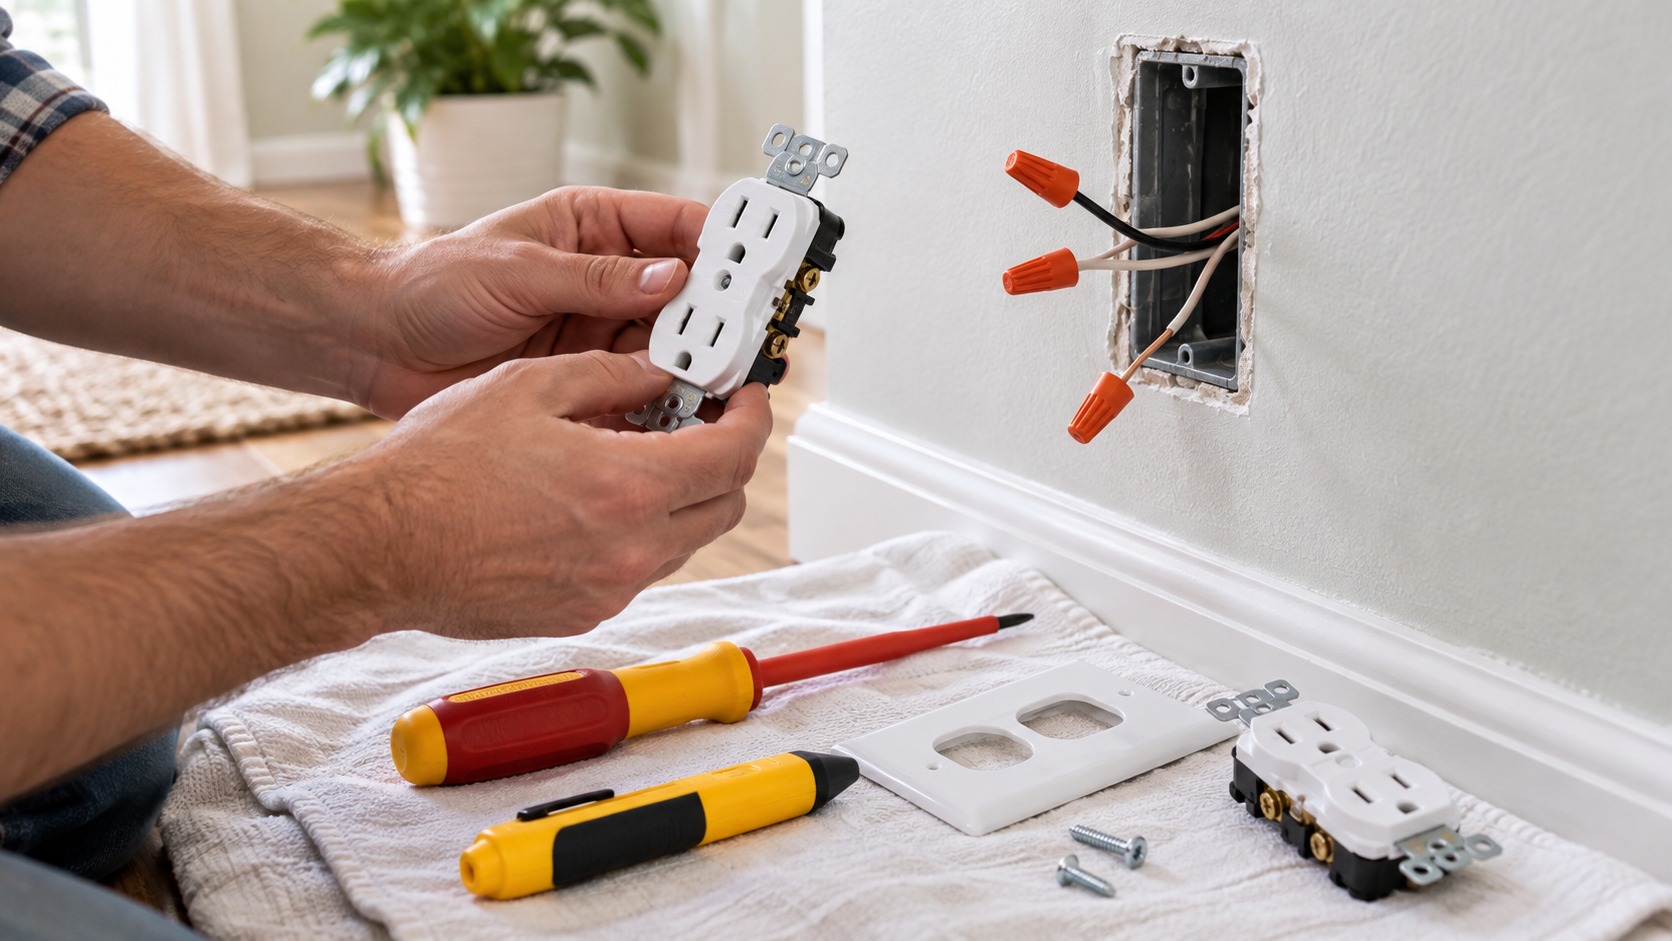
Before disconnecting wires, take clear photos from several angles. Capture which conductors are on brass screws, silver screws, grounding screws, push-in holes, clamps, and any pigtails or splices in the back of the box.
Photos are especially important if the old outlet has a removed tab, two cables, a switch-controlled half, red conductors, multiple neutrals, or anything that does not look like a simple two-wire-plus-ground setup. Disturbing one special connection can change how the room works.
Do not rely on memory. The outlet may look obvious while it is still assembled, then become confusing once the conductors are loose.
Understand Hot, Neutral, and Ground
In many modern installations, hot conductors connect to brass-colored terminals, neutrals connect to silver-colored terminals, and grounding conductors connect to a green screw or approved grounding path. Color can help, but it should not be the only evidence.
Older homes, amateur repairs, shared neutrals, switched outlets, cable assemblies, and remodels can create layouts that do not match a simple diagram. A white conductor may be reidentified in some switch situations, and a box may contain more conductors than expected.
If the wiring does not make sense, stop. Copying an old connection blindly can preserve a mistake or create a new one.
Watch for Switched Half Outlets
Many bedrooms and living rooms have a receptacle where one half is controlled by a wall switch and the other half stays live. These outlets often have the connecting tab removed on the hot side. If the tab is not handled correctly on the replacement, the switch function may disappear or the circuit may be connected incorrectly.
Look closely at the old outlet before removing wires. If the brass-side tab is broken, understand why. Mark conductors and photograph the device. If there are red and black conductors on separate brass terminals, the outlet may not be a standard replacement.
When the switched function is unclear, ask for help. The cost of confirming the wiring is low compared with troubleshooting a miswired room later.
Avoid Blindly Reusing Backstab Connections
Older receptacles often use push-in backstab holes. These connections can loosen over time, especially where plugs are used heavily. Many electricians prefer side screws or approved clamp-style backwire terminals when replacing devices, because the connection can be more secure when made correctly.
If conductors are removed from backstab holes, inspect the wire ends. Damaged or weakened copper may need to be cut back and restripped, but only if there is enough length to make a safe connection. Do not leave nicked wire, loose copper, or exposed conductor outside the terminal area.
The goal is a tight mechanical and electrical connection. If the wire is too short, brittle, or damaged to connect properly, the repair needs a different plan.
Inspect Wire Condition Honestly
Good conductors should not be deeply nicked, blackened, corroded, overheated, brittle, or covered in crumbling insulation. The wire should have enough length to connect without tension, and the insulation should remain intact where it enters the box.
Aluminum wiring, cloth-insulated wiring, very short conductors, cracked insulation, and signs of heat damage are not casual DIY details. They may require special connectors, pigtails, box work, or professional evaluation.
If you have to force the device back because the wires are stiff, short, or crowded, pause. A device that fits only by pressure may stress terminals after the cover plate is installed.
Be Careful With Grounding Upgrades
Replacing an old two-prong outlet with a three-prong outlet does not magically add grounding. A three-prong face suggests that grounded plugs can be used safely, but the equipment grounding path must actually exist or the outlet must be handled through an approved alternative.
Ungrounded wiring, metal boxes, armored cable, older cable, and confusing tester readings should be evaluated carefully. A plug-in tester can provide clues, but it is not a full inspection of the grounding path.
If the home has older two-prong outlets, do not upgrade them casually just to fit modern cords. Grounding and GFCI options should be chosen according to local rules and the actual wiring present.
Use Pigtails Only When They Are Done Correctly
Some outlet boxes have one cable bringing power in and another carrying power onward. In some situations, pigtails are used so the downstream circuit does not rely on the receptacle terminals as the only feed-through path. This can make future device replacement cleaner when done properly.
Pigtails require connectors rated for the wire type, size, and number of conductors. Grounds must remain continuous and be connected to the device and box when required. The added wire also takes space inside the box.
If the box is already crowded, adding pigtails may not be the simple upgrade it sounds like. Box fill, wire length, and connector choice all matter.
Respect Box Fill and Device Depth
Modern receptacles, GFCI devices, smart outlets, USB outlets, and pigtails can take much more room than old basic receptacles. A box that barely held the old outlet may not safely hold the new one.
Wires should fold neatly without sharp bends, crushed insulation, or pressure on terminal screws. The device should seat without being shoved into place. If the outlet only fits when forced, the installation is telling you something.
A box extender, larger box, different device, or electrician may be needed. The cover plate fitting over the opening does not prove the wiring behind it is safe.
Make Solid Terminal Connections
Strip conductors to the length shown on the device. For side screws, form the hook so tightening the screw draws the conductor in rather than pushing it out. The hook should wrap neatly under the screw head, with no insulation trapped under the terminal and no excess bare copper exposed.
For clamp-style backwire devices, follow the manufacturer instructions exactly. Insert the conductor fully, tighten to the specified method, and tug gently to confirm it is held. A loose terminal can heat under load even when the outlet appears to work during a quick test.
Keep neutral, hot, and ground conductors separated as intended. A small strand, bare end, or ground wire touching the wrong place can trip a breaker or create a hazard.
Install GFCI Devices With Line and Load in Mind
GFCI receptacles have line and load terminals. Incoming power goes to the line side. Load terminals are used only when downstream outlets are intentionally protected by that GFCI. Mixing those up can leave a device dead, unprotected, or confusing to reset.
Do not remove the warning tape from the load terminals unless you know exactly why those terminals are being used. If you are replacing an existing GFCI, document the old wiring carefully before disconnecting anything.
After installation, press test and reset on the device. Use appropriate testing tools and label downstream protected outlets if required. A GFCI that will not reset should not be ignored.
Seat the Outlet Without Pinching Wires
Fold the wires back into the box deliberately. Grounds should not press against hot terminals. Terminal screws should not scrape the side of a metal box. The device should sit straight, flush, and secure without twisting or cracking the mounting ears.
If the outlet is recessed behind tile, paneling, drywall build-up, or another finished surface, a box extender may be needed. Receptacles should not float loosely behind a thick wall finish just because the cover plate hides the gap.
Install the cover plate gently. Overtightening can crack the plate or pull a crooked device into a worse position. A clean finished look should come from proper device placement, not pressure from the plate.
Restore Power and Test the Result
Once the device and cover are installed, restore power at the breaker and test the outlet. A plug-in tester can check common wiring faults. For GFCI devices, test the buttons. Also confirm that nearby outlets, switches, lamps, or downstream devices still work as expected.
If the breaker trips, the GFCI will not reset, a tester reports a fault, the outlet buzzes, a device smells hot, or anything behaves unexpectedly, turn the power off and investigate. Do not keep resetting a breaker or assuming the new outlet simply needs to settle in.
Testing should leave you with confidence, not questions. If the result is confusing, bring in an electrician before using the outlet.
Know the Stop Signs
Call an electrician for heat damage, aluminum wiring, crumbling insulation, no clear grounding path, water damage, multiple circuits in one box, very short conductors, repeated trips, buzzing, burning smell, shared-neutral confusion, or a panel that cannot be identified confidently.
Also get help when the outlet is in a protected location and you are not sure what device is required. Bathrooms, kitchens, garages, laundry rooms, basements, exterior locations, and unfinished areas can have requirements that are easy to miss.
A safe DIY decision includes knowing when the repair has moved beyond a simple device replacement. Stopping is not failure; it is how small electrical work stays small.
Final Outlet Replacement Review
Replacing an outlet safely means more than matching the old faceplate. Identify the circuit, shut off the correct breaker, verify power is off, inspect the box, document the wiring, choose the correct device, make secure terminal connections, and test the outlet after power is restored.
The best repair leaves the outlet firm, properly protected for its location, free of heat or moisture concerns, and easy to trust. If the wiring is damaged, grounding is unclear, the box is crowded, or the old device shows signs of a larger problem, stop before the repair becomes guesswork.
Electrical work rewards caution. A new receptacle should not just look clean from the room side; it should have sound connections inside the box and a circuit that behaves correctly when it is put back into service.