A plumbing emergency is easier to handle when the first few minutes are simple. The goal is not to diagnose every pipe, fitting, valve, or appliance while water is spreading. The first goal is to stop the flow, keep people away from electrical hazards, and make the house safe enough for the next decision.
Every homeowner should know where the main shutoff is, which fixture valves can isolate smaller leaks, and what to do when an old valve will not move. A quick walkthrough before anything goes wrong can turn a soaked-room panic into a controlled response.
A: Use a known local stop for an obvious supply leak when it is immediately accessible and effective; otherwise use the identified main if safely reachable.
A: Stay clear and call for emergency or qualified assistance. Do not take that route to operate either water or electrical controls.
A: Do not improvise extra leverage on a seized valve. Have a plumber or the appropriate utility arrange safe isolation.
A: Ask your provider beforehand which valves customers may operate; some equipment requires utility personnel even in an emergency.
A: Residual stored water may drain, but continuing substantial flow can mean incomplete isolation or another supply source that needs investigation.
A: It limits new household supply but does not resolve a blocked drain or external sewer backup. Stop fixture use and arrange appropriate drainage service.
A: Keep clear of hot discharge and electrical or gas hazards, isolate water only if safe, and obtain equipment-specific professional guidance.
A: Follow the building's emergency procedure and contact its authorized manager or responder because other units or systems may be affected.
A: After the fault is repaired and the responsible provider has specified safe restoration, including checks for connected equipment and renewed leakage.
A: Give the leak location, whether it is supply water or suspected wastewater, isolation attempts and results, access limitations, electrical exposure, and any shared-service arrangement.
Know What Counts as an Emergency
Use the main shutoff when water is running from a wall, ceiling, crawlspace, slab, unknown pipe, failed appliance line, broken fixture valve, burst pipe, or any leak you cannot isolate quickly. Do not spend ten minutes searching for the perfect valve while water keeps feeding the problem. A whole-house shutoff may be inconvenient, but it buys time.
Small leaks can still deserve fast action. A toilet supply line dripping into finished flooring, a sink connector leaking inside a cabinet, or a water heater pan filling faster than it drains can cause damage long before the leak looks dramatic. Treat active water as a clock. First slow or stop the source, then sort out the repair.
Find the Main Shutoff Before You Need It
The main water shutoff is usually where the water service enters the building. Depending on the house, that may be in a basement, crawlspace, garage, utility room, mechanical closet, exterior wall box, or near the water heater. In some homes the most important shutoff is outside at the meter, especially in warm climates or older neighborhoods.
Walk the likely path from the street to the house. Look for a pipe entering a foundation wall, floor, slab edge, or exterior box. The main valve is often close to that entry point. If the house has a basement, check the front wall facing the street. If it has a crawlspace, look near the access opening and along the wall closest to the meter.
Once you find the valve, take a wide photo that shows the surrounding room, not just a close-up of the handle. A close-up is useful for repair notes, but it will not help someone find the valve under pressure. Add a note in your phone with plain directions such as “basement, front wall, behind furnace, red handle.”
Understand the Valve Handle
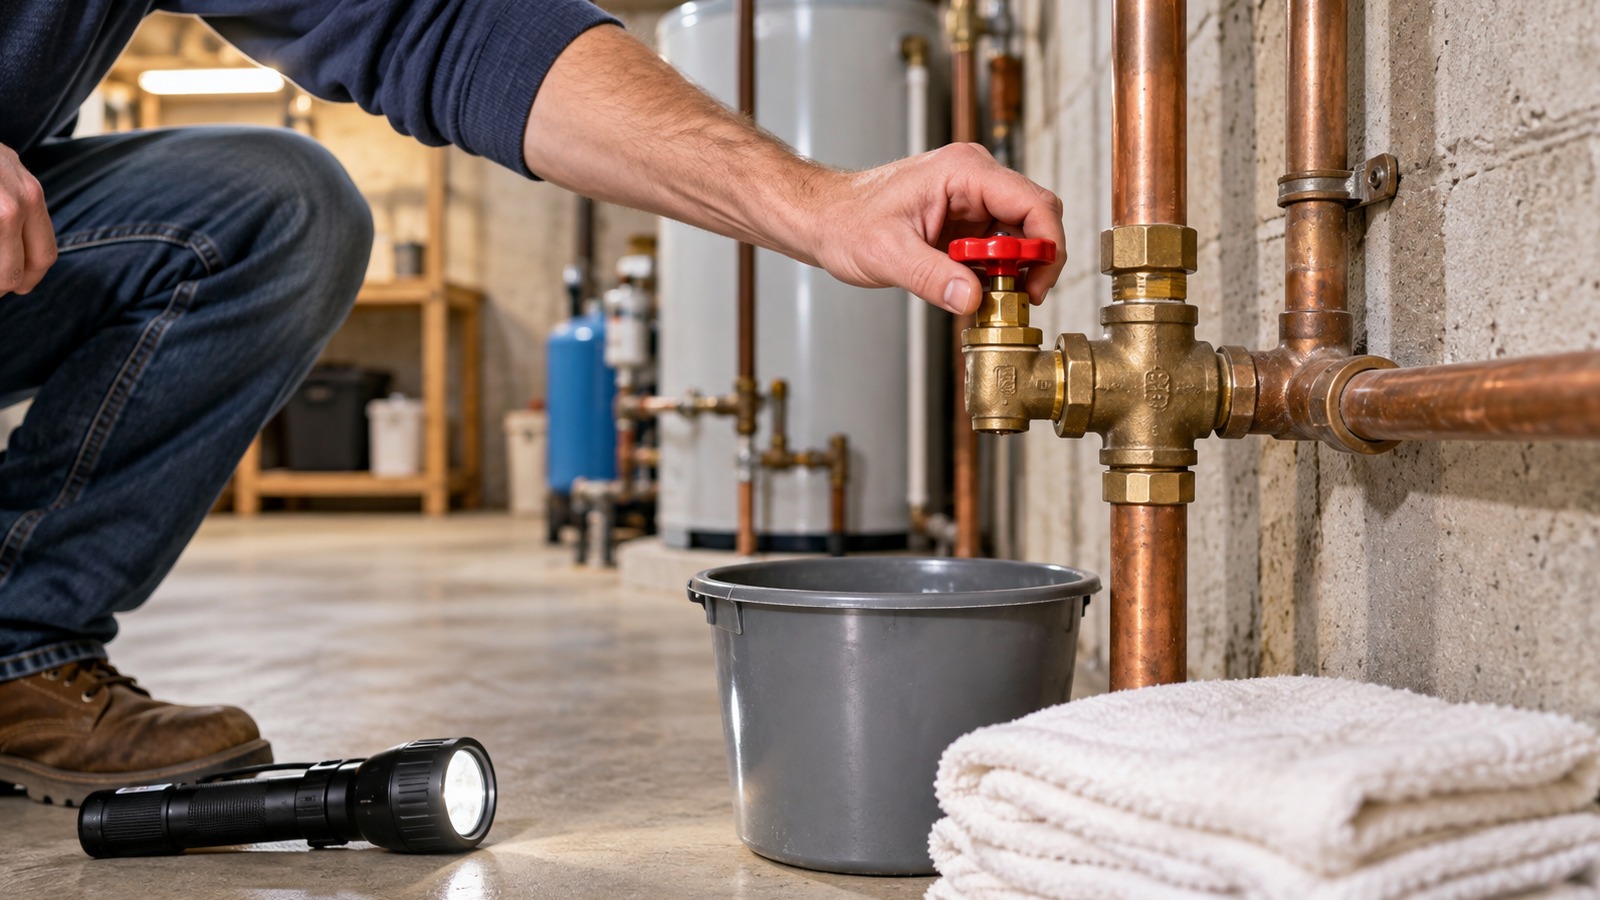
A ball valve usually has a lever handle. When the handle runs with the pipe, the valve is open. When the handle sits across the pipe, the valve is closed. Ball valves usually move a quarter turn, which makes them quick and clear during an emergency.
A gate valve or round-handled stop usually turns several times clockwise to close. These valves can work for years, but old ones may become stiff, leak at the stem, or fail to close completely. If a round handle spins without stopping water, closes only partway, or starts dripping when touched, that is a repair item, not a detail to ignore.
Do not attack a stuck valve with extreme force during a casual test. You can snap an old stem, crack a fitting, or create the leak you were trying to avoid. If the main valve feels questionable, schedule a plumber to replace it with a reliable full-port ball valve before the next emergency makes the decision for you.
Test the Main Valve on a Calm Day
Testing the shutoff is best done when the house is quiet and you are not about to leave. Tell everyone that the water may be off for a few minutes. Turn the valve slowly, then open a nearby faucet to confirm the flow drops and stops. If water keeps running with the valve fully closed, the shutoff is not doing its job.
After reopening the valve, check around the stem, packing nut, nearby joints, and floor below it. A few seconds of inspection can catch a small drip before it becomes a hidden problem. Run water at a few fixtures afterward to clear air from the lines.
Write down what happened. If the valve closed cleanly, note the date. If it was stiff, leaked, or did not fully stop water, put valve replacement on the repair list. The main shutoff is not an optional convenience. It is the one control point you may need when every other valve fails.
Use Fixture Stops for Smaller Leaks
Fixture stops are the small valves that control individual toilets, sinks, dishwashers, refrigerators, ice makers, humidifiers, and washing machines. They let you isolate one problem without shutting down the whole house. Toilets usually have one valve near the floor or wall. Sinks usually have hot and cold stops inside the vanity or cabinet.
For a leaking toilet supply connector, turn the small valve clockwise until it stops. For a faucet supply leak, close both hot and cold valves under the sink. For a dishwasher leak, the shutoff may be under the sink on the hot-water line. For an ice maker or refrigerator line, the valve may be behind the appliance, under the sink, in the basement, or near a branch line.
If the fixture stop does not move, leaks when touched, or fails to stop water, go to the main valve. There is no prize for solving the leak with the closest valve if the closest valve is not trustworthy. Shut off the house, dry the area, and repair the failed stop before putting the fixture back into regular use.
Handle Toilet Water Problems Carefully
Toilets create confusion because water can come from several places. A supply line leak needs the toilet stop closed. A tank crack, loose fill valve, or leaking tank bolt may also slow once the stop is closed. Water appearing around the base after flushing may be a wax ring, flange, drain, or bowl issue, and flushing again can push more water into the floor.
If water is spraying or actively dripping from the supply side, close the stop behind the toilet. If the stop will not work, close the main. If the leak appears only after a flush, stop using the toilet until the source is found. A little water at the base can mean damage under finished flooring, especially if the toilet rocks or the floor feels soft.
Do not keep testing the toilet by flushing repeatedly. Dry the floor, mark the water path with a towel if needed, and check whether the water returns without flushing. That simple observation helps separate supply leaks from drain-side problems.
Control Sink and Faucet Leaks
Under-sink leaks often start in crowded cabinets, which makes them harder to understand. Clear items carefully, place a pan or towel below the leak, and close both supply stops if the faucet, sprayer, shutoff connector, or supply tube is involved. Turn the faucet on afterward to release pressure in the lines.
If the water is coming from the drain trap, supply water may not be the source, but closing the stops prevents someone from using the sink while the drain is open or leaking. Put a note over the faucet if other people are home. A simple “do not use” note can prevent a second wave of water while you are getting tools.
Check the cabinet floor and back wall after the immediate leak is controlled. Particleboard, drywall, and toe-kick areas can hold moisture. A cabinet that looks dry from the front may still be wet behind stored bottles or cleaning supplies.
Respond to Water Heater Leaks
A water heater leak deserves caution because the system involves water, pressure, electricity or gas, and heat. If water is coming from a cold-water supply connection and the valve above the heater is safe to reach, close that valve. If water is coming from the tank itself, the heater may be failing and should be treated as a service call.
Look for clues without putting yourself at risk. Water from the temperature and pressure relief valve, scorch marks, gas smell, tripped breakers, melted insulation, or water around electrical wiring are stop signs. Shut off water if safe, keep clear of hazards, and call the appropriate professional.
Do not assume a water heater pan solves the problem. A pan can catch small drips and direct them to a drain, but it will not manage a failing tank, blocked drain, or heavy discharge. Once the flow is controlled, inspect nearby floors, walls, and platforms for moisture.
Stop Washing Machine Floods Fast
Washing machine hoses can move a lot of water quickly. Most laundry hookups have hot and cold valves in a recessed box behind the machine. Close both valves if a hose bursts, water appears behind the washer, or the machine starts filling when it should not.
Do not yank the washer forward while water is spraying if doing so pulls harder on the hose or puts you in standing water near electricity. If you cannot safely reach the laundry valves, use the main shutoff. After the water is off, unplug the machine only if the plug is dry and safe to reach.
Replace old rubber washer hoses before they become the emergency. Braided stainless hoses are not magic, but they are usually more durable than cracked rubber lines. Leave enough space behind the washer so hoses are not kinked or crushed.
Know What Not to Touch
Some valves are not meant for casual use. The curb stop near the street may belong to the water utility and may require a special key. Fire sprinkler valves, boiler valves, irrigation backflow assemblies, pressure-reducing valves, and gas valves can create separate problems if handled without knowing what they control.
If the house has a water meter box outside, learn whether the homeowner is allowed to operate that valve in an emergency. Rules vary by location. If you are unsure, call the water utility or a plumber during normal hours and ask what the emergency procedure should be.
Inside the house, avoid turning random branch valves unless they are labeled or you know what they serve. A mystery valve may shut off an appliance, exterior spigot, humidifier, irrigation branch, or part of the home. Labeling those valves before an emergency is much better than guessing while water is running.
Label Valves So Someone Else Can Help
A shutoff plan should work even when you are not home. Label the main water shutoff, water heater cold supply, laundry valves, irrigation shutoff, refrigerator line, dishwasher valve, and any confusing branch valves. Tags should say what the valve controls in plain language.
Use durable tags, tape, or a marker that will survive dust and humidity. Avoid vague labels such as “water” if several valves are nearby. “Main water to house,” “cold supply to water heater,” and “washer hot/cold” are more useful under stress.
Share the plan with adults in the home, responsible older children, house sitters, and anyone who may respond to an issue while you are away. The best emergency plan is not stored only in one person’s memory.
Keep the Path Clear
A known shutoff is still a problem if it is buried behind boxes, paint cans, luggage, holiday bins, or heavy furniture. Keep a clear path to the main valve and the appliance valves most likely to matter. Make sure the area has a working light, or keep a flashlight nearby.
Basements, garages, and utility rooms often become storage zones. Do a quick check a few times a year and move anything blocking the valve. The goal is to reach the shutoff in seconds, not after unloading half a shelf.
If the shutoff is in a crawlspace, exterior box, or dark mechanical corner, consider adding a sign, reflective tag, or simple direction note near the access point. Small cues matter when someone is rushing.
After the Water Is Off
Once the source is controlled, slow down. Stay out of standing water near outlets, extension cords, appliances, panels, and submerged wiring. Move valuables only if it is safe. Take photos before cleanup if insurance may be involved, then start removing water from floors and cabinets.
Open a low faucet if appropriate to relieve pressure and drain remaining water from the lines. Put towels or a bucket under active drips. If water came through a ceiling, do not stand directly below sagging drywall. Wet ceiling materials can fail suddenly.
Call for help based on the source and damage. A plumber may be needed for the failed pipe or valve. A restoration company may be needed for soaked flooring, cabinets, drywall, or insulation. An electrician may be needed if water reached fixtures, outlets, or electrical equipment.
Build a Simple Shutoff Kit
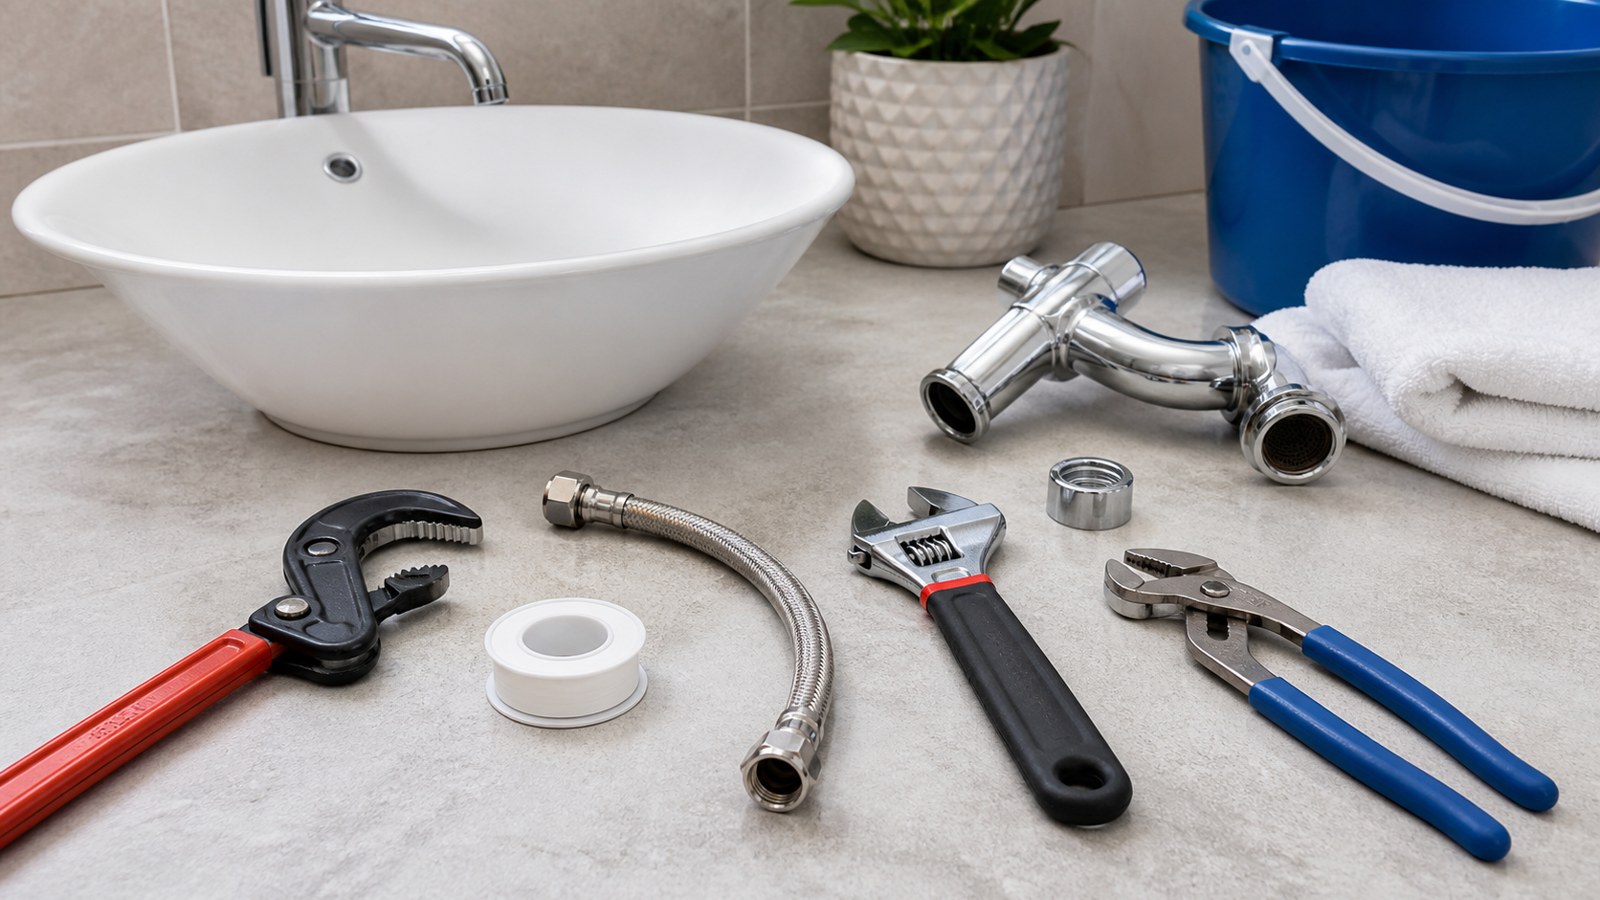
Keep a small water-emergency kit where it can be found quickly. Useful items include a flashlight, headlamp, towels, a small bucket, adjustable wrench, slip-joint pliers, permanent marker, valve tags, gloves, and the phone numbers for a plumber, water utility, restoration company, and insurance contact.
If your meter box uses a homeowner-accessible key, store the correct tool where adults can find it. If the utility must operate the street valve, keep that phone number with the kit. Do not depend on searching online while standing in a wet room.
Add photos of the main valve, meter, water heater valve, laundry valves, and any tricky fixture stops to a shared home folder. A photo with arrows or notes can help a family member act before you can get there.
Final Water Shutoff Review
The safest response to a plumbing emergency is simple: stop the water first, avoid electrical hazards, then diagnose the failure. The main shutoff handles unknown or large leaks. Fixture stops handle smaller, obvious leaks when the local valve is working and easy to reach.
Preparation matters more than speed tricks. Find the valve, test it gently, label it clearly, keep access open, and teach the household what to do. When water starts moving where it should not, those quiet preparations can save flooring, walls, cabinets, and a lot of panic.