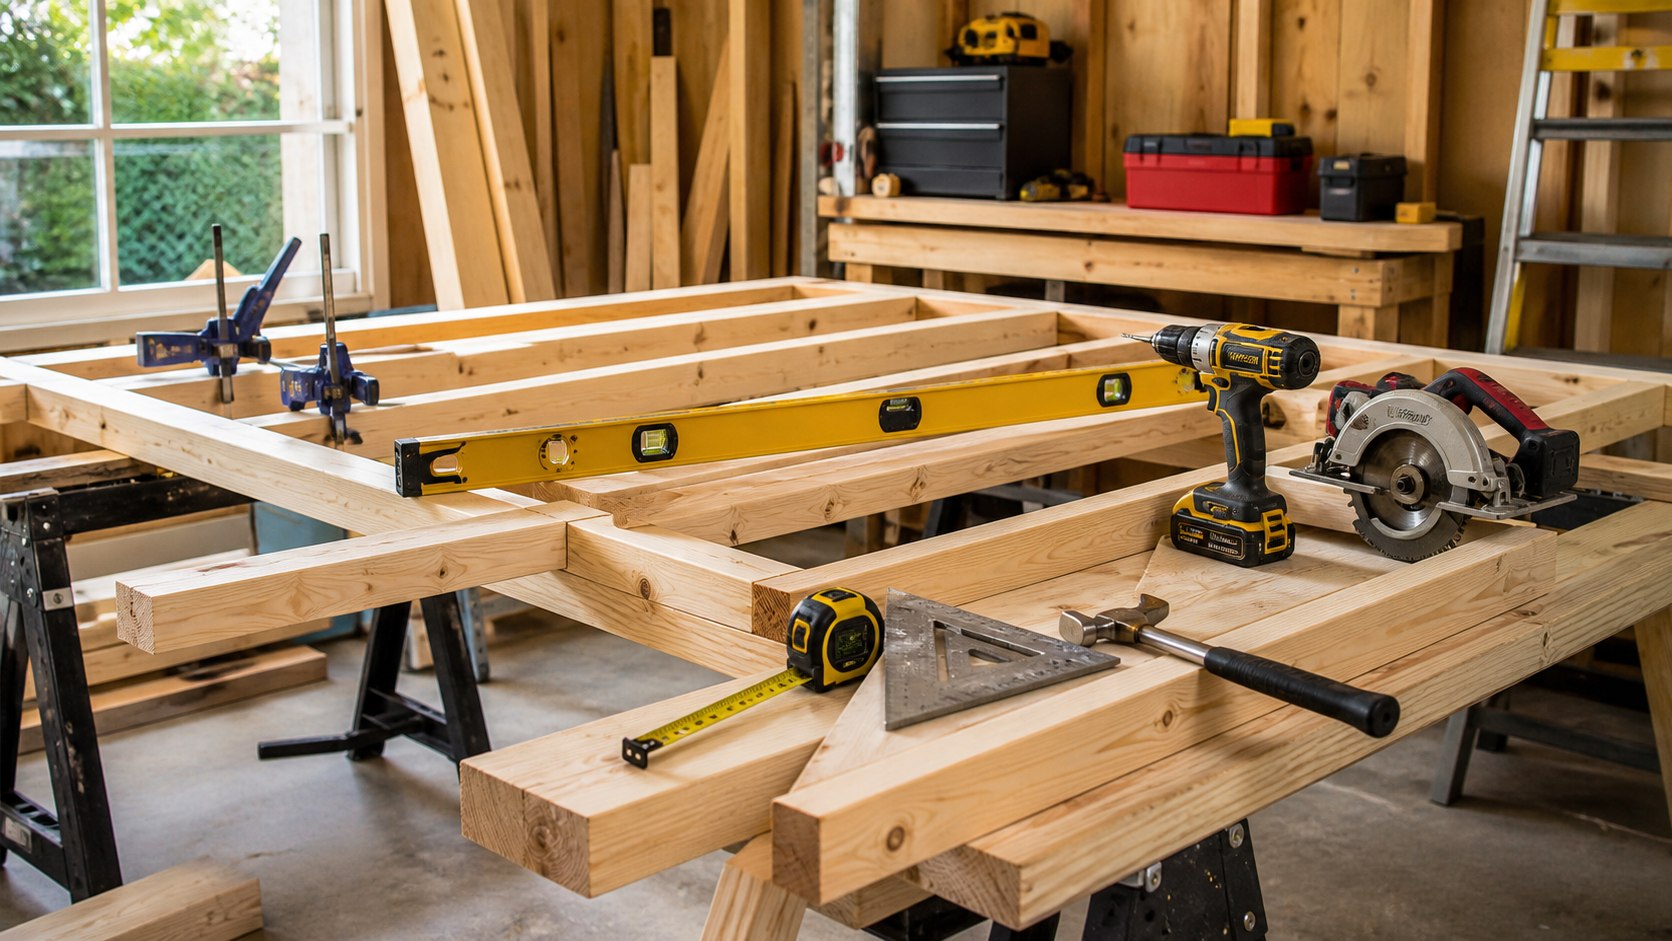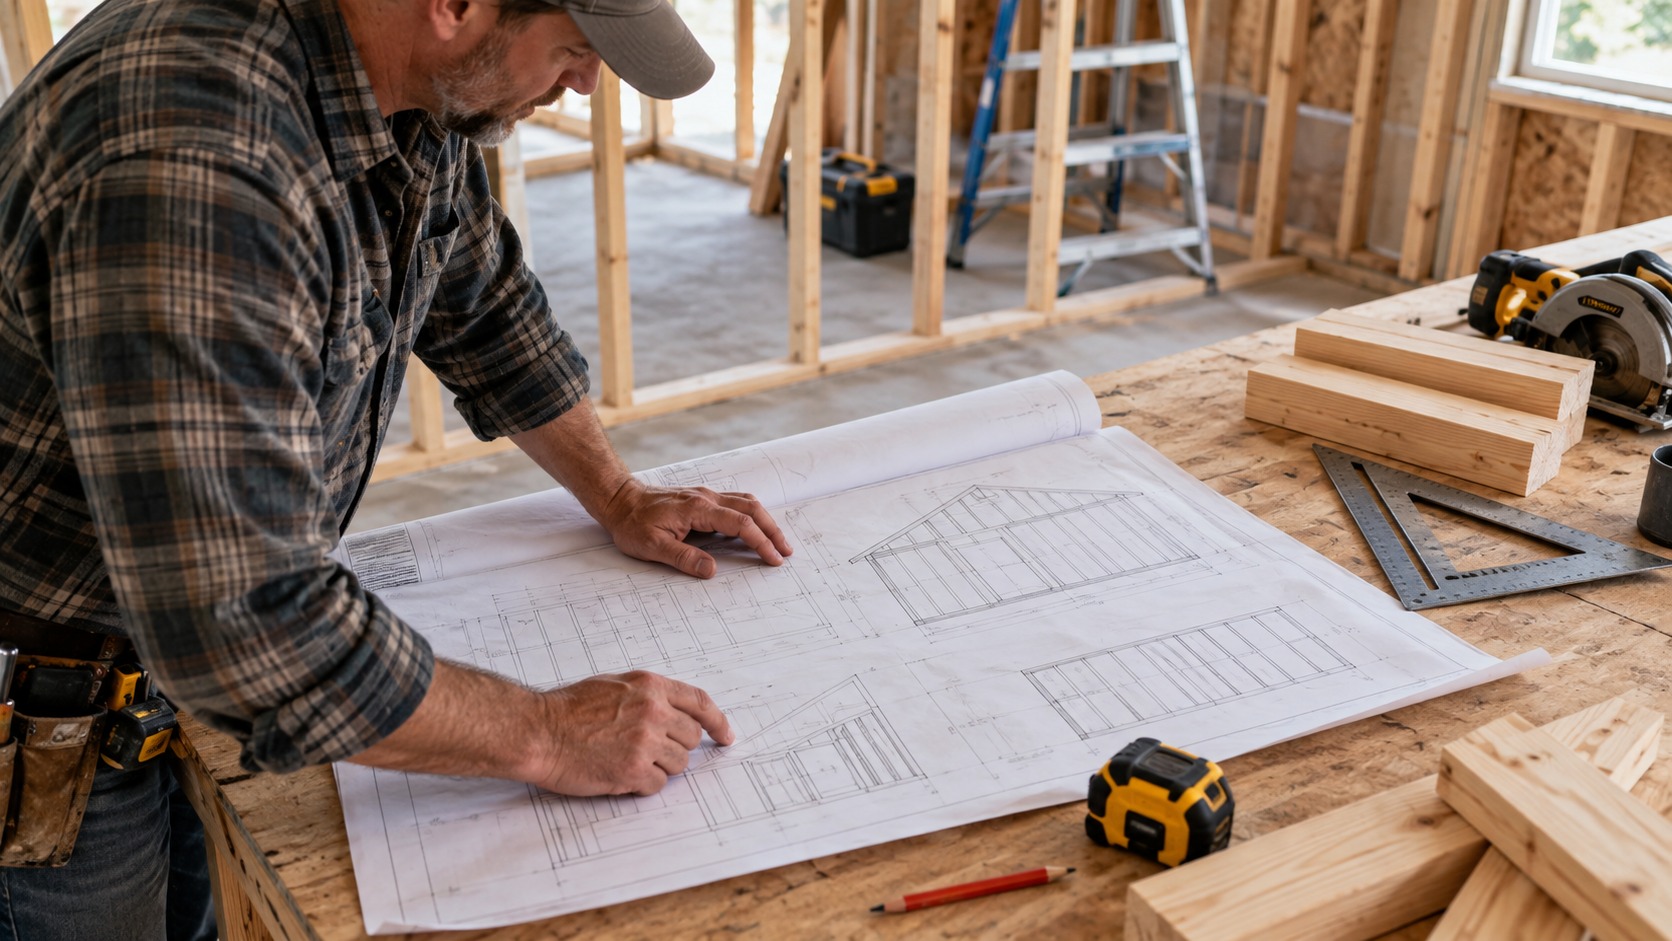
Framing blueprints are not just drawings of where walls go. They are a set of instructions for how loads, openings, dimensions, lumber sizes, and field conditions are supposed to work together before anything is cut. Reading them well helps a homeowner or DIY builder avoid building a wall that looks right from the room side but misses a structural note, opening size, beam mark, or revision that changes the job.
The practical way to read framing plans is to move slowly from big layout to small details. Start with the floor plan, confirm written dimensions, follow callouts to structural pages, and write down questions before lumber is ordered. That habit keeps the job tied to the actual plan instead of a guess made from one sheet.
A: Use written dimensions first, then scale only as a backup check.
A: Confirm the sheet date, revision number, wall type, and related structural notes.
A: Compare wall location with joist direction, beams, posts, stacked walls, and structural sheets.
A: They connect the plan to rough openings, schedules, hardware, fire ratings, and clearance requirements.
A: They point to enlarged details for connections, anchors, blocking, firestopping, and special assemblies.
A: Stop when dimensions conflict, a structural note is unclear, or field conditions do not match the drawing.
A: Photograph headers, blocking, straps, anchors, utilities, joist direction, and resolved field conflicts.
A: A revised wall location can change openings, cabinets, ducts, wiring, flooring, and inspection points.
A: Missing dimensions, unclear tags, conflicting notes, utility conflicts, and any plan detail that changes the build.
A: Get help for beams, point loads, bearing-wall changes, large openings, stair geometry, or unclear structural notes.
Start With the Sheet Index
Before studying wall lines, find the sheet index and title block. The sheet index tells you which pages belong to the current plan set, and the title block usually shows the project name, date, revision number, scale, and drawing type. That information matters because builders sometimes work from a printed sheet that is no longer current.
If the plan set includes architectural, structural, electrical, plumbing, HVAC, and detail sheets, do not treat the framing page as the only source of truth. A partition shown on the floor plan may have structural notes elsewhere. A wall that looks simple may include blocking, shear requirements, duct chases, or special fastening.
Use Written Dimensions First
Written dimensions should guide the layout before scaling from the page. Printed plans can be reduced, enlarged, photographed, or viewed on screens where the scale is no longer dependable. If a line looks like it measures one length but the written dimension says another, the written dimension deserves priority until the conflict is clarified.
Read dimensions from outside to inside. Overall building dimensions show the big footprint. Room dimensions, opening dimensions, and partition dimensions refine the layout. When several dimensions stack across a wall, make sure they add up before chalk lines are snapped on the floor.
Trace the Wall Types
Plans may distinguish exterior walls, bearing walls, partitions, pony walls, furred walls, basement walls, and framed chases. Each type has a different purpose. An exterior wall may need insulation depth, sheathing, hold-downs, or special connections. A simple interior partition may only need accurate layout and drywall backing.
Use a highlighter or digital markup to separate wall types. Mark exterior walls in one color, likely bearing walls in another, and non-load-bearing partitions in a third. The visual separation makes it easier to notice where a beam, header, opening, or framing note changes the pattern.
Find Bearing Clues Carefully
Blueprints often show bearing conditions through beam lines, post symbols, joist direction, footing notes, wall tags, and structural schedules. A wall below a beam, under stacked framing, or perpendicular to joists may need more attention than a partition used only to divide rooms.
Do not decide that a wall is non-bearing from one clue alone. Compare the floor plan with structural pages, ceiling framing, joist direction, and any notes that mention headers, beams, columns, point loads, or shear walls. If the project changes or removes a wall, that comparison is the point where qualified help may be needed.
Study Door and Window Tags
Door and window tags connect the plan view to schedules. The tag may tell you the rough opening, unit size, swing direction, fire rating, egress requirement, sill height, or special hardware. A door drawn as a simple opening can still require a specific rough opening, jack studs, king studs, header, and clearance.
Look at the schedule before framing. A pocket door, bifold door, exterior door, wide cased opening, or egress window can change the framing approach. The wall layout should leave enough room for the unit, shims, casing, flooring, and any required clearances.
Follow Section and Detail Callouts
Circles, bubbles, arrows, and section marks are not decoration. They point to enlarged drawings that explain how a connection or assembly should be built. A floor-plan line may only show that a wall exists, while the detail shows blocking, anchors, firestopping, straps, insulation, or how framing meets concrete, roof structure, or another wall.
When a callout appears near a stair, opening, beam pocket, basement wall, or exterior corner, follow it before starting that area. The enlarged detail often answers the question that would otherwise get solved in the field with a guess.
Read Header and Beam Notes
Headers and beams are easy to underestimate because the plan may show only a tag or short note. Find the schedule that explains those tags. The schedule may list lumber size, engineered material, ply count, bearing length, post requirements, connector type, or where a load must land below.
A header over a closet opening and a header under a roof load are not interchangeable. The plan may also call for doubled trimmers, built-up posts, metal connectors, or blocking around the opening. Check these notes while the wall is still open and easy to adjust.
Compare Joist Direction and Wall Layout
Joist direction helps explain why some walls matter more than others. A wall running perpendicular to joists may support floor or ceiling loads. A wall parallel to joists may still carry load if it sits under a beam, supports a roof line, or stacks with framing above or below.
On a remodel, compare the drawing with attic, basement, crawlspace, or exposed framing when possible. Existing houses often contain changes that are not shown on a simplified plan. If the plan and field conditions disagree, record the conflict instead of forcing the drawing to fit the room.
Watch for Revision Clouds
Revision clouds, delta symbols, and dated notes show where the plan changed. These marks can affect wall locations, openings, lumber sizes, stair dimensions, or mechanical routes. An older printed sheet may still be sitting on the job, so the latest revision must be confirmed before framing begins.
When a revision changes a dimension or wall location, carry that change through the related pages. A moved wall can affect a door swing, cabinet run, duct chase, electrical box, or plumbing path. Plans are connected; revisions rarely live in only one place.
Turn the Plan Into Field Marks
Once the plan is understood, transfer it to the floor with layout lines, centerlines, opening marks, and reference notes. Label the lines so they make sense later. A mark that only says “wall” may be confusing after tools, lumber, and dust cover the floor.
Mark openings, bearing points, post locations, and anything that must line up with ceiling framing. If the wall has a critical face, such as a finished hallway side or cabinet side, mark that face clearly. Framing errors often happen when the centerline, face line, and rough opening line get confused.
Separate Rough Openings From Finished Sizes
A plan may list a door or window by the unit size, the nominal size, or the rough opening size. Those are not always the same thing. A prehung door needs room for shims and adjustment. A window may need clearance for flashing, sill pan, insulation, and manufacturer-specific fastening. A cased opening may be framed differently from a unit that carries a door.
When an opening matters, find the schedule and product information before framing it. If the exact unit has not been selected, leave the decision visible in the question list. Guessing can create an opening that looks close but leaves no room for the actual door, window, flooring, or trim package.
Notice Notes About Fastening
Blueprints sometimes call out nail size, screw type, connector model, anchor spacing, strap locations, or fastening patterns. These notes are easy to skim past because they are not as visually obvious as wall lines. They still affect whether the framing performs the way the design expects.
Fastening notes matter most at beams, headers, ledgers, shear walls, posts, sill plates, and areas where wood meets concrete or steel. If the plan names a connector, do not substitute a random bracket without approval. The connector is often part of the load path, not just a convenient piece of hardware.
Coordinate With Mechanical Runs
Framing plans may not show every duct, drain, vent, cable, or pipe in full detail. Mechanical pages can change how a wall is framed because chases, soffits, holes, and access panels need space. A wall that is perfect for drywall can still be wrong if it blocks a drain cleanout or leaves no route for supply air.
Before building a wall around a bathroom, kitchen, laundry, basement mechanical room, or utility chase, compare the framing plan with plumbing, HVAC, and electrical sheets. Mark where systems need access. Framing should support the finish without trapping the parts of the house that will need service later.
Use Elevations for Height Clues
Floor plans show walls from above, but elevations and sections explain height. They may show ceiling changes, soffits, pony walls, stair openings, window head heights, transoms, built-ins, or cabinet runs. A wall location that looks simple in plan view may have vertical requirements that affect blocking or framing.
Use elevations to check where finished features land. If cabinets, tile, paneling, railings, shelving, or a vanity will attach to the wall, framing can be improved while it is open. Without that height information, backing may be missed and the finish installer may have to rely on anchors later.
Check Conflicts Before Lumber Is Cut
Plans do not always reveal every field conflict. Before cutting a stack of studs, compare the wall layout with ducts, pipes, wires, slab edges, stairs, windows, floor drains, low beams, and ceiling height. A conflict found after the wall is built takes longer to fix than a conflict found on the layout line.
For basement and remodel work, field checking is especially important. Concrete may be out of square, old framing may be uneven, and utilities may cross the cleanest wall path. The plan gives direction, but the room still has to be measured.
Keep a Question List
Good plan reading creates questions. That is not a failure. A question list helps separate what is known from what needs clarification. Write down missing dimensions, unclear tags, conflicting notes, unusual wall types, and places where field conditions do not match the drawing.
Ask those questions before framing hides the issue. An email, marked-up plan, or photo with a note is better than a verbal memory. A documented answer protects the project and helps the next person understand why a wall was framed a certain way.
Keep the Latest Plan With the Work
Once layout begins, the plan set should stay close to the work area. Keep the current sheets clean enough to read and mark field confirmations where they happen. If a dimension is verified, note it. If a conflict is resolved, write down the answer. If a detail is waiting on clarification, circle it instead of letting it disappear into the day’s work.
This habit is especially useful when more than one person touches the project. A helper cutting lumber, a homeowner ordering doors, and a contractor checking structure all need the same information. A marked current plan reduces repeated questions and prevents someone from building from memory.
Use Photos as a Plan Companion
Photos do not replace blueprints, but they help connect the drawing to the real house. Photograph existing framing, joist direction, utility paths, concrete conditions, old openings, and any area where the plan seems unclear. Then mark the photo with the related sheet or detail number if needed.
After framing, photograph headers, blocking, straps, anchor locations, and utilities before insulation or drywall covers them. Those images become useful later when hanging cabinets, troubleshooting wiring, or explaining why a wall was built a certain way.
Build a Simple Takeoff From the Plans
A small material takeoff helps test whether the plan has been understood. Count wall lengths, likely stud quantities, plates, headers, blocking, anchors, connectors, and special lumber before shopping. The goal is not only to buy material; it is to notice which walls have unusual requirements.
If one opening needs engineered lumber, one wall needs treated plates, or one basement partition needs extra anchors, the takeoff should reveal that difference. A shopping list made from the plan is another chance to catch details before the job becomes a pile of cut lumber.
Connect Plan Notes to Inspection Points
Some blueprint details are also inspection details. Fireblocking, structural connectors, anchor spacing, rough openings, stair framing, and bearing points may need to be visible before cover-up. If an inspector or contractor will need to see it, do not bury it before that check happens.
Mark those inspection points on the working copy. A bright note near a wall line can remind everyone that the framing is not ready for drywall just because the studs are standing. Inspection timing is part of reading the plan correctly.
Read the Plan With the Finish in Mind
Framing sets up the finished room. Cabinet runs, tile edges, door casing, baseboard, built-ins, stair trim, and flooring transitions all depend on what happens behind the drywall. A plan reader should think past the rough lumber and ask how the finish will land.
If a wall needs to receive cabinets, blocking should be placed where the cabinets mount. If a door needs casing, nearby walls and corners need enough room. If tile ends at an opening, the backing and edge location should be known before the wall is closed.
Know When the Plan Needs a Professional Answer
Some blueprint questions are not DIY interpretation problems. Beam sizing, point loads, footing support, bearing-wall changes, stair geometry, large openings, shear walls, and roof loads may need an engineer, designer, inspector, or experienced contractor. If a plan note feels structural and unclear, do not solve it by choosing the easiest lumber size.
A professional answer is also useful when the field condition does not match the drawing. Older homes may have hidden modifications, undersized framing, or utilities routed through places the plan does not expect. Getting the answer early is far cheaper than correcting finished framing after an inspection or failure.
Final Blueprint Reading Checklist
Before framing begins, confirm the plan date, sheet revision, written dimensions, wall type, opening tags, header schedule, beam notes, joist direction, section callouts, and field measurements. Then compare the layout against utilities, access, ceiling height, and any existing framing that will remain.
A framing blueprint is useful only when it guides real work in the room. Read it until the wall purpose, rough openings, load path, and field limits are clear enough to mark on the floor. If those pieces are not clear, the next step is clarification, not cutting lumber.