DIY wall framing can be a good homeowner project when the wall is a simple non-load-bearing partition and the layout is carefully checked. It becomes a different kind of job when the wall carries load, changes stairs or egress, hides utilities, affects fire separation, or needs permits. The first skill is knowing which kind of wall you are dealing with.
A clean framing job starts before lumber comes home. Define what the wall must do, confirm the space can accept it, check for wiring and plumbing, and plan backing for anything that will mount later. That preparation keeps the wall from becoming a straight-looking problem hidden behind drywall.
A: Decide the wall's purpose, location, door swing, finished face, utilities, access, and code limits.
A: Yes, when it is non-load-bearing and does not create unsafe structural, electrical, plumbing, or egress issues.
A: Trace joists, beams, stacked walls, and supports above and below, and get help when uncertain.
A: Build flat only when there is enough room to raise and position it safely.
A: The ceiling line keeps the wall plumb and shows where the top plate must fasten.
A: Plan utilities, blocking, backing, access panels, insulation, protection plates, and final inspection.
A: Use accurate layout, straight lumber, measured stud cuts, braces, and repeated plumb checks.
A: Add blocking for cabinets, handrails, shelves, TVs, doors, trim, drywall edges, and future hardware.
A: Poor layout, bowed studs, missing backing, crooked openings, bad door swing, and hidden access problems stand out.
A: Stop for bearing walls, permits, egress changes, electrical work, plumbing, HVAC, or confusing field conditions.
Decide What the Wall Must Do
A wall may divide a room, form a closet, support drywall, hold shelving, hide pipes, frame a utility space, or create a finished basement room. Each purpose changes the framing details. A closet wall may need strong corners and door framing. A media wall may need blocking. A basement wall may need moisture planning and access panels.
Write the purpose down before measuring. If the wall has to carry cabinets, grab bars, handrails, or heavy shelving, blocking should be planned while the frame is open. If the wall only divides space, the layout may be simpler, but it still needs straight lines and secure fastening.
Confirm It Is Not Load-Bearing
Do not assume an interior wall is safe to build, remove, or modify because it looks small. In new work, a non-load-bearing partition still needs proper attachment. In remodel work, an existing wall may carry floor, ceiling, or roof loads even if it is covered with ordinary drywall.
Look at joist direction, stacked walls, beams, attic framing, basement supports, and any plans available. If the wall may support structure, bring in a qualified pro before altering it. DIY framing is best kept to walls where the load path is understood.
Check Utilities and Clearances
Walls often share space with electrical cable, plumbing, HVAC runs, low-voltage wiring, drains, shutoffs, vents, and access panels. A new partition should not block a cleanout, bury a valve, crowd a panel, or force a duct into an awkward turn.
Check both sides of the planned wall. Think about door swings, furniture paths, appliance clearance, stair landing space, windows, outlets, switches, and future maintenance. A wall can be framed straight and still fail the room if it makes daily use worse.
Lay Out the Wall on the Floor
Snap or draw the wall line on the floor before cutting plates. Mark which side is the finished face if the wall must align with existing trim, cabinets, or another wall. If the wall includes a door, mark the rough opening, hinge side, and swing direction.
Measure from stable reference points rather than from crooked trim or a damaged corner. Check square with a 3-4-5 triangle, diagonal measurements, or a large square when the layout affects a visible room. Small layout errors become obvious once drywall and baseboard are installed.
Transfer the Line to the Ceiling
The top plate must land below framing that can accept fasteners. Use a plumb bob, laser, level, or careful measuring to transfer the floor line to the ceiling. Do not rely on eyesight. A wall that leans slightly can cause drywall seams, door jambs, and trim to fight you later.
If ceiling joists run the wrong direction or fall between the planned top plate, blocking may be needed above. Plan that before the wall is assembled. The best time to solve top-plate attachment is before a heavy wall is standing in the room.
Choose Straight Lumber
Framing lumber does not have to be furniture grade, but key pieces should be straight. Sort studs before cutting. Use the best lumber at doors, corners, cabinet areas, and long visible walls. Save bowed or twisted pieces for blocking only if they can be used without distorting the finished surface.
Look at the crown of each stud and keep orientation consistent where possible. A few minutes spent sorting lumber can prevent a wavy wall that needs extra drywall compound later.
Cut Plates and Studs Carefully
Cut the top and bottom plates to match the layout, then mark stud locations on both plates at the same time. Standard stud spacing is usually measured from one end, but openings, corners, and intersecting walls may require extra framing.
Measure the actual floor-to-ceiling height in more than one spot. Older houses and basements often vary. Cut studs for the real space, not the number you expected. If the wall will be raised into place after assembly, allow for the movement needed to stand it up.
Choose Between Building Flat and Framing in Place
Some walls are easiest to assemble flat on the floor and raise into position. This works well when the wall is not too long, the ceiling height gives enough room to tilt the frame upright, and the pieces can be controlled safely. Building flat makes it easier to fasten through the plates and keep studs on their marks.
Other walls are better framed in place. Basements with low ceilings, rooms with pipes or ducts overhead, and tight remodel spaces may not give enough swing room to raise a prebuilt frame. In those cases, attach the plates first and cut each stud to fit the actual height at that location.
Frame Openings With the Right Parts
Door and window openings are more than gaps between studs. They may need king studs, jack studs, headers, cripples, sills, and enough rough opening space for the unit, shims, flooring, and trim. Prehung doors especially need room for adjustment.
Check the manufacturer’s rough opening requirements when a specific unit is planned. Guessing from the door slab size can make the opening too tight. A tight opening is frustrating because it steals the adjustment space needed to make the finished door work smoothly.
Plan Corners and Intersections
Where walls meet, framing needs to support drywall on both sides of the corner. A simple stud at the end may not provide enough backing for the intersecting wall. Three-stud corners, ladder blocking, or other approved corner methods give drywall a place to fasten without using more lumber than necessary.
Intersections also affect layout. If a new partition meets an existing wall, find the existing stud locations before fastening. If the connection lands between studs, blocking or anchors may be needed. A clean corner starts with knowing what is behind the finished surface.
Think About Sound and Comfort
Interior walls do not only divide space visually. They can also control noise, privacy, and comfort. Bedrooms, bathrooms, laundry rooms, offices, and utility spaces may benefit from insulation, acoustic sealant, solid blocking around penetrations, or careful gaps around doors.
These upgrades are easiest before drywall. Even if the wall is non-load-bearing, it can still make the house feel better or worse. Decide whether sound control matters while the cavity is open and the cost is still mostly material and planning.
Coordinate Electrical Before Drywall
Most new partitions need at least some thought about outlets, switches, lighting, or low-voltage wiring. Box locations should work with furniture, doors, cabinets, and code spacing. If a switch lands behind a door or an outlet lands where a built-in will cover it, the wall was not planned far enough.
Do not notch or drill studs casually to solve wiring after the frame is built. Holes and notches have limits, especially near edges and in load-sensitive locations. Plan wire paths and box locations before the wall is closed, and bring in licensed help where required.
Leave Access Where the House Still Needs It
A new wall should not permanently bury parts of the house that need service. Cleanouts, shutoff valves, junction boxes, dampers, filters, traps, and mechanical panels need access. A neat framed wall can create a future problem if it hides the one part someone will need during an emergency or repair.
Plan access panels, removable trim, cabinet openings, or a different wall layout where service points exist. This is especially important in basements, laundry rooms, utility spaces, bathrooms, and walls near mechanical equipment. Framing should improve the room without making maintenance harder.
Add Blocking While the Wall Is Open
Blocking is easy to add before drywall and annoying to add later. Install it where cabinets, shelves, towel bars, grab bars, handrails, closet rods, wall-mounted desks, TVs, or heavy mirrors may land. Even if the exact fixture is not chosen, blocking can give the future installer a reliable fastening zone.
Also add backing for drywall edges at corners, ceiling transitions, and intersections. Drywall needs solid support at its edges. Missing backing leads to cracks, loose corners, and repairs that could have been prevented with a short piece of lumber.
Anchor the Wall Securely
Fasten the bottom plate to the floor and the top plate to ceiling framing or blocking. Wood floors, concrete slabs, and existing framed surfaces all need different fastening methods. Use fasteners that match the material and local requirements.
In basements, treated lumber or an approved separation from concrete may be required for the bottom plate. On concrete, use appropriate anchors and spacing. A wall that is only wedged in place may feel solid at first but move when doors slam or drywall is installed.
Check Plumb, Straight, and Square
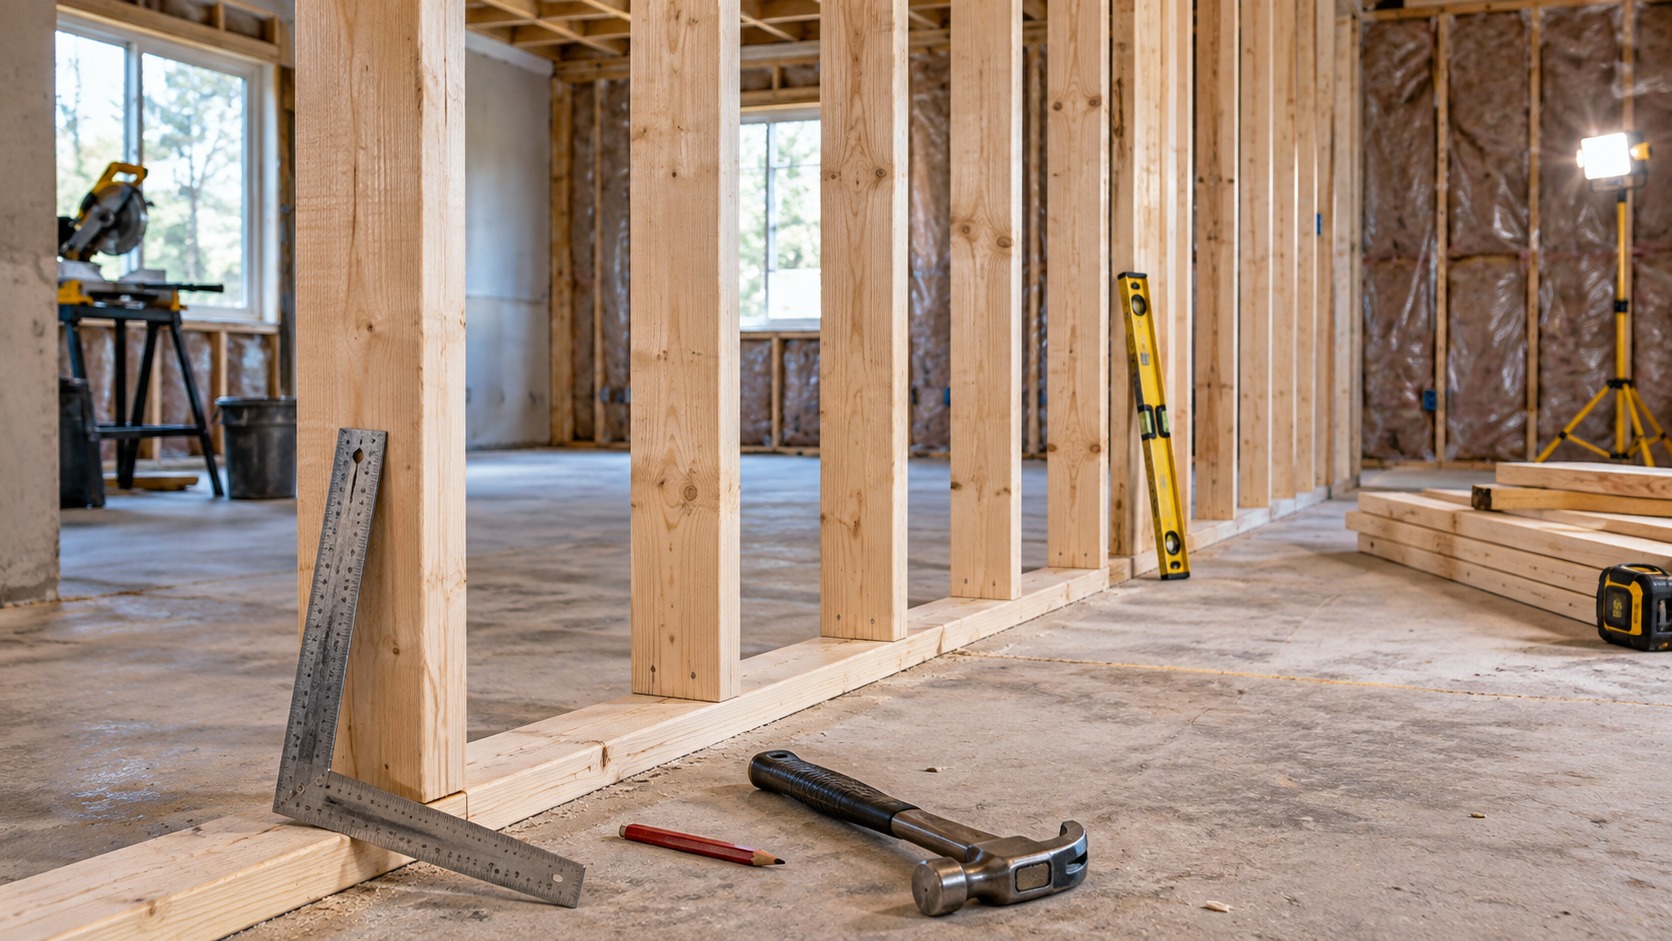
Check the wall before it is covered. Use a level on both faces, sight down the studs, and verify that openings are square. Check that the wall follows the layout line and that the top plate did not drift during fastening.
Correct problems while the framing is still exposed. A shim, screw adjustment, replacement stud, or added block is simple now. After drywall, the same correction becomes patching, trim work, and paint.
Prepare for Drywall Before Calling It Done
Drywall exposes framing shortcuts. Check that panel edges will land on solid framing, that corners have backing, that plates are not twisted, and that bowed studs are corrected or replaced. A wall can pass a quick framing glance and still make drywall finishing harder than it needs to be.
Look for proud fasteners, splintered edges, loose blocking, missing nail plates, and debris under the bottom plate. Clean framing is easier to inspect and easier to cover. If insulation or fireblocking is required, make sure it is handled before the wall disappears.
Photograph Hidden Work
Before drywall, take photos of the wall from several angles. Capture blocking, wire paths, pipe locations, anchors, headers, and any unusual framing. Include a tape measure in important photos when dimensions may matter later.
Those photos are valuable when hanging shelves, finding studs, diagnosing a noise, or explaining a remodel to a future buyer or contractor. A few clear photos can prevent unnecessary holes in the finished wall.
Plan the Work Sequence
A simple sequence keeps the job from getting chaotic. Confirm the wall purpose, mark the layout, verify utilities, gather materials, cut plates, mark stud locations, cut studs, assemble or stick-frame the wall, add openings and blocking, anchor everything, and inspect before cover-up.
That sequence may change in a tight room or basement, but the logic stays the same. Layout comes before cutting. Utility checks come before fastening. Blocking comes before drywall. Inspection comes before paint. Keeping the order visible prevents the project from becoming a set of small repairs.
Handle Existing Finishes Carefully
When framing inside a finished home, protect floors, ceilings, trim, and nearby walls before material comes through the room. Lumber ends, sawdust, dropped fasteners, and ladders can damage finished surfaces faster than the framing itself takes shape.
Cut outdoors or in a controlled area when possible, and bring pieces into the room in a planned order. If demolition is needed, remove only what gives access to fasten and inspect the wall. Extra damage around the new partition creates more drywall and paint work later.
Check Door Swing and Room Flow
A new wall often changes how people move through the room. Before framing a doorway, stand in the space and test the swing with tape marks or a scrap board. Check light switches, furniture paths, closet access, hallway width, and whether the door conflicts with another door.
Door framing is easier to adjust before studs are fastened. A rough opening in the technically correct location can still feel wrong if the swing blocks the natural path through the room. Good framing supports the way the space will be used, not just the line on the floor.
Respect Code and Permit Limits
Some wall framing requires permits, inspections, fireblocking, draftstopping, sound separation, pressure-treated lumber, egress clearance, or electrical updates. Requirements vary by location and room type. Basement bedrooms, garages, stairs, and utility spaces deserve extra attention.
If the wall affects structure, life safety, utilities, or required access, do not treat it as a casual weekend partition. Asking early is cheaper than opening a finished wall for an inspection correction.
Know When the Wall Is No Longer a DIY Job
A simple partition can be a reasonable homeowner project. The job changes when it touches structure, fire separation, exterior walls, stairs, bedrooms, egress, electrical service, plumbing drains, gas lines, or major HVAC paths. Those details can affect safety and resale, not just appearance.
Pause when the wall depends on a beam, supports a door in a bearing wall, hides unexplained moisture, or requires cutting existing framing that you do not fully understand. Getting help at that point is not overreacting. It is how you keep a small framing project from becoming a larger repair.
Final Wall-Framing Review
Before drywall, walk the wall from end to end. Confirm layout, attachment, openings, blocking, utility clearance, backing, plumb, straightness, fireblocking, and any required inspection points. Photograph hidden work so future repairs have a record.
A good DIY wall is not judged only by whether it stands. It should line up with the room, accept finishes cleanly, support what will hang on it, and avoid hiding problems that should have been solved while the framing was open.