The Right Tools Make Framing Feel Understandable
Wall framing looks intimidating until the work is broken into the jobs every tool is meant to solve: measuring, marking, cutting, fastening, lifting, checking, and correcting. A homeowner does not need a commercial framing crew’s full trailer to build a short partition, frame a closet, or prepare a basement wall, but the right basic kit matters. Good tools help boards land where the layout says they should, keep studs plumb, make cuts repeatable, and reduce the small mistakes that turn into wavy drywall, crooked doors, or wasted lumber. This guide explains the essential tools for framing walls at home in plain language, with a focus on what each tool does, when it matters most, and where it is worth buying quality instead of improvising. It also helps to think of framing tools as a quality-control system rather than a pile of gear. One tool creates a mark, another makes the cut, another holds the piece, and another checks whether the assembly is straight. When each tool has a clear role, the wall is less dependent on guesswork and more dependent on a repeatable process.
Start With Measuring and Marking
Every framed wall begins as marks on plates, floors, ceilings, or existing walls. A reliable tape measure is the center of that work, but the tape is only useful when the marks are transferred cleanly and consistently. A framing square, speed square, pencil, chalk line, and straightedge help turn measurements into lines that can actually guide cuts and assembly. For beginners, the most common mistake is not bad sawing; it is unclear layout that leaves every later step open to interpretation.
Mark the top and bottom plates together whenever possible. Clamp them side by side or stack them flush so stud positions, openings, and blocking marks transfer as matching pairs. This small habit keeps studs from leaning because one plate was marked differently from the other. It also makes it easier to notice missing king studs, cripple studs, or blocking before the wall is standing.
Choose Cutting Tools You Can Control
A circular saw is the most flexible cutting tool for home framing. With a sharp blade and a speed square as a guide, it can cut studs, plates, blocking, and short bracing accurately enough for most small projects. A miter saw is faster when many studs must be cut to the same length, but it is not mandatory for every homeowner. Accuracy comes from stable support, visible marks, and deliberate cuts more than from owning the largest saw.
Support lumber on sawhorses or a stable cutting surface. Cutting on the floor can work in a pinch, but it is harder on your body and easier to bind the blade. Keep offcuts controlled so they do not fall, twist, or pull the blade at the end of the cut.
Do not ignore blade condition. A dull or damaged blade burns wood, wanders off the line, and tempts the user to push harder. Clean cuts make tight framing easier and reduce the trimming that steals time later.
Match Fasteners to the Job
Fastening tools are where speed and judgment meet. A framing hammer is simple and dependable for short walls, repairs, and small remodels. A nailer can save time, but it also adds noise, recoil, air or battery management, and safety concerns. Drivers are helpful for temporary braces, blocking, and some approved structural screws, but ordinary screws should not be treated as universal framing hardware. The fastener has to match the load, lumber, and local code expectations.
Use Levels Before the Wall Is Finished
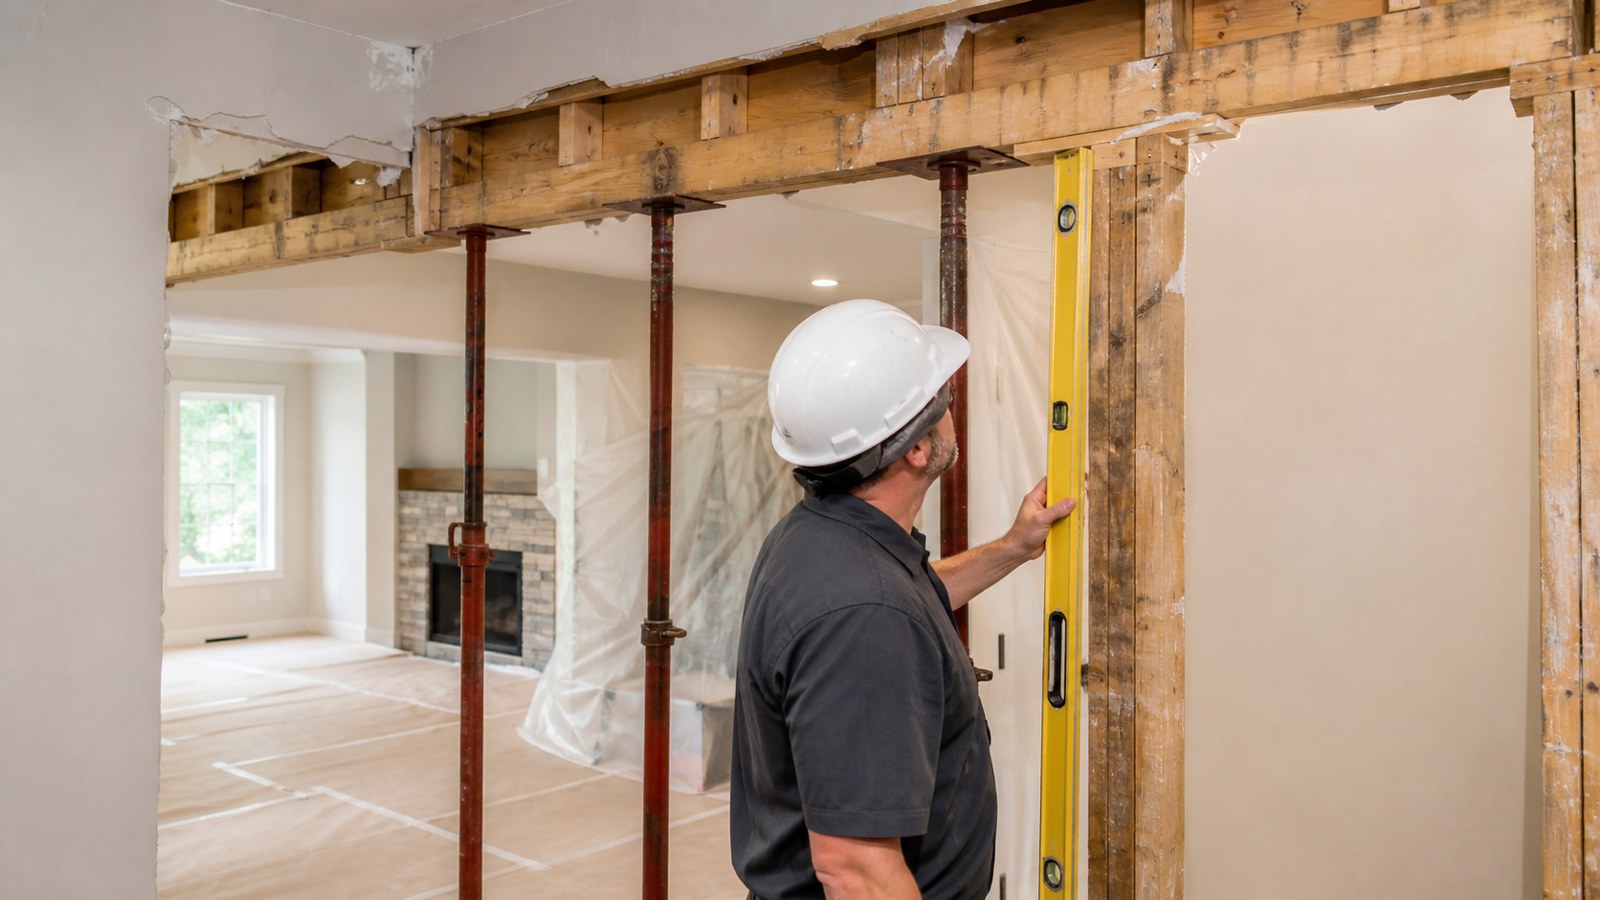
A level should appear throughout the project, not just at the end. Check plates before assembly, studs as they are fastened, and the wall again after it is raised. A wall can look straight from one angle and still lean enough to complicate drywall, trim, cabinets, or doors. The earlier you catch the lean, the easier it is to correct with pressure, bracing, shims, or layout adjustment.
Longer levels and laser levels are especially useful in basements, garages, and older homes where floors and ceilings are not perfectly flat. They help you decide whether to follow the existing structure or create a new straight reference. That decision affects how the wall meets drywall, flooring, ceiling finish, and future trim.
Do Not Skip Clamps, Braces, and Supports
Framing is easier when pieces stay where you put them. Clamps can hold plates flush while marks are transferred, keep blocking steady during fastening, and secure temporary guides. Scrap braces hold a wall plumb while it is being anchored. Sawhorses keep lumber at a comfortable height and make repeat cuts more predictable. These support tools may not feel exciting, but they reduce the wrestling that causes mistakes.
Temporary bracing is especially important when working alone. A wall can shift while you reach for fasteners, and a tall framed section can become awkward quickly. Setting braces before you need them makes the work calmer and safer.
Keep useful scraps nearby, but do not let the jobsite become a pile of tripping hazards. Short blocks can become spacers, braces, or backing, while damaged scraps should leave the work area before they get mistaken for good lumber.
Build a Small Safety Routine
A good framing toolkit includes habits as much as hardware. Put on eye protection before cutting or fastening, keep cords clear of walking paths, sweep sawdust before it hides offcuts, and stage lumber so long boards do not swing into walls or windows. Home framing often happens in cramped rooms where one careless turn can hit finished surfaces or another person.
When Renting Makes More Sense Than Buying
Some tools are worth owning because they will be used across many projects. A tape, square, circular saw, level, drill, clamps, and safety gear belong in most DIY workshops. Other tools make sense to rent when the project is brief or specialized. A framing nailer, rotary hammer, laser level, or large miter saw may be valuable for a weekend but unnecessary to store for years.
Renting also lets a homeowner use better equipment than the cheapest version they might buy. That matters for tools where power, accuracy, or safety features affect the outcome. If you rent, read the instructions, inspect the tool, and practice on scrap before using it on the actual wall.
The Best Kit Is the One That Supports the Process
The essential framing toolkit is not a shopping trophy. It is a system that supports clean layout, square cuts, firm fastening, repeated checking, and safe movement around the job. When those basics are covered, even a beginner can frame with more confidence.
Set Up Before the First Cut
Before cutting lumber, create a small workflow: measure and mark in one area, cut in another, stack pieces by purpose, and keep fasteners close to assembly. A few minutes of setup prevents the stop-and-search rhythm that leads to skipped checks. It also makes cleanup easier because every tool has a place to return between steps.
For a first wall, move slowly enough that every mark and cut has a reason. Framing rewards accuracy more than speed. Once the layout is clear, the tools are staged, and the safety routine is automatic, the wall starts to feel less like a mystery and more like a sequence of manageable decisions.
That is the real value of the right tools: they make good decisions easier to repeat. A homeowner who can measure carefully, cut square, fasten securely, and check often is already doing the work in the spirit of a solid framer.
How to Build the Toolkit in Sensible Layers
A homeowner does not have to buy every framing tool in one trip. Start with the tools that make the work accurate: a dependable tape, square, pencil, chalk line, level, circular saw, drill driver, clamps, sawhorses, and safety gear. Those tools support layout and basic assembly on nearly every project. Once those are in place, the next purchases should solve a specific problem you have already met, such as repeated cuts, concrete fastening, long-wall alignment, or faster nailing.
It is usually better to own a smaller number of reliable tools than a crowded shelf of bargain versions that bend, slip, or lose accuracy. A level that is not true creates crooked work no matter how careful the user is. A tape with a loose hook can throw off repeated measurements. A dull blade makes a saw feel underpowered and increases the chance of wandering off the cut line. Accuracy tools deserve extra scrutiny because their errors are copied throughout the wall.
Storage also affects results. Framing tools get used in dusty, rough environments, but they still need to be easy to find and protected from damage. Keep layout tools together, cutting tools near blades and batteries, and fastening tools with the fasteners they require. When the wall is half assembled, searching for the right bit or a sharp pencil interrupts the rhythm and invites shortcuts.
For occasional tools, renting is practical. A framing nailer, laser level, rotary hammer, or large miter saw may be useful for one basement or garage project but unnecessary afterward. Renting can also provide access to a better tool than the cheapest purchase option. The key is to learn the tool on scrap before using it on the actual wall, especially when fasteners, blades, or concrete anchors are involved.
The final layer is cleanup and inspection. A vacuum, broom, trash bucket, and small storage bin for usable offcuts are not glamorous, yet they keep the work area safe and readable. Clean floors help levels sit properly, prevent cords from hiding under scraps, and make it easier to see whether plates are aligned. In framing, order is not just neatness. It is part of accuracy.
A Starter Framing Kit for Most Homeowners
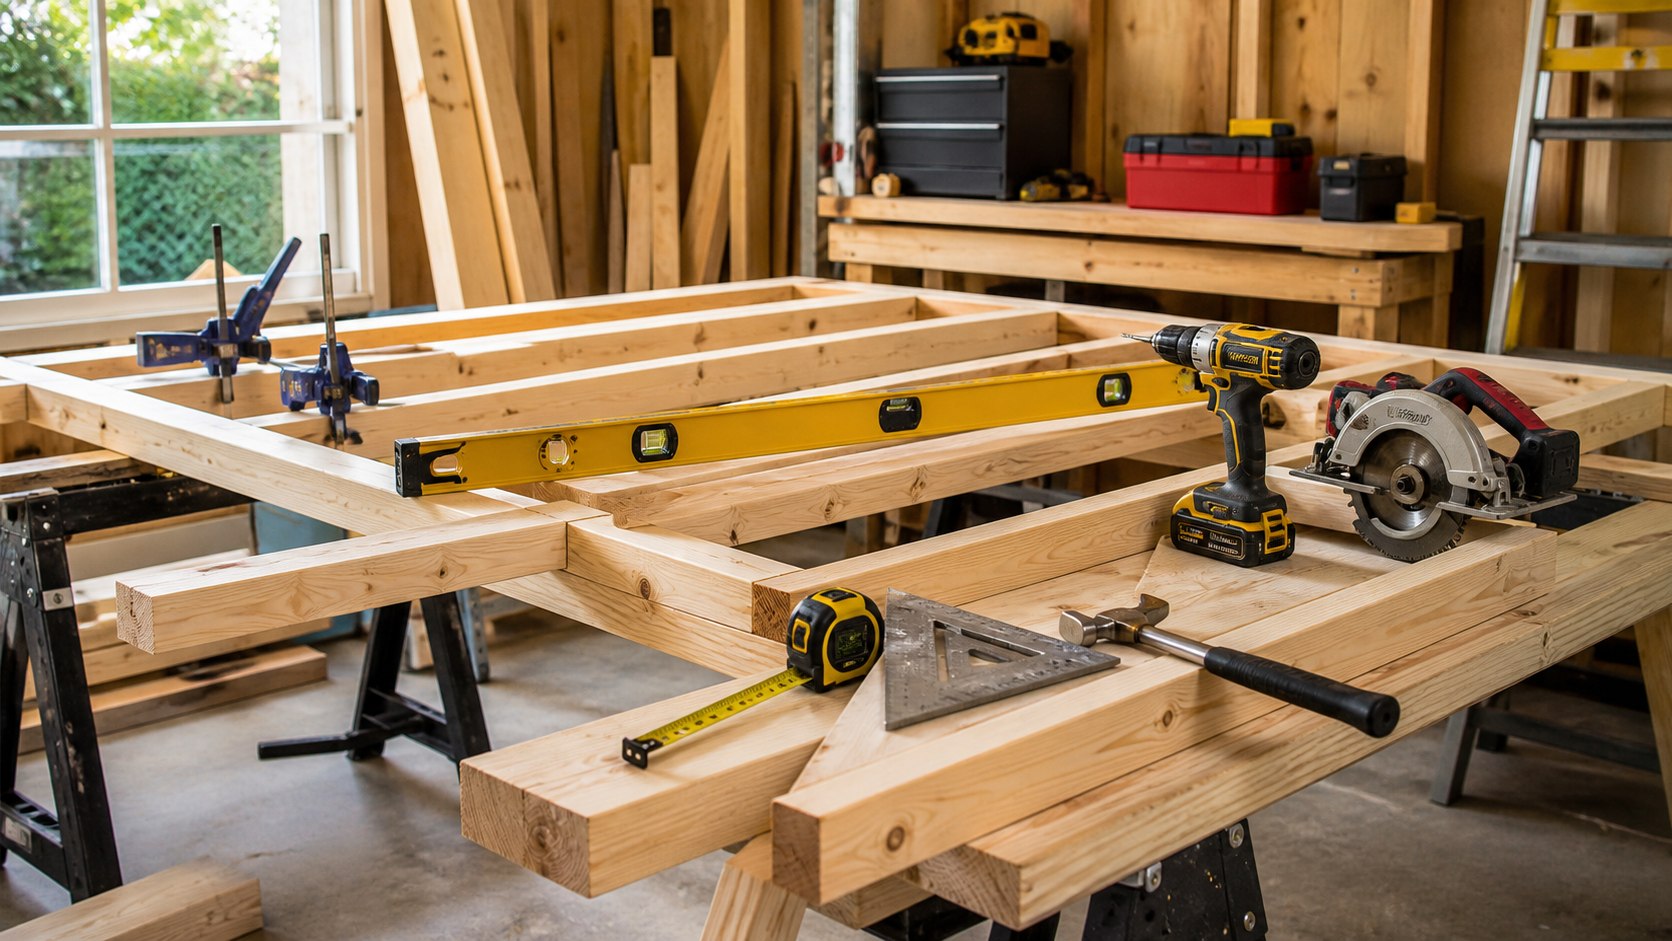
For most small framing projects, a sensible starter kit includes a tape measure, speed square, framing square, chalk line, circular saw, drill driver, hammer, four-foot level, clamps, sawhorses, pencil, spare blades, and basic protective gear. That collection lets a homeowner lay out plates, cut studs, assemble a short wall, add blocking, and check the work without constantly improvising.
The next layer depends on the project. Basement walls may justify a laser level and concrete fastening tools. Repeated partition walls may justify a miter saw or nailer. Door openings may require better clamps, shims, and a longer level. Buying from the project outward keeps the toolkit connected to real tasks instead of guesses.
Consumables deserve a budget too. Blades, bits, fasteners, pencils, chalk, batteries, dust masks, and adhesive can stop a project just as surely as a missing saw. Before framing day, gather the small items and sort fasteners by purpose. This prevents the classic mistake of using whatever screw is nearby because the correct box is still at the store.
A good kit does not make decisions for you, but it makes good decisions easier to execute. When measuring is clear, cutting is supported, fastening is controlled, and checking is frequent, the wall has a much better chance of being straight, strong, and ready for drywall.