Why Every Homeowner Should Learn Basic Plumbing Repairs
Plumbing problems have a way of arriving at the worst possible moment. A dripping faucet keeps you awake at night, a toilet starts running right before guests arrive, or a slow drain turns into standing water just when you need the sink most. For many homeowners, the first instinct is to panic or immediately call a plumber. While professional help is essential for major issues, many common plumbing repairs are well within reach for a careful DIYer. Learning basic plumbing repairs gives you more than cost savings. It gives you confidence, control, and a better understanding of how your home works. You do not need to become a licensed plumber to handle small leaks, clogs, fixture replacements, and preventative maintenance. You simply need the right tools, a calm approach, and the willingness to learn each system one repair at a time.
A: Replacing a showerhead, cleaning an aerator, or fixing a toilet flapper are great starters.
A: It can be risky; plungers, traps, and drain snakes are often safer first steps.
A: A worn flapper, high water level, or faulty fill valve is usually the cause.
A: Active spraying, wall damage, ceiling stains, or recurring leaks deserve professional help.
A: Yes, many faucet replacements are beginner-friendly with patience and the right wrench.
A: A dry trap, clog, or dirty drain buildup may be allowing odors to escape.
A: Check under sinks, around toilets, and near appliances every few months.
A: Shut off the main water valve immediately and drain nearby faucets.
A: Use it on threaded pipe connections, but not on compression fittings unless directed.
A: Stop when the repair involves sewer lines, gas connections, hidden leaks, or major pipe replacement.
Start With the Most Important Rule: Shut Off the Water
Before repairing almost anything in plumbing, the first step is knowing how to stop the flow of water. Every homeowner should know where the main shutoff valve is located. It may be in a basement, crawl space, garage, utility room, or near the water meter. In an emergency, this valve can be the difference between a small mess and major water damage.
Most fixtures also have their own shutoff valves. Toilets usually have one near the wall behind the bowl. Sinks often have hot and cold shutoffs inside the cabinet. Washing machines, dishwashers, and water heaters also have dedicated shutoff points. Before working on any fixture, turn the water off and test the faucet or flush the toilet to confirm the supply has stopped.
Fixing a Leaky Faucet
A leaky faucet is one of the most common plumbing problems in any home. The constant drip may seem minor, but it wastes water, stains fixtures, and can signal worn internal parts. In many cases, the repair involves replacing a washer, cartridge, O-ring, or valve stem. Start by identifying the faucet type. Compression faucets often use rubber washers, while cartridge, ball, and ceramic disc faucets use different internal components. After shutting off the water, remove the handle and inspect the parts inside. Take the worn component to a hardware store if you need an exact match. Reassemble carefully and avoid overtightening, because too much force can damage the fixture.
Repairing a Running Toilet
A running toilet can waste a surprising amount of water and often has a simple cause. The most common problem is a worn flapper that no longer seals properly at the bottom of the tank. When the flapper leaks, water slowly drains into the bowl, forcing the fill valve to keep refilling the tank.
To repair it, remove the tank lid and watch what happens after a flush. If the flapper does not close tightly or looks warped, replace it. If the tank water level is too high, adjust the float. If the fill valve hisses or runs constantly, it may need replacement. Most toilet tank parts are inexpensive, beginner-friendly, and require only basic tools.
Unclogging a Sink Drain
A slow or clogged sink drain is usually caused by hair, soap residue, grease, toothpaste, or food particles. The first tool to try is a plunger. For bathroom sinks, cover the overflow opening with a wet rag to create better suction. Use firm, steady plunges instead of wild force. If plunging does not work, remove and clean the P-trap under the sink. Place a bucket below the trap before loosening the slip nuts. Once removed, clean out debris and rinse the trap thoroughly. For deeper clogs, use a hand drain snake. Avoid relying heavily on harsh chemical drain cleaners, because they can damage pipes and create safety hazards.
Clearing a Clogged Toilet
A clogged toilet is stressful, but most blockages can be cleared with the right plunger. A flange plunger works better than a flat sink plunger because it seals inside the toilet drain opening. Make sure there is enough water in the bowl to cover the plunger cup, then plunge slowly at first to create a seal before using stronger pressure.
If plunging fails, use a toilet auger. This tool is designed to reach deeper into the toilet trap without scratching the porcelain. Never use a standard drain snake carelessly in a toilet, because it can damage the bowl. If repeated clogs happen often, the issue may be deeper in the drain line and may require professional inspection.
Replacing a Showerhead
Replacing a showerhead is one of the easiest and most satisfying DIY plumbing repairs. It can improve water pressure, reduce water use, and upgrade the feel of your bathroom in minutes. Most showerheads simply unscrew from the shower arm. Wrap the shower arm threads with plumber’s tape before installing the new head. Tighten by hand first, then use a wrench only if needed. Protect the finish with a cloth if using tools. Turn the water on and check for leaks. If water sprays from the connection, remove the showerhead, reapply tape, and reinstall it more carefully.
Fixing Low Water Pressure at a Faucet
Low water pressure at one faucet often has a simple cause: a clogged aerator. The aerator is the small screen at the tip of the faucet. Over time, minerals and sediment collect inside it, restricting water flow.
Unscrew the aerator, rinse it, and soak it in vinegar if mineral buildup is heavy. Use a small brush or toothpick to remove debris. Reinstall it and test the flow. If pressure remains low throughout the house, the issue may involve the pressure regulator, main supply line, water heater, or hidden leaks.
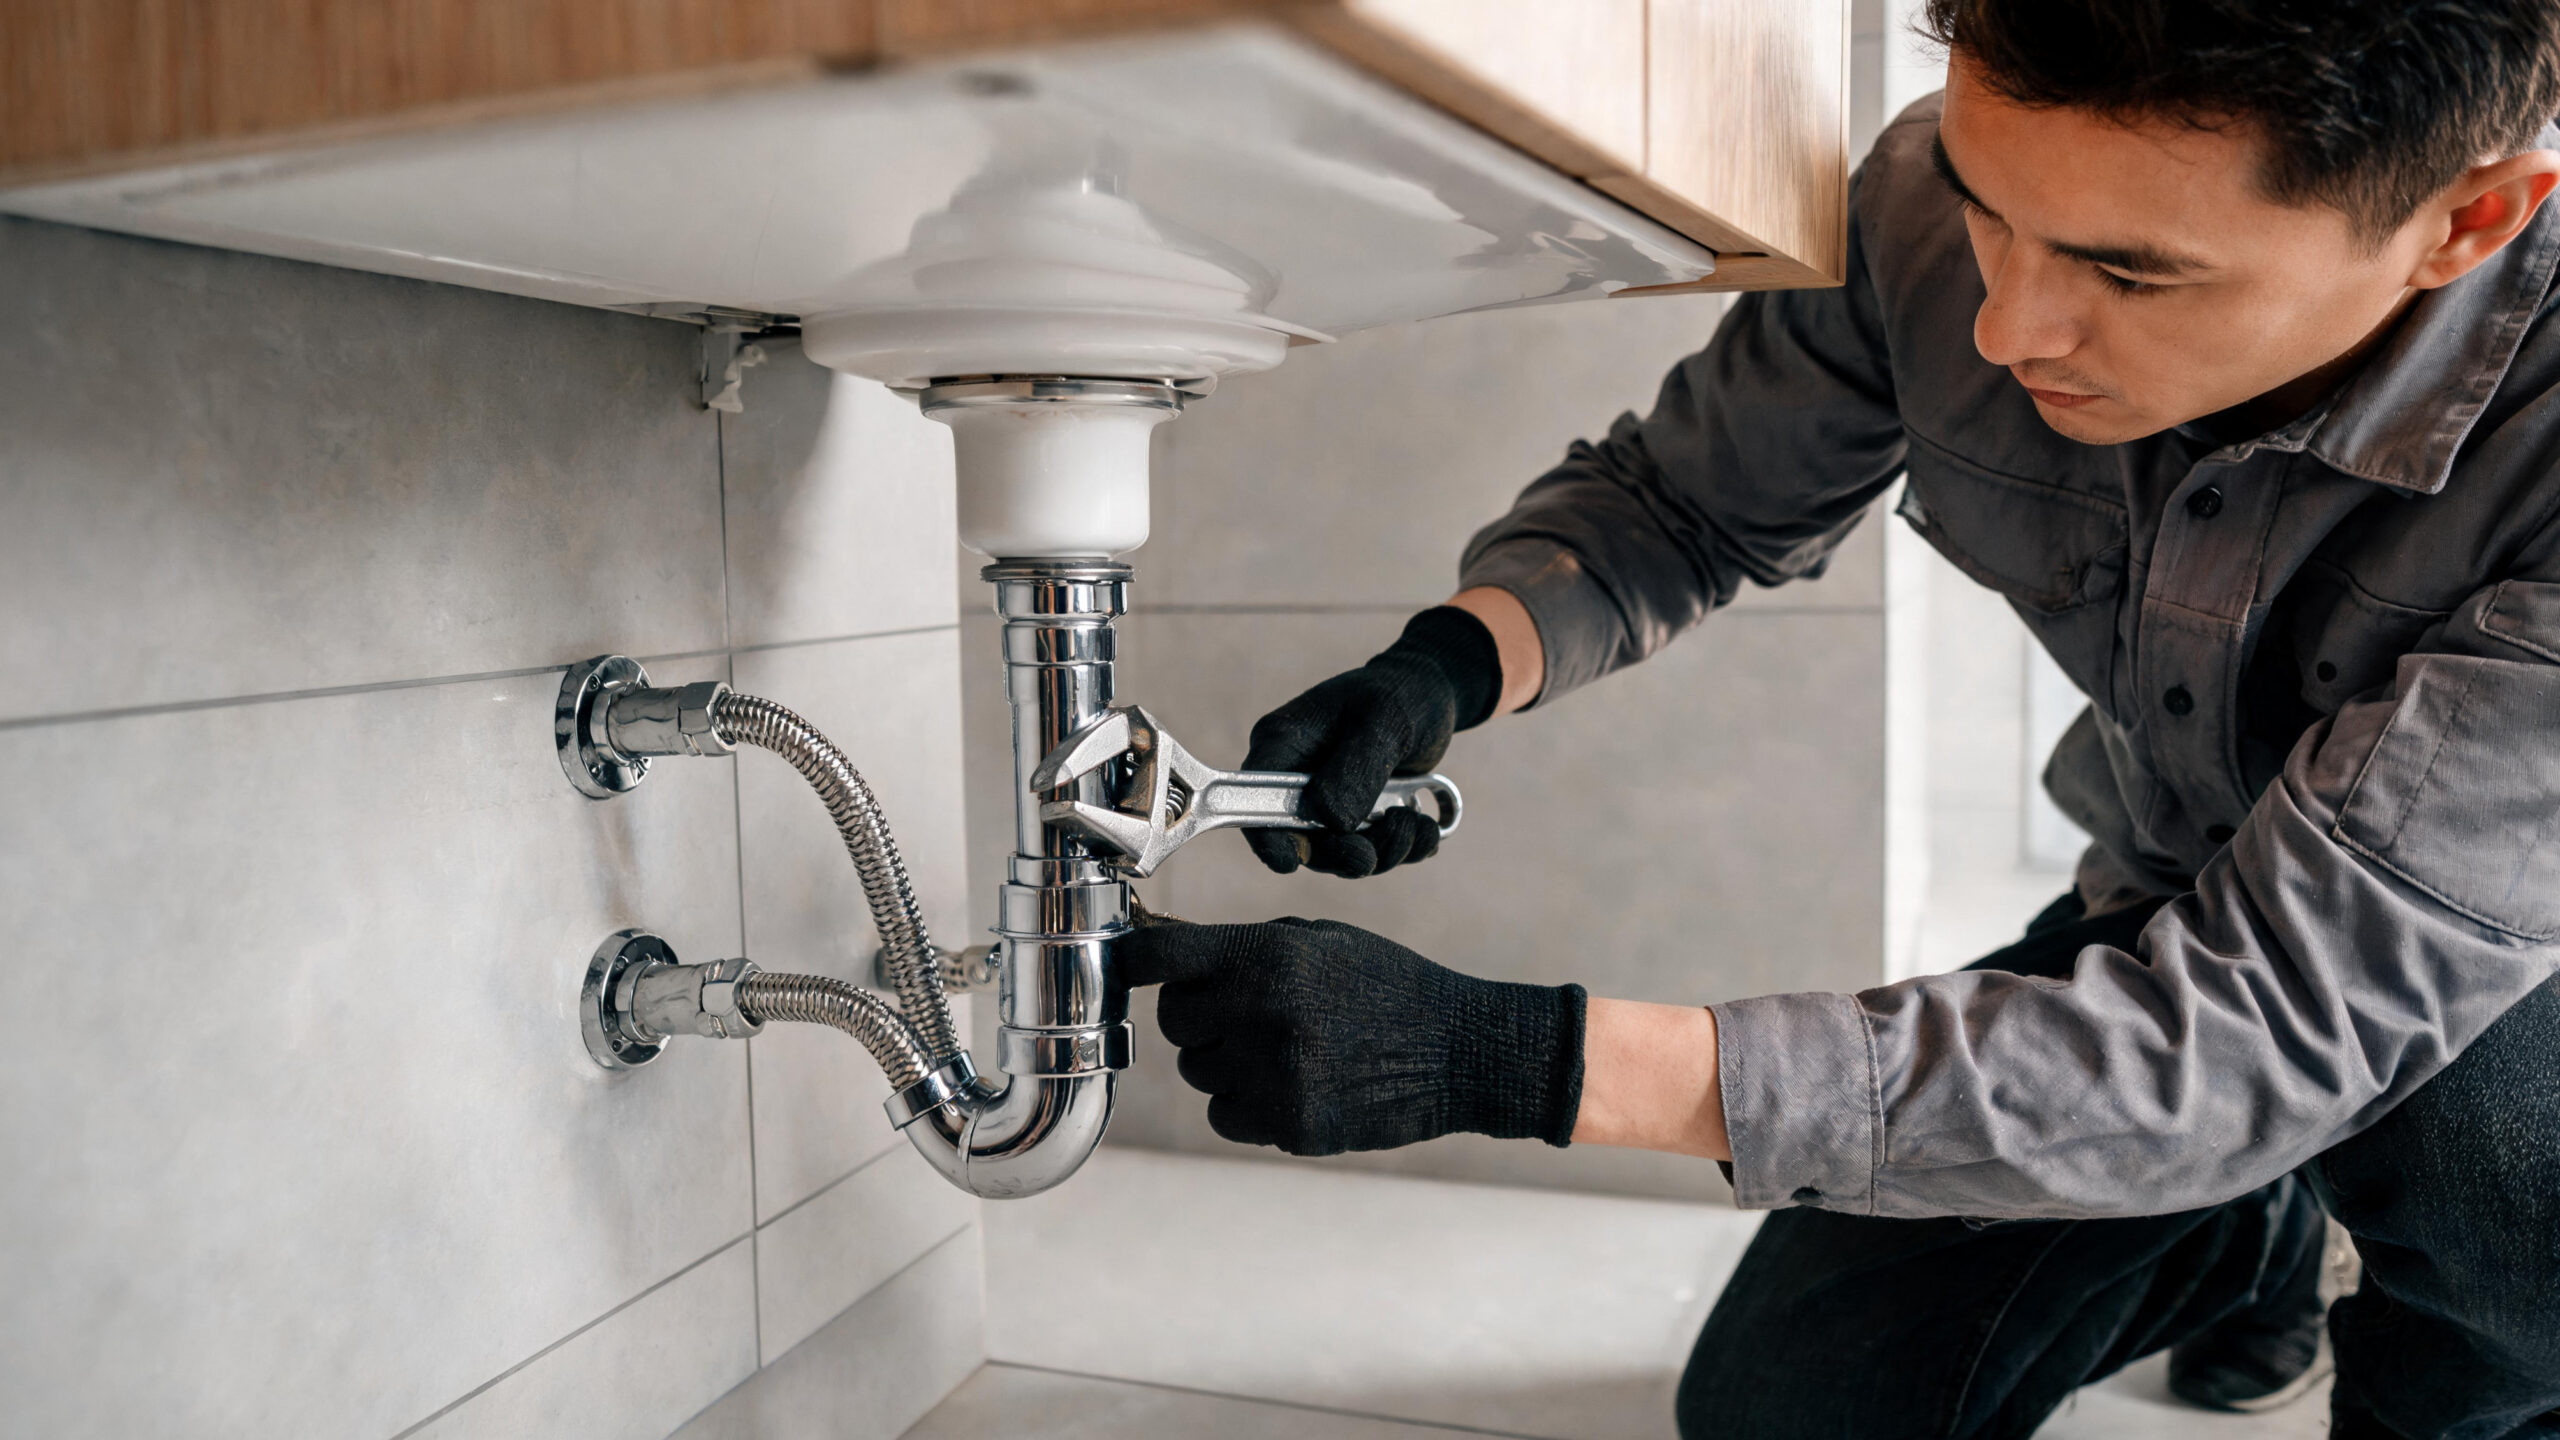
Repairing a Leaking Pipe Under a Sink
Leaks under sinks commonly happen at supply line connections, shutoff valves, P-traps, or drain slip joints. Start by drying the area completely, then run water while watching closely to identify the leak source. A flashlight helps reveal small drips. For supply line leaks, gently tighten the connection or replace the hose if it is old or cracked. For drain leaks, check that slip nuts are snug and washers are seated correctly. If the P-trap is cracked or corroded, replace it. Temporary repair tape can help in an emergency, but it should not replace a proper repair.
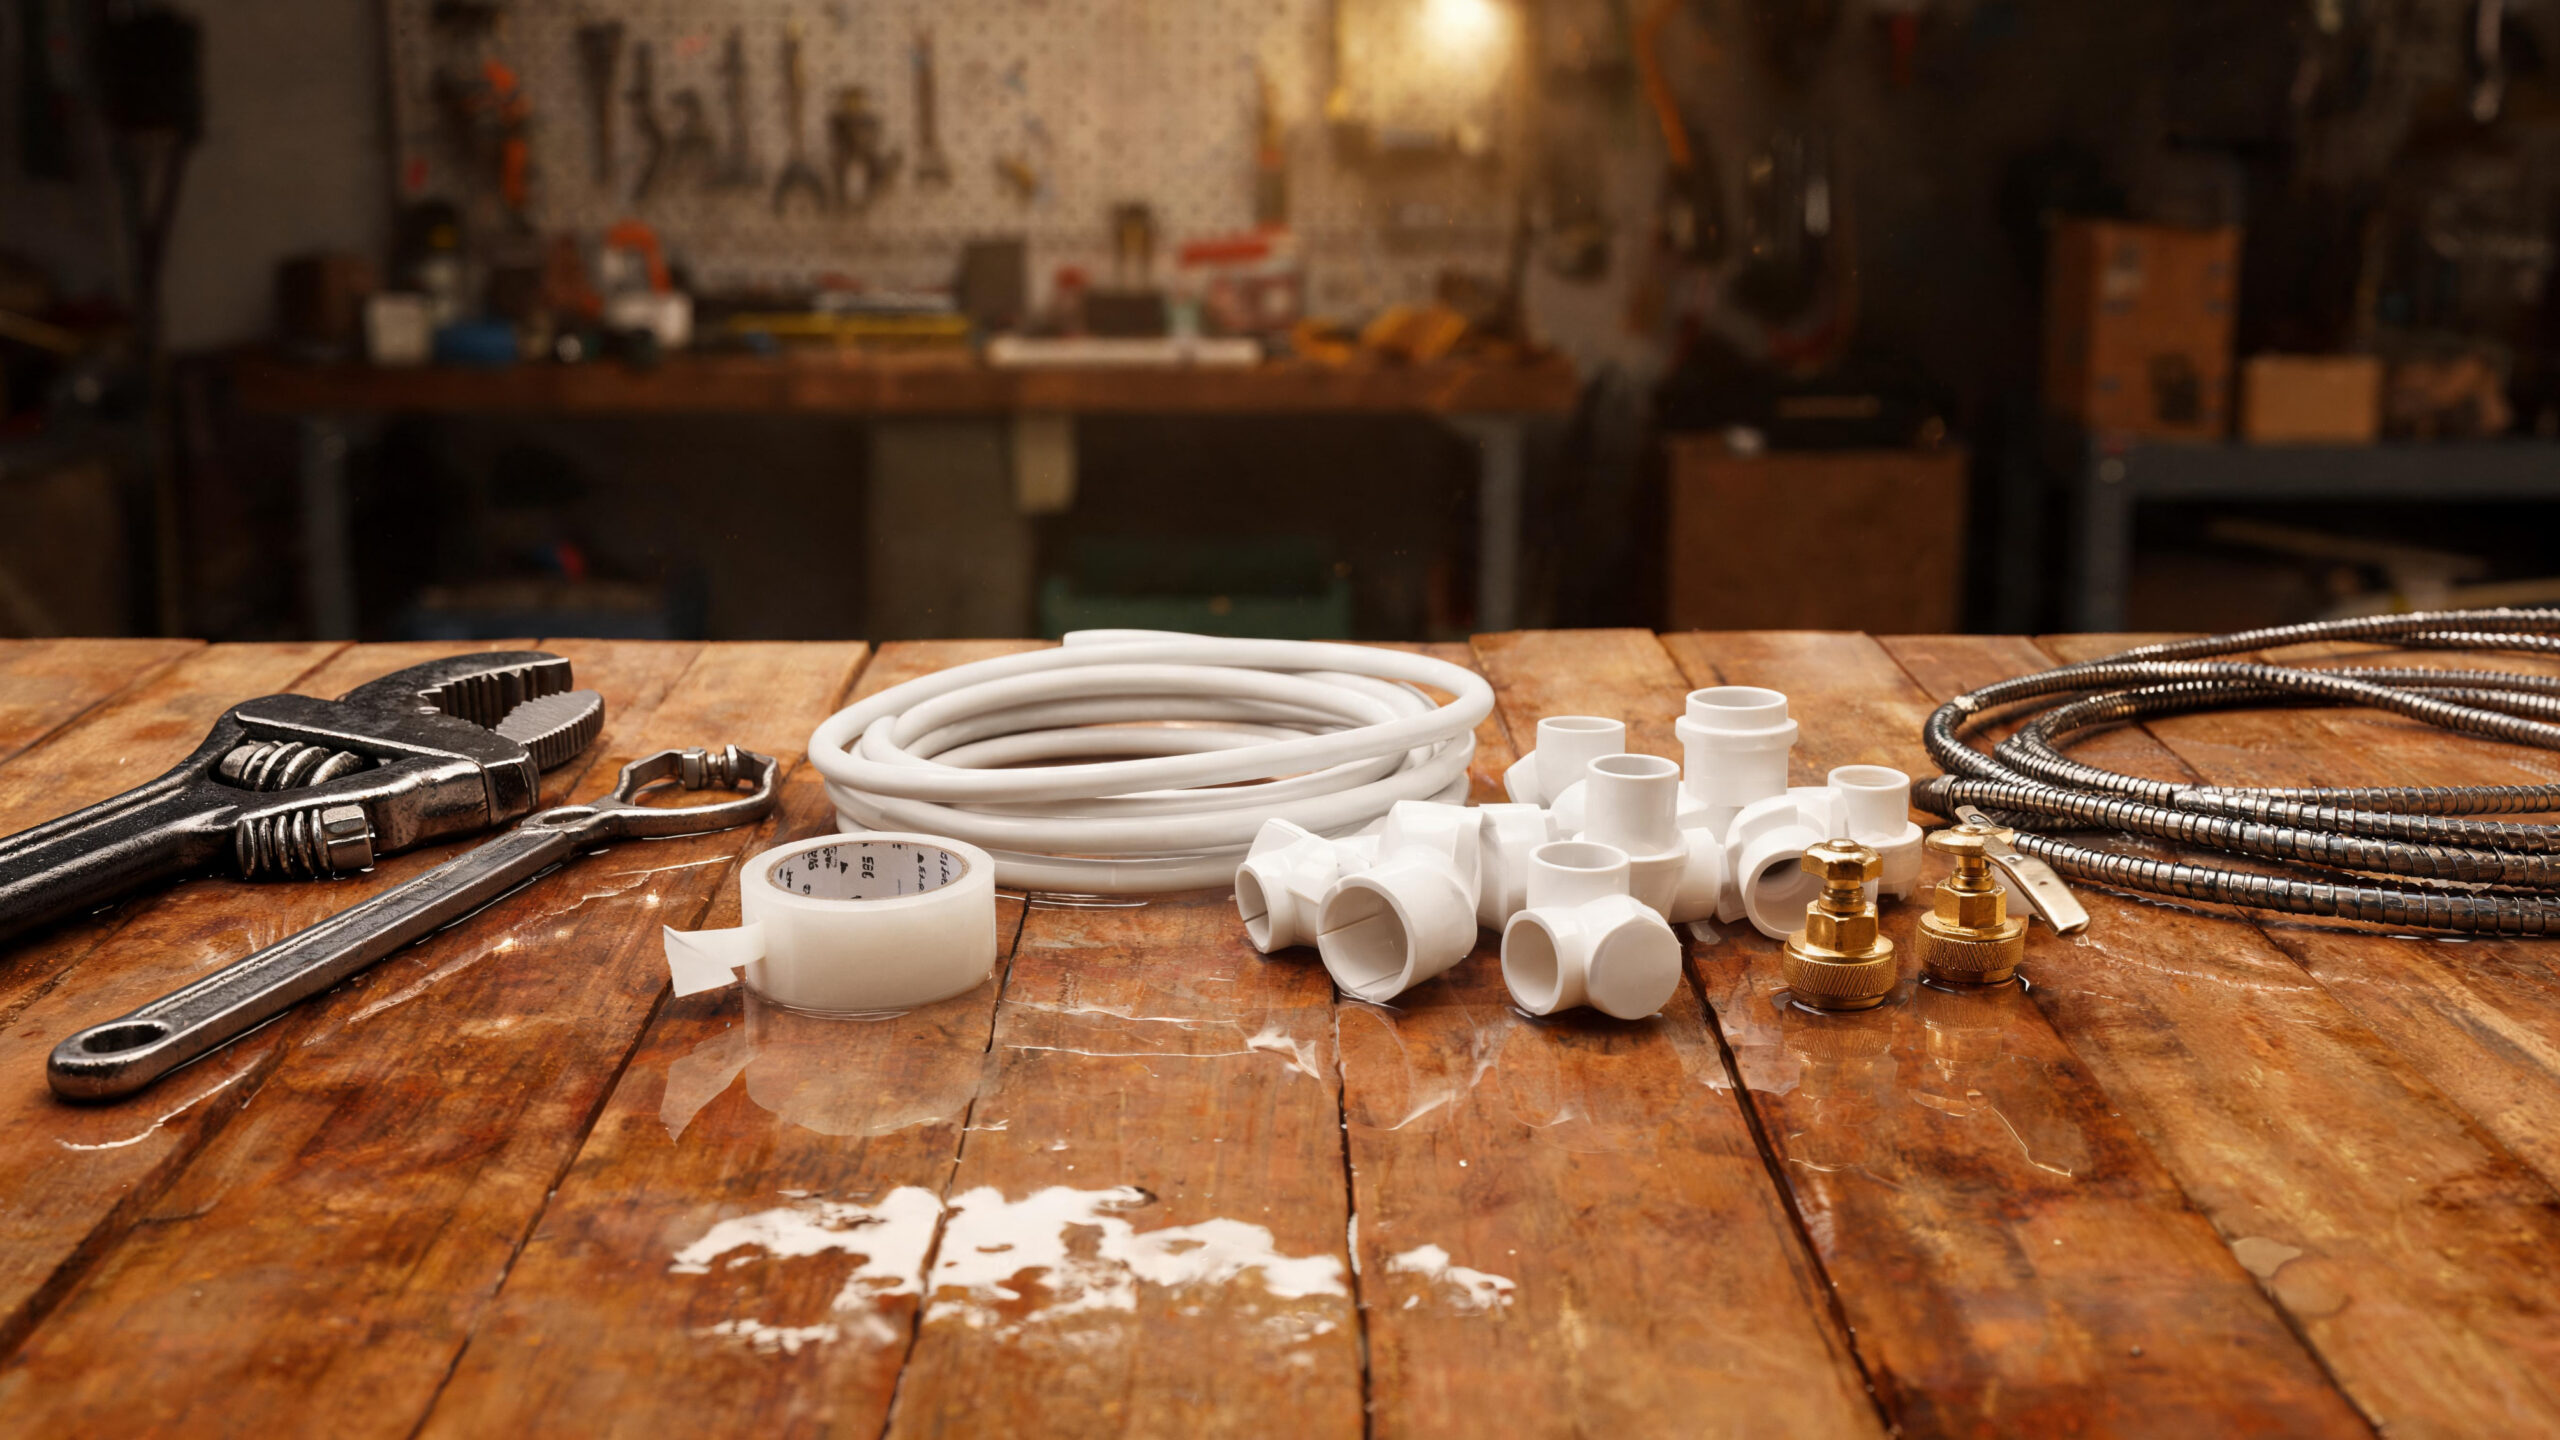
Replacing Sink Supply Lines
Old sink supply lines can become brittle, corroded, or unreliable. Replacing them is a smart preventative repair, especially if they are rubber or visibly worn. Braided stainless steel supply lines are a popular upgrade because they are durable and easy to install.
Shut off the hot and cold valves, open the faucet to relieve pressure, and place a towel underneath the connections. Remove the old lines and install the new ones without cross-threading. Tighten until snug, then turn the water back on slowly while checking for leaks.
Fixing a Leaky Toilet Base
Water around the base of a toilet may mean the wax ring has failed. This seal sits between the toilet and the drain flange, preventing water and sewer gases from escaping. A leaking wax ring should be repaired promptly to avoid floor damage. To replace it, shut off the water, drain the toilet, disconnect the supply line, and remove the toilet bolts. Lift the toilet carefully and scrape away the old wax. Install a new wax ring or wax-free seal, reset the toilet evenly, and tighten the bolts gradually. Do not overtighten, because porcelain can crack.
Repairing a Loose Toilet Handle
A loose or sticky toilet handle is usually caused by a worn handle arm, loose mounting nut, or chain adjustment problem. Remove the tank lid and inspect the handle mechanism. In many toilets, the nut inside the tank tightens in the opposite direction from standard nuts.
If the handle is corroded or cracked, replace it. Adjust the chain so it has slight slack when the flapper is closed. If the chain is too tight, the flapper may leak. If it is too loose, the toilet may not flush properly.
Stopping a Dripping Outdoor Faucet
Outdoor faucets, also called hose bibs, often leak from the handle or spout after years of use. A drip from the handle may be fixed by tightening the packing nut. If that does not work, the packing washer may need replacement. A drip from the spout often means the internal washer is worn. Shut off the water supply, remove the handle and stem, replace the washer, and reassemble. In cold climates, frost-free outdoor faucets help reduce freeze damage, but they still need proper winter preparation.
Preventing Frozen Pipes
Frozen pipes can burst and cause major water damage. Pipes in crawl spaces, garages, exterior walls, basements, and unheated areas are most vulnerable. Insulation is one of the best defenses.
Use foam pipe insulation on exposed lines and seal drafts near pipe runs. During extreme cold, opening cabinet doors and letting faucets drip slightly can help keep water moving. If a pipe freezes, turn off the water and warm the pipe gradually with safe heat sources. Never use an open flame.
Maintaining a Water Heater
Water heaters work hard every day, and basic maintenance can extend their lifespan. Sediment can collect at the bottom of tank-style heaters, reducing efficiency and causing popping or rumbling sounds. Flushing the tank periodically helps remove buildup. Homeowners should also inspect the area around the heater for leaks, corrosion, and moisture. The temperature and pressure relief valve should be functional, and the temperature setting should be safe and efficient. If you see rusty water, major leaks, or signs of tank failure, call a professional.
Fixing a Garbage Disposal Jam
A jammed garbage disposal often hums without spinning. Turn off the power before inspecting it. Many disposals have a hex key slot underneath that lets you manually rotate the motor shaft and free the jam.
Never put your hand inside the disposal. Use tongs or pliers to remove visible debris. After freeing the jam, press the reset button if needed, restore power, and test with cold water running. Avoid putting grease, fibrous vegetables, bones, and hard scraps into the disposal.
Replacing a Sink Drain Assembly
A worn sink drain assembly can leak, rust, or fail to seal properly. Replacing it improves function and prevents cabinet damage. Start by removing the P-trap and loosening the old drain hardware from below the sink. Clean the sink opening thoroughly before installing the new drain. Use plumber’s putty or the gasket provided by the manufacturer, depending on the drain style. Tighten the assembly evenly and reconnect the trap. Run water and check carefully for leaks around every connection.
Knowing Which Repairs Not to DIY
DIY plumbing is empowering, but some jobs are better left to professionals. Sewer line repairs, major pipe rerouting, slab leaks, gas water heater connections, and whole-house repiping are not ideal beginner projects. These repairs require specialized tools, permits, and advanced experience.
A smart homeowner knows when to stop. If you feel unsure, encounter hidden damage, smell sewer gas, or see active flooding that you cannot control, call a licensed plumber. DIY confidence is valuable, but responsible decision-making protects your home.
Building Your DIY Plumbing Confidence
The best way to learn plumbing is through small, successful repairs. Start with showerheads, faucet aerators, toilet flappers, and simple drain cleaning. Move up to supply lines, P-traps, and fixture replacements as your confidence grows. Each project teaches you how fittings connect, how water behaves, and how small details prevent leaks. Over time, plumbing becomes less mysterious and more manageable. With patience, preparation, and respect for the system, every homeowner can learn the essential DIY plumbing repairs that keep a home running smoothly.