Replacing a bathroom sink faucet is a manageable DIY project when the sink is accessible, the shutoff valves work, and the replacement faucet actually matches the basin. The work is not difficult because the parts are complicated. It is difficult because the space is cramped, old hardware can be corroded, and one overlooked drip can damage a vanity floor.
A good faucet swap starts with water control, careful measurement, and a clean work area. Plan the job from above and below the sink before taking anything apart. If the shutoff valves leak, the mounting nuts are badly seized, or the drain parts crumble when touched, the real repair may be larger than the faucet.
A: Confirm hole count, spread, deck thickness, spout reach, drain type, and clearance.
A: Usually yes, especially if the old lines are kinked, corroded, stiff, short, or the wrong connection type.
A: Stop and repair or replace the valve before disconnecting the faucet supply.
A: Use the sealant or gasket method specified by the faucet and drain manufacturer.
A: It makes the stopper, pivot rod, clevis strap, and lift rod easier to reassemble.
A: Tighten enough to seal, but do not crush washers, strip threads, or twist the hose.
A: Flushing removes debris before it clogs the aerator or scratches internal parts.
A: Fill the basin, release the stopper, run water, and watch the flange, trap, and tailpiece joints.
A: Small leaks often show up after repeated hot, cold, and drain use.
A: Call for failed shutoffs, corroded pipes, damaged valves, cracked sinks, or persistent leaks.
Confirm the Sink and Faucet Match
Start above the sink. Bathroom faucets usually fall into single-hole, four-inch centerset, or widespread layouts. The replacement needs to match the holes already in the basin or countertop unless a deck plate is designed to cover the unused openings. Measure from the center of one outside hole to the other, and check the product instructions before buying.
Look below the sink as well. A faucet may fit the holes but still be frustrating if a drawer box, deep bowl, pedestal, wall-hung sink, or narrow vanity blocks access to the mounting hardware. Deck thickness also matters because some mounting kits do not work well on unusually thick countertops.
Check whether the faucet includes a drain assembly. Some kits come with a matching pop-up or push drain, while others include only the faucet body and supply connection hardware. Knowing that before the job begins keeps you from discovering a missing drain part with the sink already apart.
Inspect the Shutoff Valves Before Anything Else
The hot and cold shutoff valves under the sink decide whether this is a comfortable DIY job. Turn each valve gently clockwise and watch the stem, outlet, and wall connection. A valve that closes fully and stays dry gives you control. A valve that drips, spins, refuses to move, or fails to stop water changes the project.
After closing the valves, open the faucet to relieve pressure and confirm the water is actually off. Let the lines drain into the sink for a moment. If water keeps running, do not assume it will stop once the faucet is removed. Fix the valve problem first or prepare to use the main shutoff safely.
Older stops can begin leaking only after they are disturbed. Keep a towel under them while you work, and treat any valve seepage as part of the job, not an unrelated nuisance.
Set Up the Vanity Like a Work Area
Empty the cabinet completely. Remove cleaners, baskets, shelf liners, towels, and anything stored against the back wall. Faucet work often happens by feel because your hands are above your face and behind the basin, so every extra object in the cabinet becomes a frustration.
Lay towels across the cabinet floor and place a shallow pan or bucket below the supply connections. Use a headlamp or small work light so you can see the mounting nuts, supply lines, drain linkage, and trap. Good lighting prevents scratched finishes, rounded nuts, and missed leaks.
Take photos before disconnecting anything. Capture hot and cold line routing, drain linkage, trap alignment, clip positions, and how the old faucet sits on the sink. Those photos are useful when the new parts do not match the old layout exactly.
Choose the Right Tools
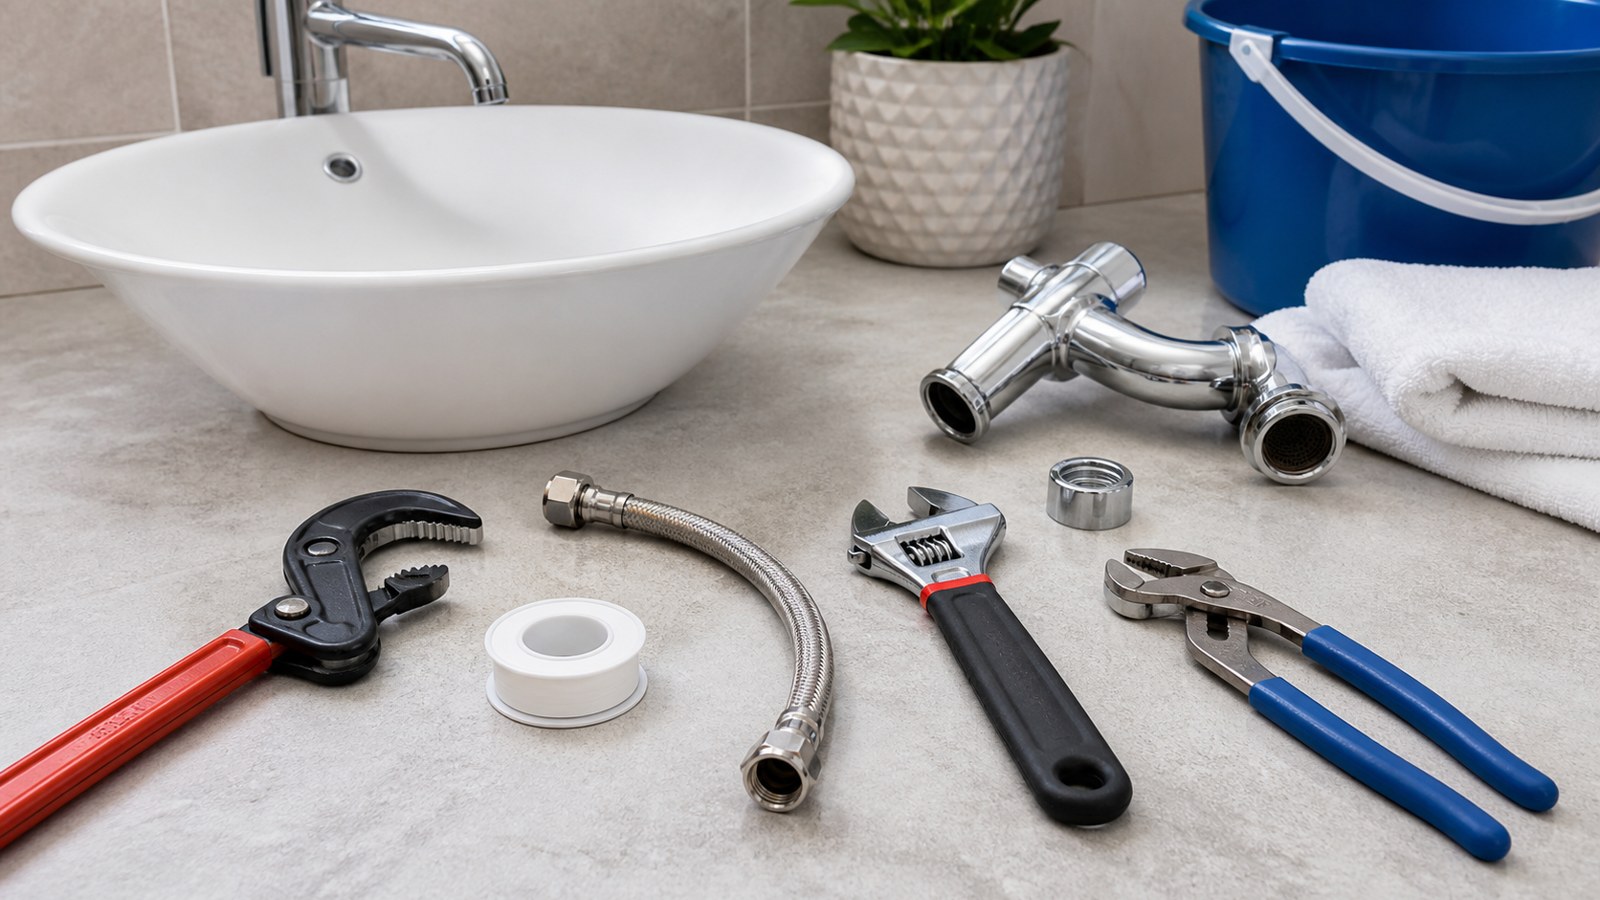
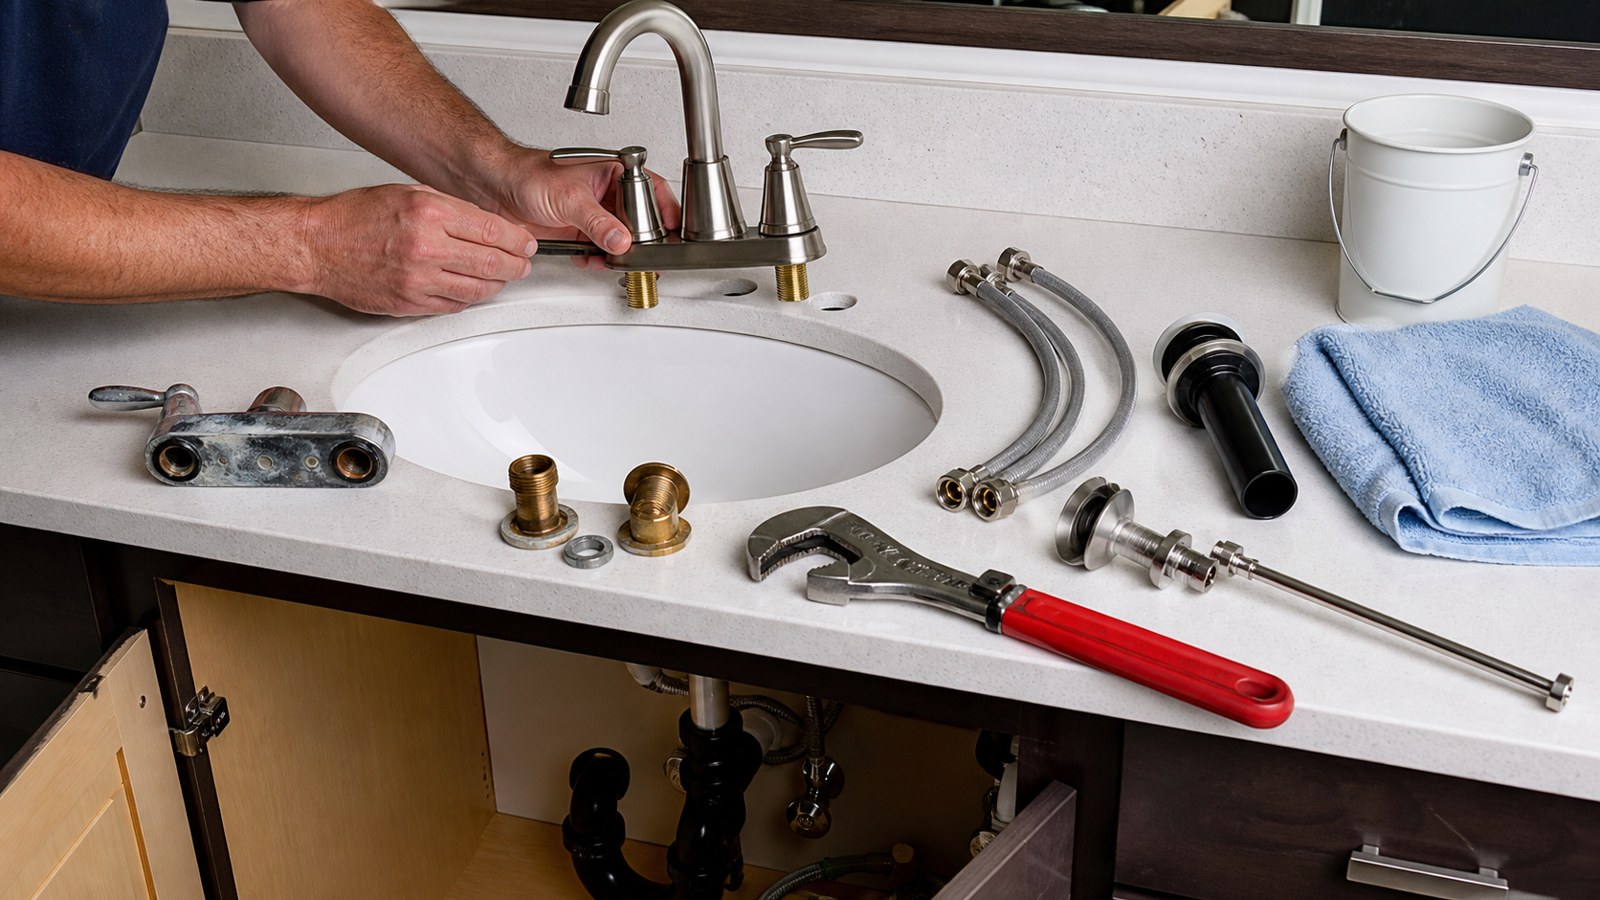
A basin wrench is often the tool that saves the project. Faucet mounting nuts are tucked high behind the bowl where ordinary wrenches may not fit. A small adjustable wrench, tongue-and-groove pliers, flashlight, bucket, plastic scraper, utility knife, and parts tray are also useful.
Avoid grabbing finished faucet parts with rough pliers. Chrome, brushed nickel, matte black, and brass finishes can scar quickly. If you need to protect a visible nut or trim piece, use a strap wrench, soft cloth, or the tool recommended by the faucet maker.
Do not fight hardware with the wrong tool for twenty minutes. Tight vanity spaces punish impatience. If a nut is rounded, seized, or inaccessible, pause and improve the setup before applying more force.
Disconnect the Supply Lines Carefully
With the valves closed, loosen the supply line connections. Support the shutoff valve body while turning the supply nut so you do not twist the valve or pipe coming from the wall. A stubborn connector can make the whole stop move if it is handled carelessly.
Let trapped water drain into the bucket. If the supply lines are kinked, frayed, corroded, too short, stiff, or old enough that the rubber washers may be compressed, plan to replace them. New supply lines are inexpensive compared with cabinet or ceiling damage.
Label hot and cold if the layout is confusing. Modern faucets usually make the connections obvious, but older installations and tight vanities can cross lines or hide markings.
Remove the Drain Linkage Before It Becomes Confusing
If the old faucet uses a lift rod, disconnect the clevis strap, spring clip, pivot rod, and stopper linkage carefully. Photograph the assembly first. Pop-up hardware has several small pieces, and it is easy to forget how they were arranged after the old faucet is loose.
A new push drain may eliminate the lift rod entirely. A new pop-up drain may require adjustment after installation. Either way, remove the old linkage with enough patience that you do not bend the strap, crack a plastic nut, or drop a clip behind the cabinet.
Keep small parts in a tray even if you think they will not be reused. They can help identify the old setup, and they keep the cabinet from becoming a scavenger hunt.
Decide Whether the Drain Should Be Replaced
A faucet replacement is often the right time to replace the drain assembly, especially when the old drain is corroded, mismatched, slow, stained, or leaking. A new faucet with an old crusted drain can look unfinished, and disturbing old linkage may reveal weak washers anyway.
Drain replacement adds work. The trap may need to come apart, the sink opening needs to be cleaned, and the new tailpiece has to align with the existing drain. If the old drain is clean, leak-free, and visually compatible, reuse may be reasonable.
Make the decision early. The job flows more smoothly when you know whether you are replacing only the faucet body or rebuilding the faucet and drain as a matched set.
Remove the Old Faucet Without Damaging the Sink
Loosen the mounting nuts from below. If mineral buildup or corrosion is present, work slowly. A basin wrench can help, but even the right tool needs careful alignment so it does not slip and damage the sink or cabinet.
Once the hardware is free, lift the faucet from above. If the base is stuck to old putty, gasket material, or mineral crust, cut the seal gently. Do not pry aggressively against a porcelain, cultured marble, stone, or thin sink deck.
If the faucet refuses to move, reassess instead of escalating force. Sometimes a corroded nut needs to be cut, a sink needs to be removed for access, or a plumber needs to handle the old hardware before the sink is damaged.
Clean the Deck and Inspect the Opening
The new faucet needs a clean, flat sealing surface. Remove old putty, gasket residue, mineral deposits, soap film, grime, and adhesive. A plastic scraper is safer than a metal blade on many sink finishes, though stubborn buildup may need careful hand work.
Dry the deck and inspect the holes. Look for chips, cracks, swollen countertop material, rust marks, or uneven surfaces that could keep the new gasket from sealing. A small flaw around a hidden hole may explain why the old faucet leaked at the base.
Test-fit the new faucet before final installation. Make sure the deck plate covers what it needs to cover, the spout reaches the basin properly, and the handle movement clears the backsplash or wall.
Set and Align the New Faucet
Follow the faucet instructions for gasket, deck plate, putty, or sealant. Many modern faucets use a gasket and do not need plumber’s putty under the base. Adding sealant where it is not wanted can create cleanup problems or prevent parts from seating correctly.
Set the faucet from above and loosely secure the mounting hardware from below. Before tightening fully, look from the front and confirm the faucet is centered and square to the sink. A slightly crooked faucet is easy to correct now and irritating forever once the job is finished.
Tighten the mounting hardware evenly. The faucet should be stable without flexing the sink deck or crushing gaskets. Overtightening can crack brittle surfaces or distort the mounting system.
Install or Reconnect the Drain Assembly
If the drain is being replaced, remove the old flange and clean the sink opening thoroughly. Install the new drain with the gasket, washer, sealant, or putty specified by the manufacturer. Different drain designs seal differently, so the instructions matter.
Align the tailpiece so it points naturally toward the trap. Drain parts should meet without being pulled sideways. A trap under tension may look dry during the first test and leak after a few uses.
If the drain uses a pivot rod, orient the opening correctly and adjust the stopper after water is restored. If it uses a push mechanism, test the click action before the trap is fully hidden behind stored items.
Reconnect the Trap Without Forcing Alignment
The trap should connect to the new tailpiece and wall arm without strain. If the new drain is longer, shorter, or offset compared with the old one, adjust the drain parts rather than bending or twisting them into place. Slip-joint washers need square contact to seal.
Hand-tighten plastic nuts first. Add only modest pressure if needed. Overtightening can deform washers, crack plastic, or make a leak worse. Metal drain parts may need a different touch, but they still should not be forced.
Look at the trap from several angles. A joint that appears seated from the front may be cocked at the back, especially in a dark vanity.
Install New Supply Lines the Right Way
New supply lines are usually worth installing with a new faucet. Choose the correct connector size, length, and thread type. The line should make a relaxed curve from the shutoff to the faucet, without kinking, stretching, rubbing a sharp edge, or pushing the valve sideways.
Most faucet supply connections seal with built-in washers. Thread tape is not appropriate on many compression or washer-sealed connections and can interfere with proper seating. Use the method the connector calls for rather than treating every threaded joint the same.
Open the valves slowly after everything is connected. A gradual pressure test gives you time to see a drip before water sprays or runs across the cabinet.
Flush the Faucet Before Final Testing
New faucet work can loosen debris from old stops, supply lines, or pipe interiors. If the instructions recommend it, remove the aerator before running water. Turn on hot and cold sides and let them flush into the basin so grit does not clog the new aerator immediately.
Reinstall the aerator and check the flow pattern. If water sprays oddly or flow is weak, clean the aerator before assuming the faucet is defective. A tiny piece of debris can make a brand-new faucet act like it has low pressure.
Move the handle through its full range. Check hot, cold, mixed water, high flow, low flow, and shutoff. This is the moment to catch handle interference, reversed lines, or a loose connector.
Test the Drain Under Real Use
Run water while watching the supply connections, faucet base, drain flange, tailpiece, trap, pivot rod area, and shutoff valves. Use a dry paper towel at the lowest points because a tiny leak can be hard to see on dark pipe or cabinet surfaces.
Fill the sink and release the full basin at once. That test puts more demand on the drain than a small stream from the faucet. Watch every slip joint while the water drains and for a few minutes after it stops.
Close the stopper and confirm the basin holds water if the new assembly includes one. A stopper that looks installed may still need adjustment to seal or drain properly.
Adjust the Stopper Mechanism
For a lift-rod assembly, adjust the clevis strap and pivot rod until the stopper opens enough for normal drainage and closes enough to hold water. Small changes make a big difference. If the stopper barely lifts, the sink will drain slowly even though the plumbing is clear.
Check the pivot rod nut after adjustment. It needs to seal while allowing movement. If it leaks, inspect the gasket, ball, and alignment before tightening blindly. Too much force can make movement stiff or damage the seal.
For push drains, press the stopper several times. It should open and close smoothly without sticking, rocking, or trapping water around the flange.
Leave the Cabinet Open for Follow-Up
Do not refill the vanity as soon as the first test looks dry. Leave the cabinet open and mostly empty until the faucet has been used several times. Stored bottles, towels, and baskets can hide a slow drip and hold moisture against cabinet material.
Check later the same day and again the next day. Touch a dry paper towel to supply fittings, drain joints, the cabinet floor, and the back wall. Look below the bathroom too if there is a ceiling or finished room underneath.
Slow leaks are the expensive ones because they are easy to miss. A five-minute recheck can protect the cabinet, flooring, and ceiling below.
Avoid the Mistakes That Cause Most Faucet Problems
Common faucet replacement mistakes include buying the wrong spread, ignoring bad shutoff valves, reusing worn supply lines, overtightening plastic drain parts, skipping the aerator flush, and forcing the trap to meet the new tailpiece. Each mistake can create a leak even when the faucet itself is good.
Another mistake is treating the drain as an afterthought. Many bathroom sink leaks after faucet replacement come from disturbed traps, misaligned tailpieces, old washers, or stopper hardware that was moved during the job.
Work like the cabinet is part of the repair. Protect the finish, keep parts organized, dry the area, and verify the result under normal use. The faucet should look better, but the hidden plumbing needs to be better too.
Final Bathroom Faucet Replacement Review
A successful bathroom faucet replacement starts with the right faucet style, reliable shutoff valves, a protected cabinet, and patient removal of old parts. Clean the sink deck, mount the faucet straight, use supply lines that fit without strain, and align the drain instead of forcing it.
Stop when the work stops being controlled. Failed shutoff valves, brittle wall connections, severe corrosion, cracked sink material, or drain parts that will not align can turn a simple faucet swap into a larger plumbing repair.
Before calling the job finished, run hot and cold water, fill and drain the basin, test the stopper, inspect every connection with a dry paper towel, and recheck the next day. A clean faucet replacement leaves the sink straight, the cabinet dry, and the repair easy to trust.