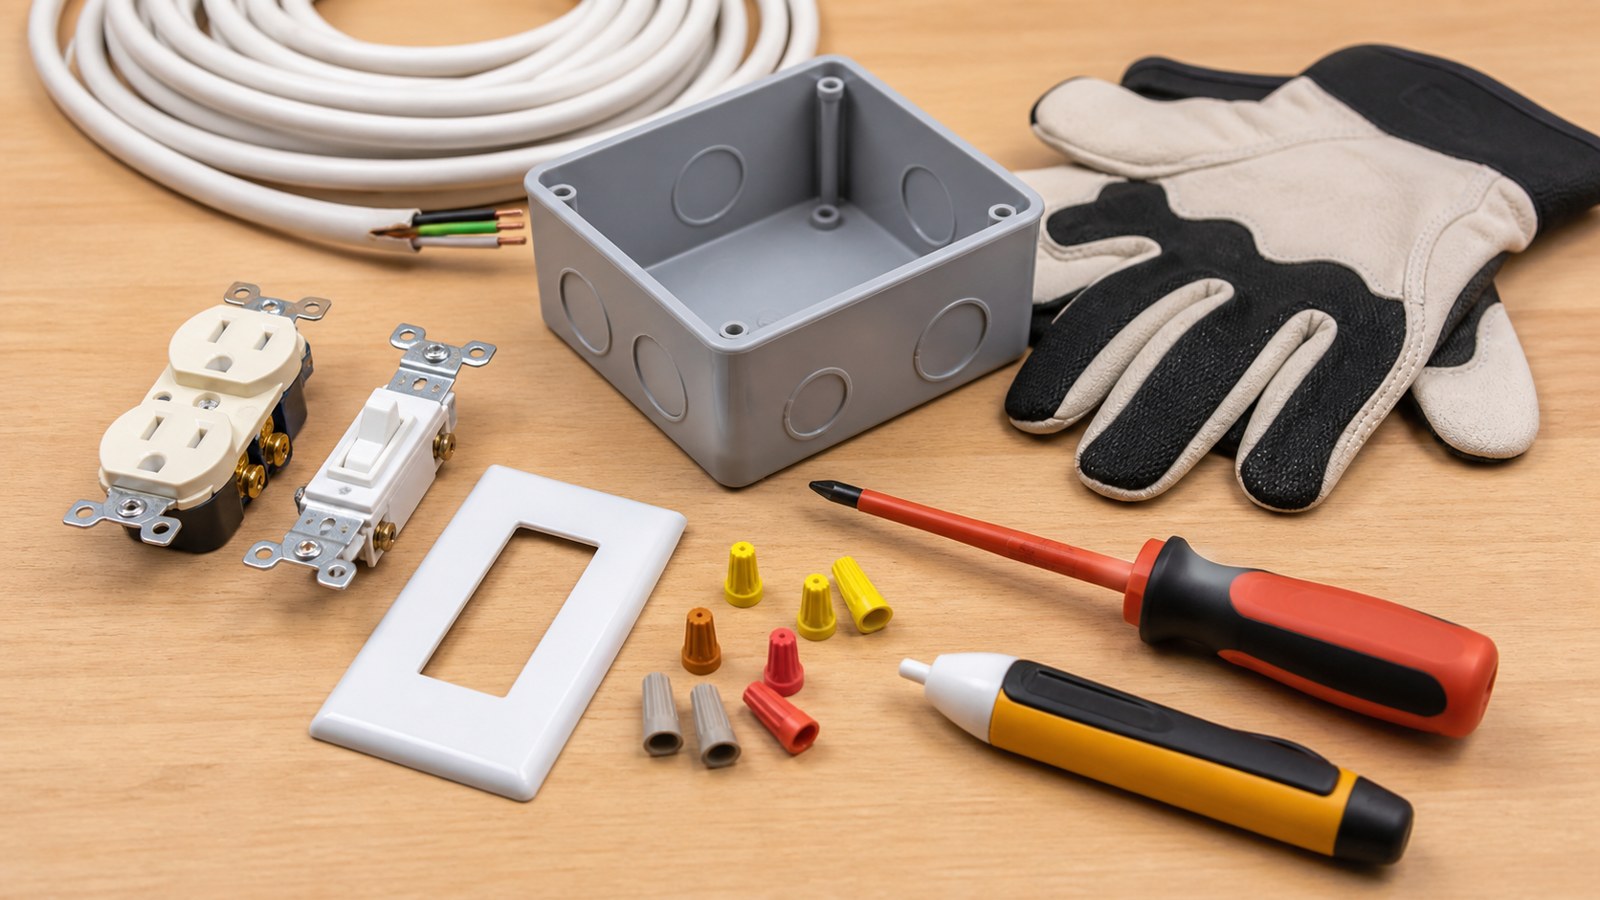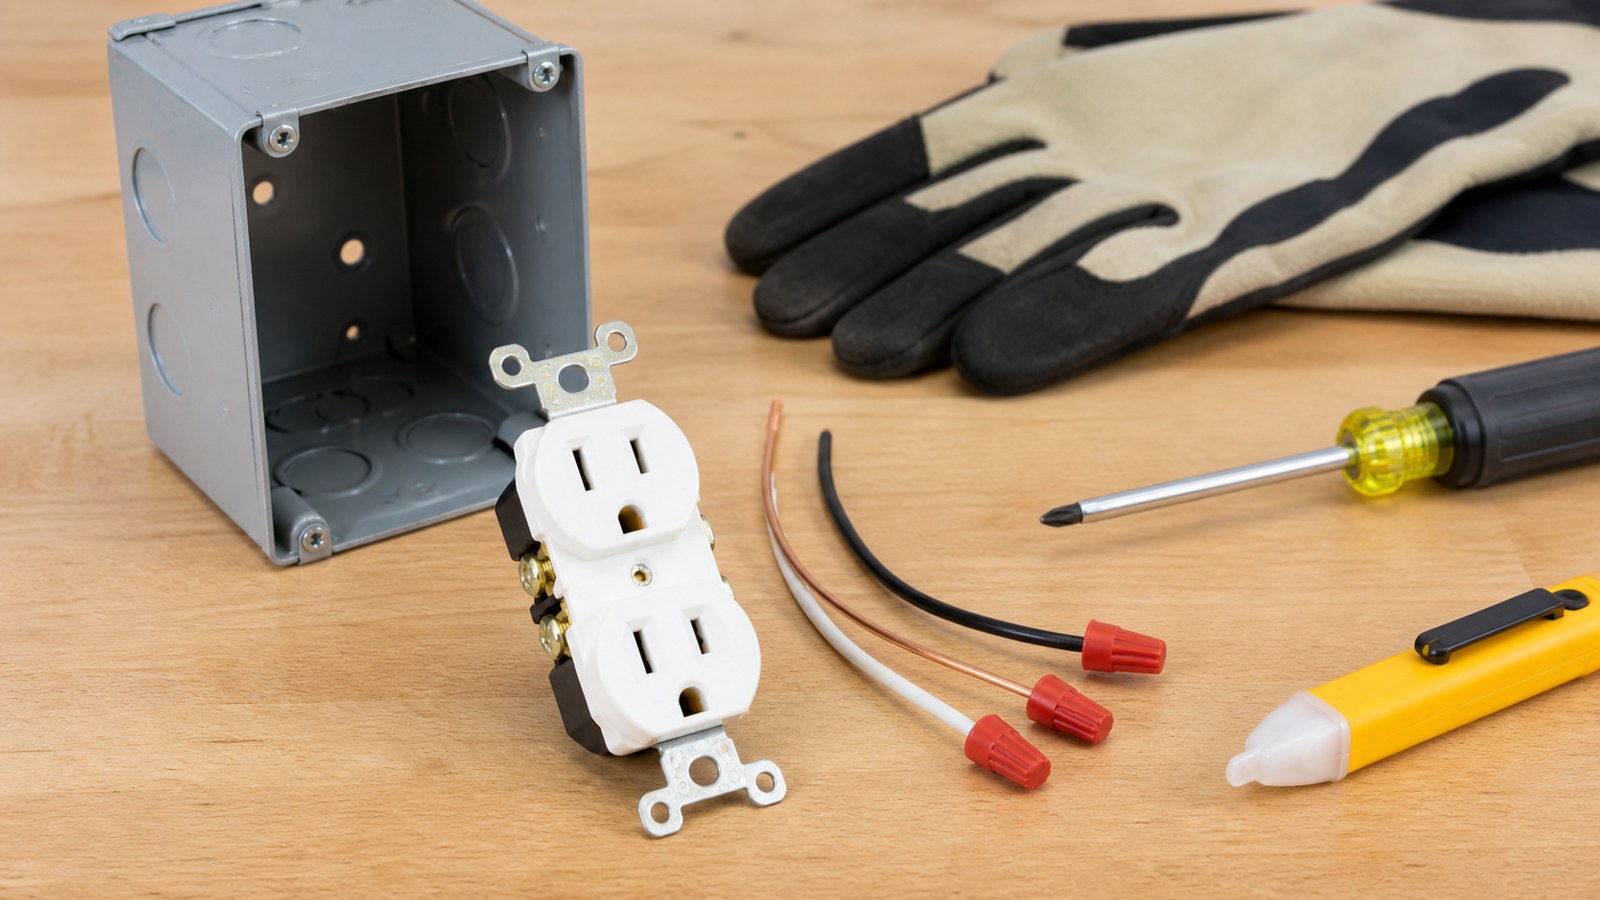
Installing an electrical outlet is different from replacing an old one. A new outlet may require a permit, a legal wiring path, the correct box, the right cable, GFCI or AFCI protection, load planning, and inspection before the wall is closed. The visible receptacle is only the last part of the work.
A safe outlet installation starts with deciding whether the circuit can support the new load and whether the location is allowed. If the project involves running new cable, opening walls, working in kitchens, bathrooms, garages, basements, outdoors, or changing a circuit, it may belong with a licensed electrician. The steps below help a homeowner understand the process and recognize the points where guessing should stop.
A: No. The circuit, location, code rules, box type, and cable route all have to support it.
A: Many areas require one, especially for new wiring, outdoor outlets, kitchens, baths, or dedicated circuits.
A: Only if that circuit has capacity, correct wire size, proper protection, and accessible wiring.
A: Choose a box rated for the wall type, installation method, cable clamps, device count, and box fill.
A: GFCI is commonly required in wet, damp, garage, basement, kitchen, bath, and outdoor areas.
A: AFCI may be required for many living areas and protects against different arc-fault hazards.
A: Turn off the breaker and verify with appropriate testers before touching conductors.
A: Pigtails can keep device connections cleaner and preserve circuit continuity in the box.
A: Test hot, neutral, ground, polarity, GFCI or AFCI behavior, device fit, and cover alignment.
A: Call for panel work, uncertain grounding, aluminum wiring, overloaded circuits, permits, or hidden-route uncertainty.
Start With the Reason for the New Outlet
Before cutting a hole, decide why the outlet is needed. A phone charger beside a bed, a workbench tool, a freezer, a television, a bathroom appliance, and an outdoor receptacle all place different demands on the circuit. Location and load should guide the plan.
Adding an outlet only because an extension cord is annoying can still be valid, but the new receptacle must be supplied correctly. Permanent wiring should solve the problem without creating overload, nuisance trips, or a hidden hazard behind the wall.
Check Whether the Circuit Can Handle It
A new outlet does not create new electrical capacity. It adds another place to use the same circuit unless a new circuit is installed. If the circuit already serves a kitchen appliance, bathroom, garage tool, heater, or several busy rooms, adding more load may not be wise.
Think about what will be plugged in. Lamps and chargers are different from space heaters, compressors, microwaves, freezers, and power tools. When the expected load is high or continuous, an electrician may need to add a dedicated circuit rather than extend an existing one.
Know When a Dedicated Circuit Makes Sense
Some outlets should not be casual additions to a general room circuit. Freezers, sump pumps, workshop tools, microwaves, bathroom equipment, laundry appliances, and high-demand electronics may need dedicated circuits or special protection.
If the new outlet is for one important appliance or a predictable heavy load, plan that honestly. A dedicated circuit costs more than tapping a nearby receptacle, but it can prevent nuisance trips and overloaded wiring.
Confirm Permit and Code Requirements
Rules vary by area. Some jurisdictions allow homeowners to do limited electrical work in their own homes with a permit. Others require licensed electricians for new outlets or certain rooms. Kitchens, bathrooms, garages, laundry areas, basements, and exterior locations often have special rules.
Check requirements before work starts. Permits and inspections are not just paperwork; they help confirm that the wiring route, box, protection, and final device are suitable. Skipping this step can create problems during resale, insurance claims, or later remodeling.
Choose the Outlet Location Carefully
The best outlet location is useful, accessible, and safe. Avoid placing receptacles where cords will cross walkways, where furniture permanently blocks access, or where moisture, heat, or impact are likely. Height and spacing may also be governed by code.
Look at studs, plumbing, ductwork, cabinets, tile, trim, and existing wiring before choosing the final spot. Moving an outlet a few inches during planning is easy. Moving it after the wall is cut and cable is run is much more frustrating.
Think About Spacing and Furniture
Outlet spacing rules exist so cords do not have to stretch across rooms, but practical furniture placement matters too. Beds, sofas, desks, workbenches, cabinets, and entertainment centers can block outlets or make them awkward to use.
Plan for the actual room layout. An outlet behind a heavy cabinet may meet the wall visually but fail in daily use. A slightly different location can make charging, lamps, tools, or appliances easier without relying on extension cords.
Decide Where Power Will Come From
An outlet may be fed from an existing receptacle, a junction box, or a new circuit, depending on code and circuit capacity. The source must be accessible, suitable, and not already overloaded. Not every nearby outlet is a good place to tap power.
Some circuits are restricted by room or purpose. Bathroom, kitchen small-appliance, laundry, garage, HVAC, and appliance circuits can have rules that limit what they may serve. If the source circuit is not clearly appropriate, stop and get professional guidance.
Plan the Cable Route
Running cable safely is often the hardest part of installing a new outlet. Cable must be protected from damage, routed through framing correctly, secured where required, and kept away from hazards. Fishing cable blindly through walls can be risky when plumbing, gas lines, ducts, or existing wires are present.
Open access from an attic, basement, crawl space, unfinished wall, or adjacent room may make the job more manageable. Finished walls, tile backsplashes, exterior walls, fire blocking, insulation, and multi-story routes can quickly make the project professional-level work.
Use the Correct Box
The electrical box must match the wall type, wiring method, and outlet location. New-work boxes attach before drywall is installed. Old-work boxes clamp to existing walls. Exterior boxes, masonry boxes, and metal boxes each have specific uses.
Box size matters because every conductor, device, clamp, and ground takes space. A box that is too small can pinch wires and make safe connections difficult. If a GFCI or bulky device will be installed, choose a box with enough room from the start.
Cut the Opening Cleanly
Once the box location is confirmed, mark the opening carefully. Use the box or a template, check level, and avoid cutting too large. A sloppy hole makes the box hard to secure and can leave gaps around the cover plate.
Before cutting into an existing wall, make sure the area is clear of hidden utilities as much as possible. Cut shallowly at first. If resistance, metal, unexpected material, or wiring appears, stop and inspect rather than forcing the tool deeper.
Run Cable Without Damaging It
Cable should be pulled gently and protected from sharp edges. It should not be kinked, crushed, stapled too tightly, or dragged across abrasive surfaces. Damage to the outer jacket or conductor insulation can create trouble after the wall is closed.
Where cable passes through studs or framing near the surface, nail plates may be required to protect it from future screws or nails. This detail is easy to skip and hard to fix later. Cable protection is part of the installation, not an optional extra.
Use the Right Cable and Wire Size
Cable type and conductor size must match the circuit rating, wiring method, and location. A 15-amp branch circuit and a 20-amp branch circuit typically have different wire-size requirements. Outdoor, wet, unfinished, or protected areas may require different wiring methods.
Do not guess wire size by what happens to be available. The breaker, conductor size, cable type, and device rating all need to agree. If the existing circuit is old, unlabeled, aluminum, or confusing, do not extend it casually.
Understand GFCI and AFCI Protection
Many new outlets require GFCI protection, AFCI protection, or both, depending on location and current code. GFCI protection helps reduce shock risk in wet or damp areas. AFCI protection helps detect certain arcing faults.
Protection can be provided by a breaker, device, or other approved method depending on the system. Do not install a standard receptacle where protection is required. If you are unsure what protection applies, that is a sign to check code or call an electrician.
Treat Outdoor Outlets as Their Own Project
Outdoor outlets need weather-resistant devices, suitable boxes, proper covers, correct cable or conduit methods, and GFCI protection. The wall penetration also needs to be sealed so water and air do not enter the building assembly.
Exterior work adds weather, siding, masonry, insects, temperature movement, and equipment exposure. A receptacle that would be simple indoors can become a more serious project outside. When in doubt, have an electrician handle the exterior installation.
Turn Off Power Before Making Connections
If the work connects to an existing circuit, turn off the breaker and verify power is off before opening boxes or touching conductors. Test the tester on a known live source first, test the work area, and treat unexpected readings seriously.
Panel labels may be wrong. Multiwire circuits or multiple circuits in one box can surprise homeowners. If one breaker does not clearly de-energize everything in the box, stop. Do not make connections in a box that may still be live.
Make Secure Splices and Pigtails
Connections should be made with connectors rated for the wire size, type, and number of conductors. Pigtails may be needed so the outlet device is connected properly without relying on feed-through terminals for everything.
Every splice should be tight and contained in an approved, accessible box. Bare copper should not extend beyond connectors or terminals where it can contact the wrong part. Loose splices can heat, arc, and fail under load.
Wire the Receptacle Correctly
On a typical receptacle, hot conductors connect to brass-colored terminals, neutral conductors to silver-colored terminals, and ground to the green terminal or approved grounding path. Strip wires to the length shown on the device and seat them fully.
Use side terminals or approved clamp-style backwire terminals as instructed by the manufacturer. Avoid sloppy loops, exposed copper, insulation under terminal screws, or loose conductors. A receptacle can appear to work even when a terminal is not secure.
Ground the Box and Device Properly
Grounding depends on the box type, wiring method, and circuit. Plastic boxes and metal boxes are handled differently. Metal boxes often need a grounding pigtail to the box as well as the device, depending on the installation.
Do not assume a ground exists because a three-prong receptacle is planned. Verify the grounding path. If the circuit is ungrounded or the wiring method is unclear, use a code-compliant solution rather than creating a false sense of safety.
Mount the Outlet Straight and Flush
After connections are made, fold the wires neatly into the box. The device should mount straight without forcing. Wires should not be sharply kinked, pinched, or pressed hard against terminal screws.
The receptacle should sit flush with the finished wall surface. If the box is recessed too deeply, a box extender may be required. The cover plate should not be used to pull a crooked or recessed outlet into place.
Test Before Calling It Finished
After the cover is installed and power is restored, test the outlet. A plug-in tester can catch common wiring errors, and GFCI test buttons should trip and reset properly where applicable. Also test any downstream outlets that may be affected.
If the breaker trips, the tester shows a fault, a GFCI will not reset, or the outlet behaves oddly, turn the power off and correct the issue. Do not keep resetting the breaker and hoping the problem clears itself.
Label and Document the New Outlet
After the outlet tests correctly, update the panel directory or home maintenance notes. Record which breaker controls the new outlet, whether it is GFCI or AFCI protected, and whether it is tied to any downstream devices.
Good documentation helps the next repair. It also prevents confusion during future remodels, troubleshooting, or inspections. A new outlet should make the electrical system easier to understand, not more mysterious.
Patch and Protect the Wall
Installing a new outlet often leaves drywall dust, small gaps, or access holes. Patch cleanly, keep the cover plate flat, and make sure the outlet remains accessible. Do not bury junctions or splices behind finished surfaces.
If the outlet is in a workshop, garage, entry, or other impact-prone area, consider placement and cover durability. A properly wired outlet can still be damaged by carts, tools, furniture, or moisture if the location is poorly protected.
Know When the Job Is Too Much
Installing a new outlet should move to a licensed electrician when a new circuit is needed, the panel must be changed, the route is difficult, walls contain unknown wiring, the circuit serves a special area, aluminum wiring is present, or local rules require professional work.
Also call for outdoor outlets, wet locations, garages, unfinished basements, kitchens, bathrooms, and appliance loads if you are not sure what protection or circuit rules apply. The hidden part of the installation matters more than the visible faceplate.
Final New Outlet Installation Review
A good outlet installation starts with planning: load, location, source circuit, code requirements, cable route, box type, device rating, and required protection. The physical steps only make sense after those decisions are correct.
Use the right box and cable, protect the wiring path, make secure connections, ground the device properly, test the finished outlet, and stop when the circuit is not clearly understood. A new outlet should make the room more useful without making the electrical system less safe.