A floor does not need to be expensive to make a room feel finished. The convincing projects usually come from plain choices handled well: a material that suits the room, a color that works with the light, a layout that avoids awkward cuts, and trim that looks intentional instead of improvised.
The smartest budget plan is not to chase the cheapest square-foot price. It is to decide where the floor has to resist water, noise, claws, chairs, shoes, sunlight, and daily cleaning, then spend just enough in those places. Good prep and quiet design choices often do more for the final look than buying the flashiest product in the aisle.
A: Price the whole project, including prep, underlayment, trim, transitions, tools, waste, and disposal.
A: Often, especially where water, traffic, and easy cleaning matter.
A: Avoid it in wet, uncontrolled, or spill-prone spaces unless the product is rated for that use.
A: Yes, if the pattern is calm, the seams are planned, and the edges are finished cleanly.
A: Spend on subfloor prep, transitions, stairs, wet zones, and materials that match the room's demands.
A: They can be, but only if you confirm quantity, lot match, damage, return policy, and spare material.
A: Buy enough for cuts, mistakes, pattern direction, attic storage, and future repairs.
A: They control height changes, durability, safety, and the finished look between rooms.
A: Use simple patterns, good prep, clean edges, coordinated trim, rugs, and careful layout.
A: Confirm room demands, subfloor prep, full cost, layout, transitions, spare material, and maintenance.
Start With What the Room Has to Survive
Every room asks something different from a floor. A guest bedroom might only need warmth and a clean look. A kitchen has dropped pans, spills, chair legs, and constant traffic. A basement may have slab moisture, seasonal temperature swings, and storage traffic. An entry has grit from shoes and water from bad weather.
List those pressures before shopping. The same low-cost flooring that works beautifully in a dry office can fail quickly near a leaking dishwasher or exterior door. The high-end look comes from choosing a floor that ages calmly in the place where it is installed.
Use Luxury Vinyl Plank Where Water Is Part of the Story
Luxury vinyl plank is popular for a reason. It can handle many kitchens, basements, mudrooms, laundry areas, and rental spaces better than budget hardwood or inexpensive laminate. The best-looking affordable LVP usually has a low-sheen finish, believable texture, and enough plank variation that the same printed board does not appear every few feet.
Do not judge LVP by thickness alone. Look at the locking system, wear layer, edge detail, warranty limits, and whether the product is approved for the subfloor you have. A slightly better product in a calmer color often looks more expensive than the cheapest waterproof plank with a loud printed grain.
Keep Laminate in Dry, Controlled Rooms
Laminate can be a sharp budget choice in bedrooms, offices, living rooms, and hallways where standing water is unlikely. It often resists everyday scratches well, and modern textures can look convincing when the color is restrained. For families trying to cover a lot of square footage, laminate can stretch the budget without making the room feel temporary.
The weak point is moisture at the seams. If wet shoes, pet accidents, appliance leaks, or damp mopping are normal in the room, read the product limits carefully. A floor that swells at the edges will look cheap no matter how nice it looked on day one.
Give Sheet Vinyl a Fair Look
Sheet vinyl is easy to dismiss because many people remember old kitchens with yellowed patterns and curling edges. Newer sheet vinyl can be clean, quiet, and useful in bathrooms, laundry rooms, utility rooms, and small rentals. Because it has few seams, it can be a practical choice where water matters and the budget is tight.
Installation quality decides whether it feels polished. Bad cuts around door trim, bubbles, telegraphed debris, or loose edges make sheet vinyl look like a shortcut. A simple pattern installed over a properly prepared surface can look much better than a trendy product installed carelessly.
Use Tile Strategically Instead of Everywhere
Porcelain tile can still be affordable when the room is small. Powder rooms, compact entries, laundry closets, and small bathrooms can get a durable, high-end feeling from a straightforward tile and clean grout lines. The limited square footage keeps the material cost under control.
The budget changes when the pattern gets complicated. Herringbone, tiny mosaics, specialty trims, uneven subfloors, and many doorway cuts add labor. A larger simple tile, a straight layout, and a grout color close to the tile can look expensive without turning installation into the costly part of the project.
Put Carpet Where Comfort Has Real Value
Carpet is still useful in bedrooms, stairs, basements, playrooms, and rooms where noise control matters. A modest carpet with a better pad can feel more comfortable than a pricier carpet placed over a thin, tired pad. If the goal is warmth underfoot, do not spend the whole budget on the visible fiber and forget what sits below it.
Choose forgiving colors. Very light carpet shows stains quickly, and very dark carpet can show lint, pet hair, and footprints. Mid-tone textured carpet often looks cleaner between vacuuming and can make a budget installation feel calmer.
Consider Painted or Sealed Concrete
Concrete can become a finished floor in basements, workshops, utility rooms, and casual modern spaces. It is especially practical when adding a floating floor over a slab would create moisture worries. A cleaned, patched, and sealed slab can feel intentional instead of unfinished.
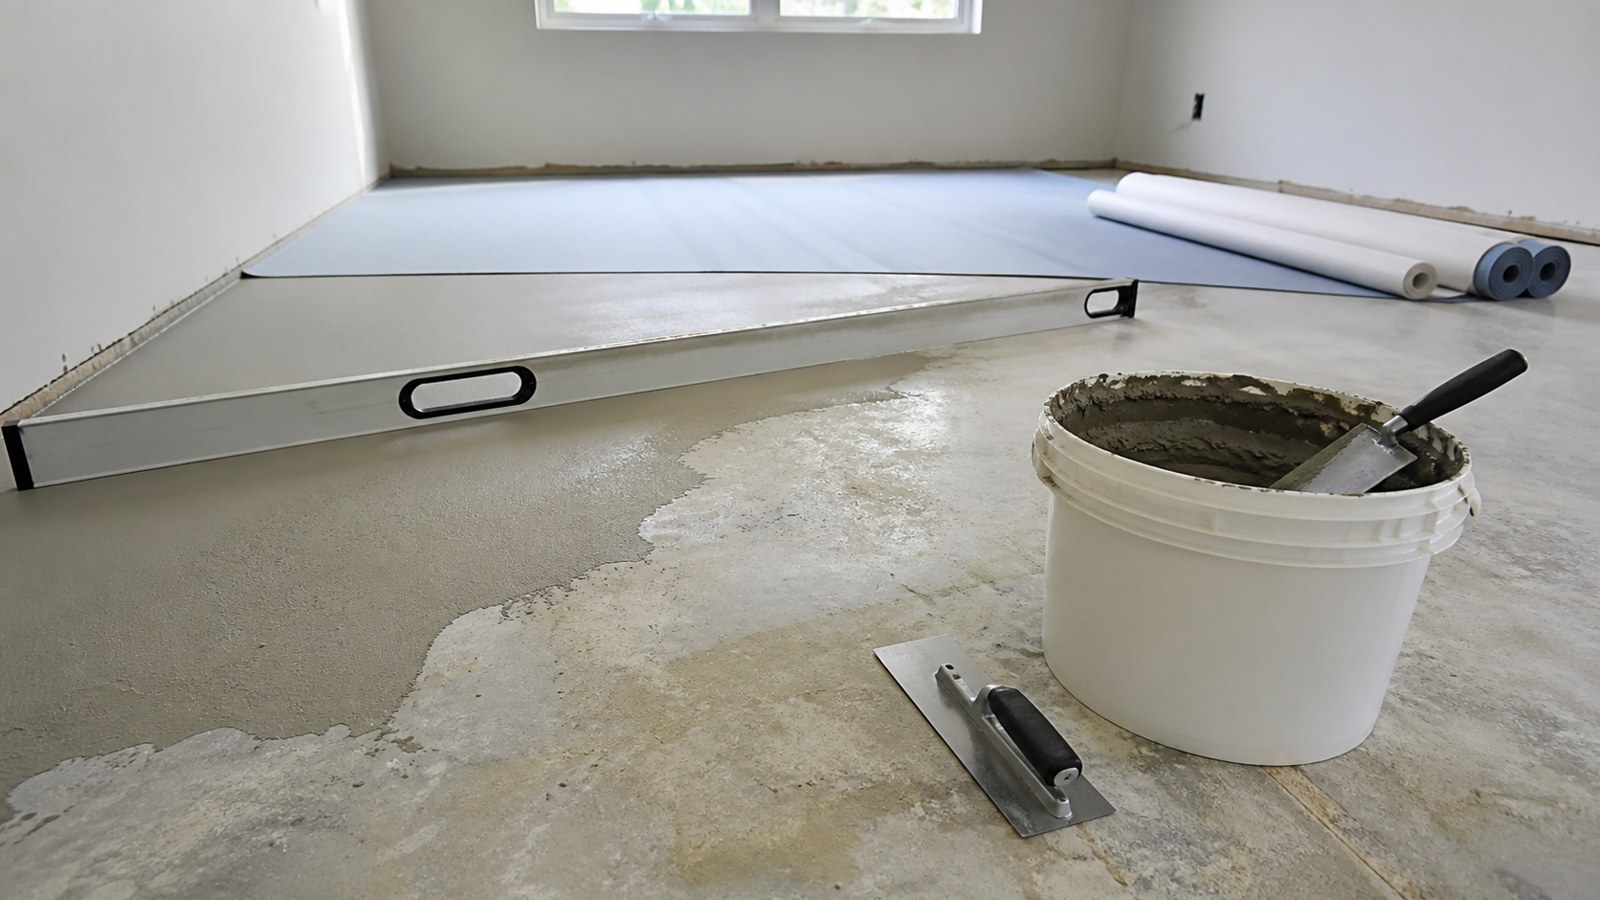
The prep has to be honest. Paint over dust, oil, old adhesive, or damp concrete will not hold up. Cracks, spalls, and stains need to be evaluated before coating. When the slab is sound, a matte sealer or concrete coating can turn the lowest-cost surface into a floor that belongs in the room.
Spend First on Subfloor Prep
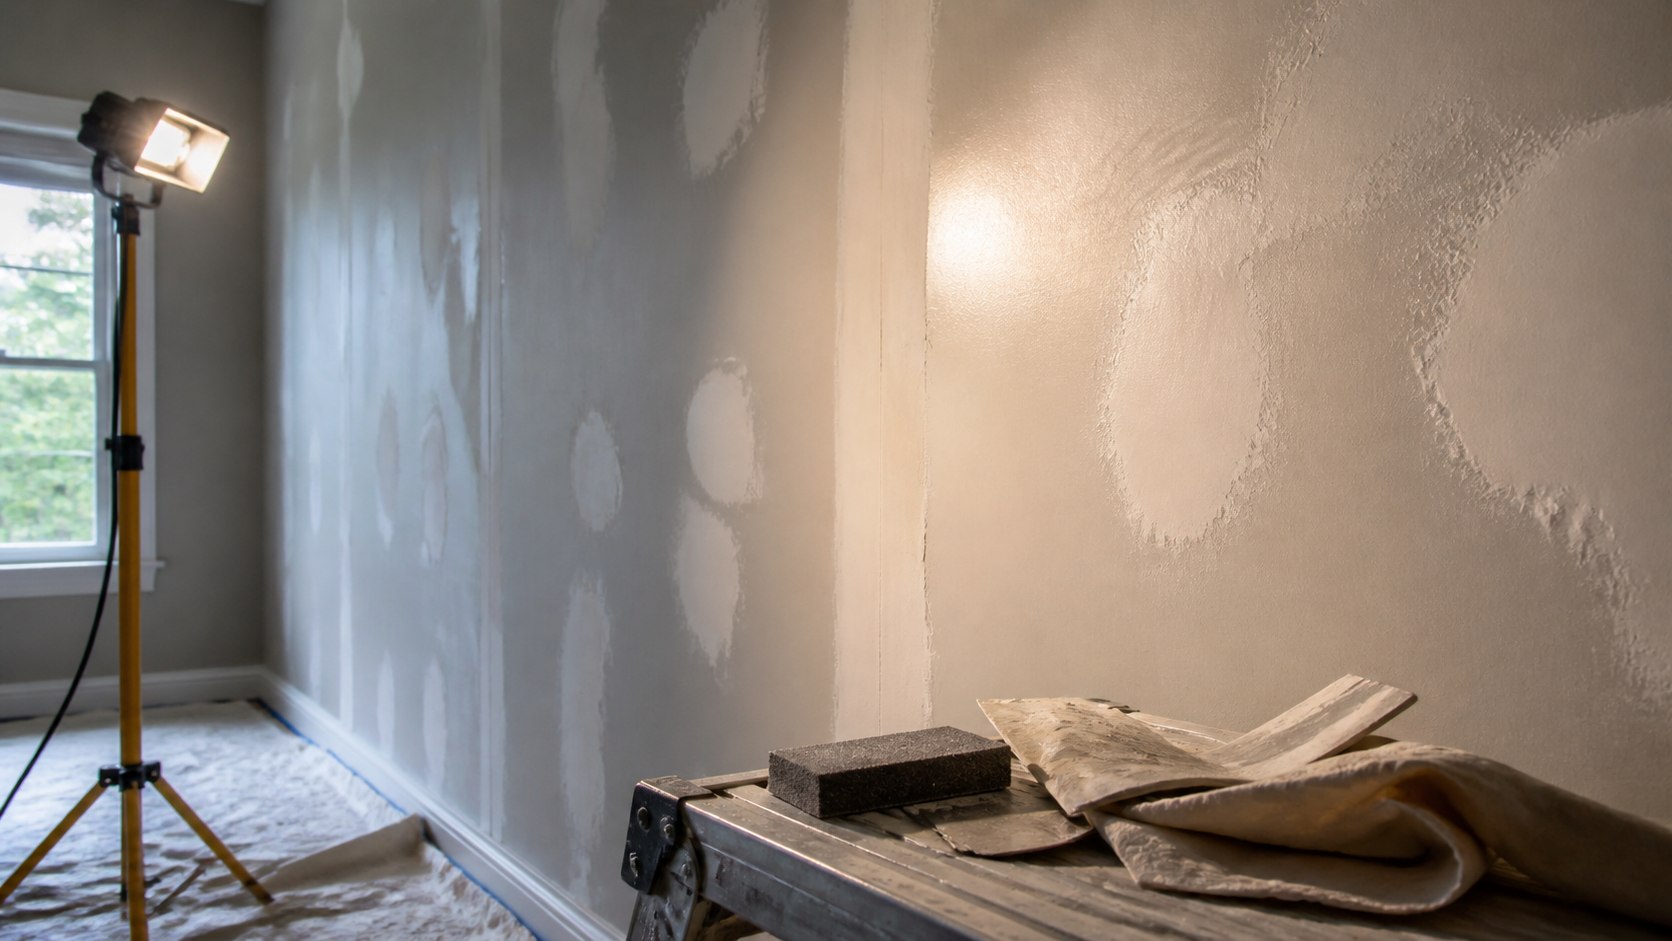
Subfloor prep is where affordable flooring either succeeds or announces itself as cheap. Low spots, high seams, squeaks, loose panels, old staples, dust, and moisture problems all show through the finished work in different ways. A budget plank over a flat, clean, quiet floor usually looks better than an expensive plank fighting dips and debris.
Check the manufacturer’s flatness requirements instead of guessing. Fill, sand, screw down, clean, or undercut as needed before boxes are opened. If money is limited, buy a calmer material before cutting prep. The prep is what lets the material look like it was chosen on purpose.
Limit the Number of Flooring Materials
A home can start to feel patched together when every nearby room has a different bargain floor. Repeating one good affordable choice through connected spaces often looks more expensive than switching from vinyl to laminate to carpet to tile within sight of the same hallway.
Use different materials where the room genuinely needs them. Bathrooms, laundry rooms, and entries may need water resistance. Bedrooms may want comfort. The goal is not one floor everywhere; it is fewer decisions that feel deliberate.
Choose Colors That Do Not Fight the House
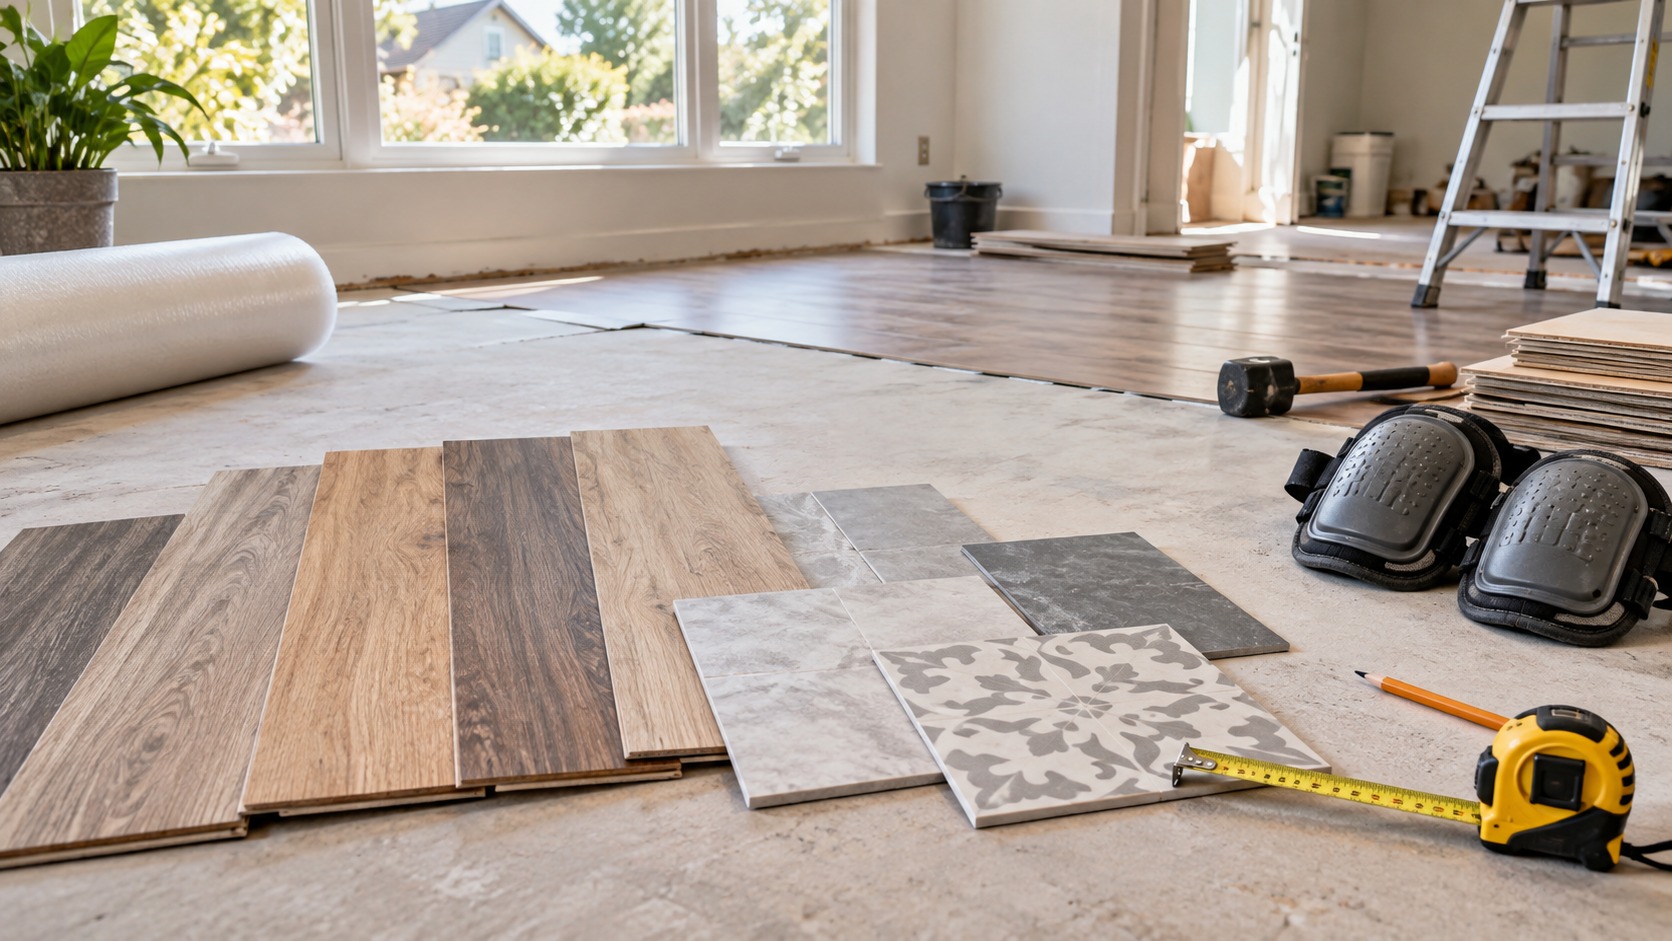
Budget floors look better when the color is quiet. Natural oak, soft brown, muted walnut, warm gray-brown, limestone, slate, and gentle taupe tend to age better than extreme gray, orange, red, or high-contrast printed grain. Loud colors can make inexpensive printing easier to spot.
Bring samples home and place them next to baseboards, cabinets, furniture, wall paint, and natural light. Store lighting hides undertones. A floor that looks neutral under fluorescent lights may turn pink, yellow, or blue in the actual room.
Avoid Plastic Shine
Gloss is risky on lower-cost flooring. It highlights dust, scratches, waves, printed patterns, and uneven subfloors. Real wood, stone, and concrete usually have more depth than shine, so a matte or satin finish often reads as more believable.
This matters most with wood-look vinyl and laminate. A high-gloss printed plank can look slick in a sample display but artificial across a whole room. Lower sheen gives the floor a quieter role and helps the rest of the room look better.
Make the Edges Look Finished
Edges tell on a budget project faster than the field of the floor. Baseboards, shoe molding, reducers, stair noses, end caps, thresholds, and door jamb cuts should look planned. A straight room with messy edges still feels unfinished.
Price the trim pieces before buying the flooring. Some inexpensive floors become less inexpensive once matching transitions, stair parts, or underlayment are added. If the matching trim looks flimsy, consider whether painted wood trim or a simpler threshold detail would look better.
Plan the Layout Before the First Cut
A thoughtful layout costs time, not much money. For plank floors, avoid tiny slivers at the main wall, stair-step seams, and obvious repeating boards in the center of the room. Open several boxes at once and mix planks so the pattern feels natural.
For tile or sheet goods, think about what people see first when entering the room. Doorways, long sightlines, vanities, islands, and fireplaces can make an awkward cut stand out. A budget floor looks more expensive when the layout looks settled before installation begins.
Use Rugs as Part of the Design
Rugs can make affordable flooring feel richer in living rooms, bedrooms, dining areas, and offices. They add softness, color, sound control, and scale. They also reduce the pressure on a low-cost floor to provide all the visual interest by itself.
Use pads that are approved for the flooring material. Some rubber backings can discolor vinyl, and cheap pads can stick to finishes. The rug should protect the floor and improve the room, not create a new repair.
Buy Enough Extra Material
Extra flooring feels like an annoying cost until one plank is damaged or one cut goes wrong. Product lines change, dye lots shift, locking profiles disappear, and closeout material may never be available again. A spare box can turn a future repair from a problem into a Saturday task.
Waste also allows better pattern selection. Installers can reject damaged pieces, avoid two identical printed boards together, and handle tricky cuts without panic. Running short at the end is when compromises start showing.
Use Remnants and Closeouts Carefully
Small rooms are good places to use remnants, discontinued colors, or better materials bought at a discount. A powder room, closet, laundry nook, pantry, or compact office may need so little material that a nicer product becomes affordable.
Measure with waste included. If the remnant is barely large enough, one mistake can ruin the bargain. Closeouts also need extra stock for repairs because matching later may be impossible. The deal is only good if the project can be completed cleanly.
Refresh Before Replacing
The cheapest high-end flooring idea may be improving what is already there. Cleaning grout, replacing cracked transitions, stretching carpet, adding a better rug, painting concrete, refinishing hardwood, or changing baseboards can make an old floor feel upgraded without a full tear-out.
Look for the detail that makes the room feel tired. Sometimes the floor material is acceptable, but the edges are dirty, the trim is chipped, or one transition is broken. Fixing the weak point can deliver more value than covering everything with a new inexpensive product.
Keep Patterns Simple
Simple patterns age better at lower price points. Budget products with heavy distressing, dramatic knots, bold veining, or high-contrast stone printing can reveal repetition quickly. The more the print shouts, the easier it is to notice that it is printed.
If a bold look matters, use it in a small space where the repetition is less obvious. Large connected rooms usually benefit from quieter flooring, especially when furniture, curtains, art, and lighting are already adding personality.
Price Stairs Before Committing
Stairs can surprise a flooring budget. Treads, risers, stair noses, carpet binding, safety details, and labor often cost more per square foot than open rooms. A material that is affordable across a living room may become expensive or awkward on a staircase.
Do not assume the main floor should automatically continue onto the stairs. Carpet on stairs, painted risers, refinished treads, or a runner may be safer, better looking, and more affordable than forcing planks onto every step.
Upgrade Transitions Early
Transitions are small pieces with a large visual effect. Old metal strips, broken thresholds, mismatched reducers, and exposed raw edges can make even a new floor feel cheap. Clean transitions tell the eye that two materials were meant to meet.
Choose pieces that solve the actual height change. A reducer, T-molding, end cap, threshold, or stair nose is not interchangeable just because the color is close. The right profile protects the edge and makes the doorway feel complete.
Coordinate Paint and Trim
Paint can help a budget floor look more expensive. Fresh baseboards, clean shoe molding, painted stair risers, and a wall color that matches the undertone of the floor make the project feel larger than the flooring purchase itself.
Trim does not have to be elaborate. It needs to be clean, consistent, and caulked or finished neatly. A simple floor with fresh trim often looks better than a costly floor surrounded by scuffed baseboards and old quarter round.
Know Where Not to Save
Some parts of a flooring project are poor places to cut money. Moisture barriers, underlayment required by the manufacturer, adhesive, subfloor fasteners, stair details, and transition pieces affect performance. Saving a little on those pieces can shorten the life of the whole project.
Spend where failure would be expensive. If a room has water risk, pay for water resistance. If an apartment needs sound control, pay attention to underlayment ratings and building rules. If the floor has height changes, handle transitions properly.
Match DIY Scope to the Room
DIY installation can save real money in square rooms with simple cuts and stable subfloors. It becomes harder in old houses, long hallways, stairs, bathrooms, diagonal walls, and spaces with many doorways. Budget flooring still requires careful measuring and patience.
If professional labor is only possible for part of the work, use it where mistakes would show most: stairs, sheet vinyl seams, tile prep, large open rooms, or problem subfloors. A modest material installed well will usually beat a nicer material installed in a rush.
Check the Whole Price, Not Just the Box Price
The shelf price rarely tells the whole story. Add underlayment, adhesive, moisture testing, leveling compound, trim, transitions, blades, spacers, disposal, delivery, tool rental, and extra material. A cheap box can become less attractive after the required parts are included.
Compare complete project costs before deciding. One product may cost more per square foot but need fewer accessories. Another may be cheaper up front but require expensive trim or professional installation. The best value is the finished floor, not the number printed on the carton.
Inspect Boxes Before Installation Day
Open a few cartons before the room is torn apart. Check color, texture, broken corners, warped planks, damaged locking edges, tile shade variation, and whether the pattern looks acceptable across several pieces. Problems are easier to solve before furniture is moved and old flooring is removed.
Keep labels and lot numbers until the project is complete. If more material is needed, matching the lot may matter. If a warranty issue appears, the packaging information may be useful.
Use Maintenance as Part of the Budget
A floor that needs expensive care may not be the best budget choice. Ask how the material should be cleaned, what products are prohibited, whether furniture pads are required, and how scratches or stains are repaired. Daily care should fit the household.
Entry mats, felt pads, rugs in heavy-use zones, and gentle cleaning products help affordable floors last. The goal is not just to make the floor look good for the reveal photo; it should still look intentional after months of normal use.
Make the Finished Room Feel Intentional
The final impression comes from the whole room. A restrained floor color, clean trim, careful transitions, a fresh wall color, and furniture placed with purpose can make a modest flooring choice feel much more expensive. The floor should support the room instead of asking people to notice the bargain.
When the budget is limited, choose the floor that solves the room’s real problem and install it with discipline. That combination is what creates the high-end effect: not pretending the material cost more, but making every visible decision look calm, complete, and deliberate.