Subfloor prep decides whether a new floor feels solid, lies flat, and stays quiet after the tools are put away. The finished surface may be what everyone sees, but the floor underneath controls gaps, hollow spots, cracked tile, squeaks, soft areas, and locking joints that fail too soon.
The goal is not always a perfectly level room. Many flooring products can tolerate a gentle slope. What they cannot tolerate is a dirty, loose, damp, uneven, or moving base. Before installation, the subfloor needs to be clean, dry, flat, stable, and compatible with the floor going over it.
A: Usually it needs to be flat; level matters only when the flooring or room function requires it.
A: Use a long straightedge and mark gaps, humps, seams, and dips across the room.
A: Correct high spots first so the repair does not raise the whole floor unnecessarily.
A: Only minor surface issues; it cannot fix movement, moisture, major dips, or high ridges.
A: Use it when the subfloor, product requirements, depth, and room setup make a controlled pour practical.
A: Moisture can damage flooring, adhesives, underlayment, and warranties after the floor is covered.
A: Movement between panels, fasteners, framing, or old boards usually causes squeaks.
A: Clean enough that dust, grit, staples, and residue cannot affect bond, sound, or surface feel.
A: Yes, because height changes affect doors, trim, adjacent floors, and trip edges.
A: Recheck flatness, moisture, movement, cleanliness, underlayment choice, transitions, and room conditions.
Identify What the New Floor Will Sit On
Start by identifying the existing surface. Common subfloors include plywood, OSB, concrete, old plank boards, and existing resilient flooring that may or may not be approved as a base. Each material has different risks and repair methods.
Wood panels can squeak, flex, swell at seams, or loosen from joists. Concrete can crack, hold moisture, crumble at patched areas, or have high ridges from previous work. Old plank subfloors can move seasonally and may need an additional underlayment layer before certain flooring systems.
Do not guess based only on what is visible at the doorway. Pull a floor vent, inspect an edge, or check a closet transition if needed. Knowing the base prevents using the wrong patch, primer, fastener, or underlayment.
Read the Flooring Requirements First
Every flooring category has limits for flatness, moisture, movement, underlayment, and installation method. Tile, laminate, engineered wood, vinyl plank, carpet, and hardwood do not all want the same prep.
Manufacturer instructions may specify a flatness tolerance over a certain distance, acceptable moisture readings, approved patching products, and whether an underlayment is allowed. Those instructions matter for performance and warranty coverage.
Prep should serve the floor being installed. A repair that is acceptable under carpet may be unacceptable under large-format tile or rigid vinyl plank.
Clear the Surface Completely
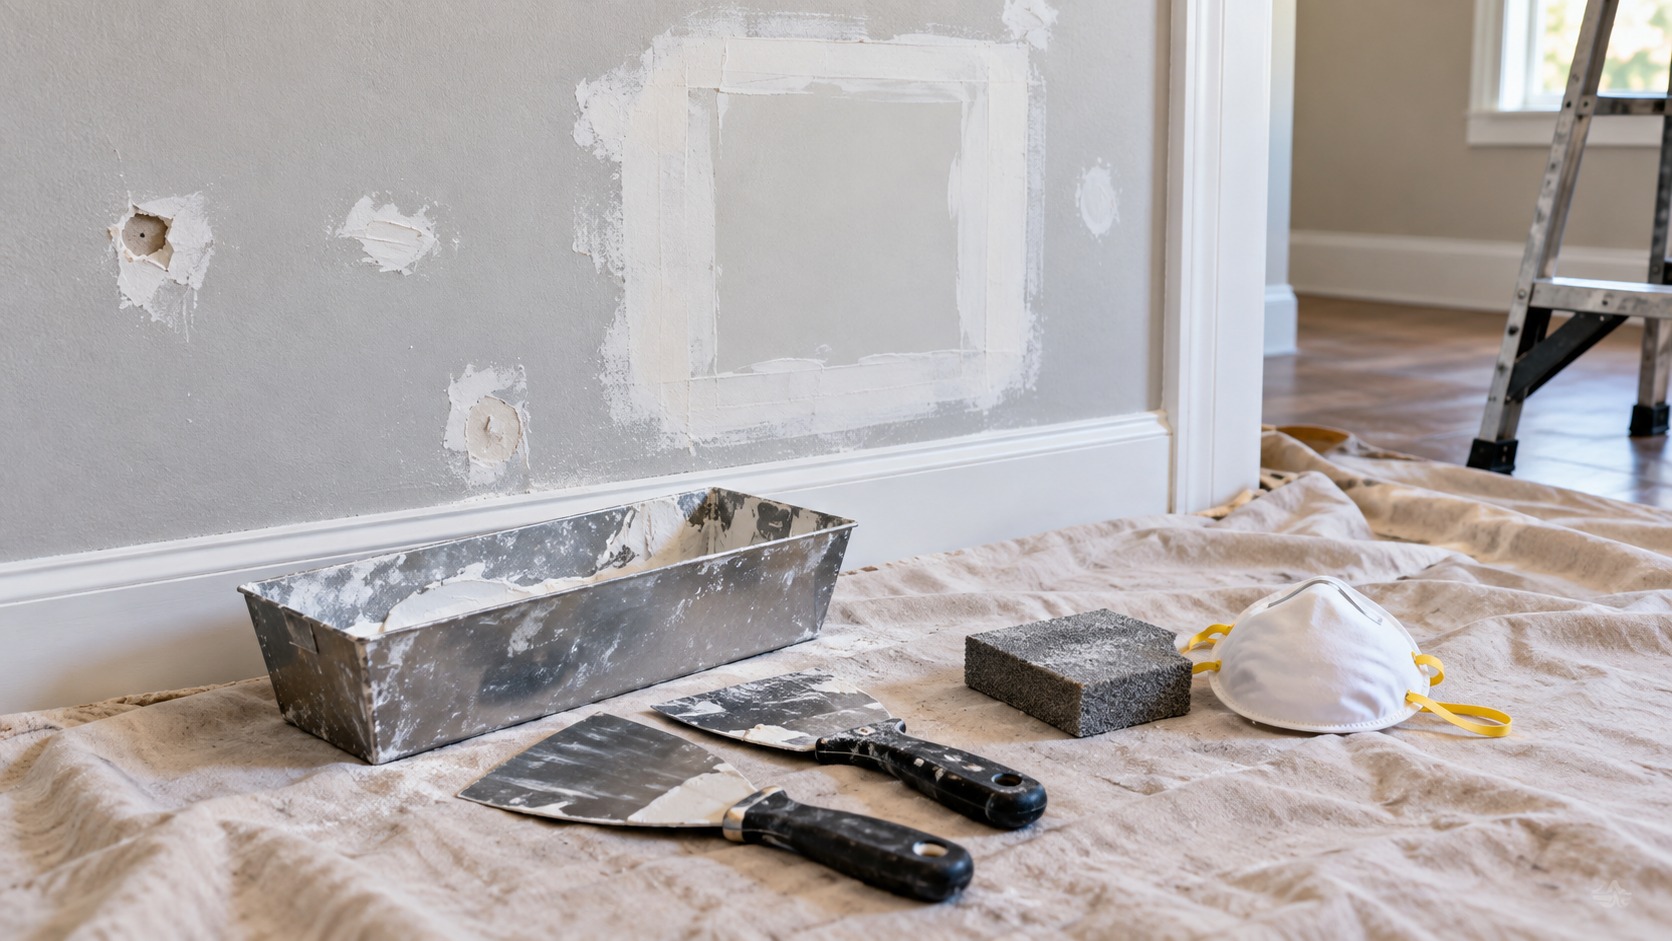
Remove staples, nails, tack strips, loose adhesive, broken patch, drywall mud, paint ridges, caulk lumps, and anything else that keeps the surface from being clean. Sweep first, then vacuum thoroughly. Tiny debris can telegraph through thin flooring or create a pressure point under floating planks.
Be careful with old adhesives and older flooring layers. Some materials in older homes may require testing or special handling before scraping, sanding, or grinding. If you do not know what a residue is, do not turn it into dust.
A clean subfloor also makes inspection easier. Stains, cracks, swollen seams, and fastener problems are much easier to see once old debris is gone.
Check for Movement and Noise
Walk the room slowly and listen. Squeaks, flexing, bouncing, or clicking panels are not cosmetic problems. They are warnings that the floor below is moving. New flooring will not make that movement disappear.
On wood subfloors, loose panels may need proper screws into framing, damaged areas may need replacement, and seams may need correction. Avoid random fastening when pipes, wiring, or radiant heat could be below the surface.
Tile over movement can crack. Floating floors over movement can separate or sound hollow. Hardwood over loose panels can keep squeaking after installation. Stability comes before appearance.
Understand Flat Versus Level
Flat and level are not the same. Level means the floor does not slope. Flat means the surface does not have humps, dips, ridges, waves, or sudden transitions. Most flooring problems come from poor flatness, not from a room that gently slopes.
A floor can be out of level and still accept certain floors if it is flat and structurally sound. A floor can be technically level but too wavy for planks or tile. That is why the straightedge test is so important.
Do not chase perfect level unless the product, room use, or drainage requirement calls for it. Chasing level in an old house can create height problems at doors, stairs, cabinets, and transitions.
Measure Flatness With a Long Straightedge
Use a long straightedge, level, or straight board to scan the floor in several directions. Mark low spots, high spots, ridges, panel seams, and sudden dips with pencil or tape. Check across doorways and transitions too, not only the center of the room.
Compare what you find to the flooring instructions. Some products allow only small variation over several feet. Rigid planks and large tile are less forgiving than soft flooring.
Do the measuring before buying patch or leveler. A few small depressions may need spot patching. A broad uneven slab may need a larger leveling plan. Swollen wood seams may need sanding or panel repair instead of filler.
Correct High Spots First
High spots cause trouble because flooring bridges over them and drops into nearby low areas. On wood subfloors, high spots often appear at panel seams, swollen edges, fastener heads, or old patch. On concrete, they may come from ridges, previous repairs, or uneven pours.
Use the correction method that matches the material. Wood may need sanding, planing, refastening, or panel replacement. Concrete may need grinding with dust control. Do not grind unknown old materials without confirming they are safe to disturb.
High spots should be reduced before low spots are filled. If you fill lows first while leaving humps, you may use more product than necessary and still fail the flatness test.
Fill Low Spots Carefully
Low spots can be corrected with floor patch, skim coat, or self-leveling underlayment when the product is appropriate for the subfloor and flooring system. The repair must bond to a clean, stable surface.
Do not patch over dust, glossy residue, loose paint, damp concrete, flexing wood, or crumbling slab. The filler may crack, debond, or break down under the finished floor.
Feather the repair as directed and allow the required cure time. A patch that feels dry on top may not be ready for adhesive, underlayment, or moisture-sensitive flooring.
Use Self-Leveler With a Plan
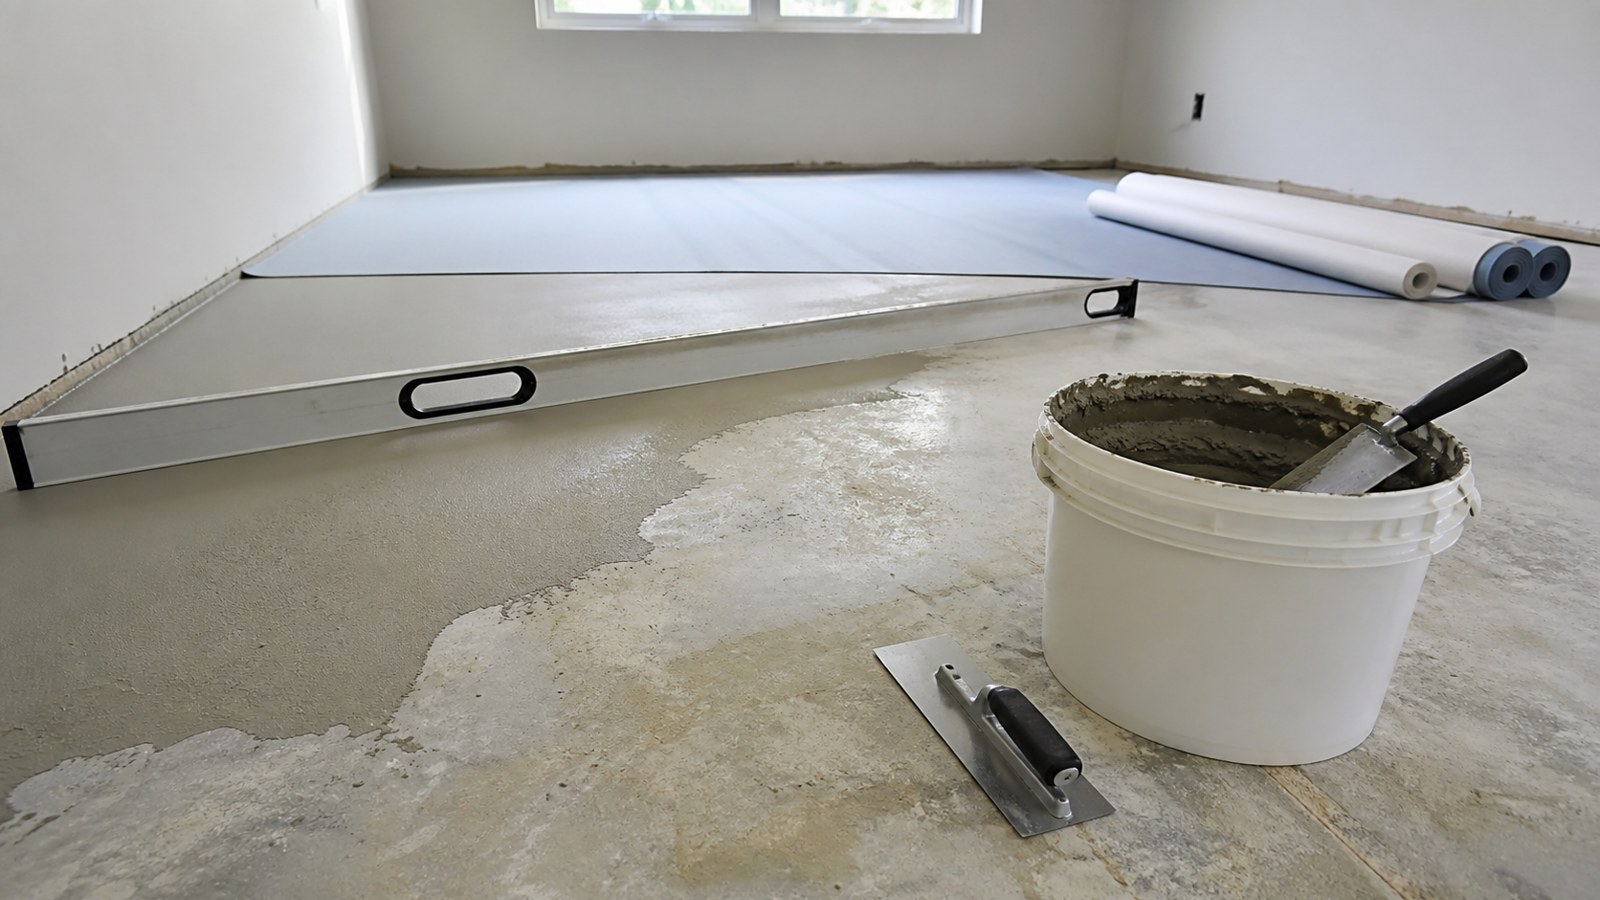
Self-leveling underlayment can be useful, but it is not a pour-and-pray product. It needs the correct primer, sealed gaps, edge dams, clean mixing water, working time, depth control, and a prepared exit path.
Before mixing, know where the material starts, where it must stop, how deep it can be poured, and whether vents, holes, stairs, or doorways need containment. Leveler can run through tiny gaps and appear in places you did not expect.
Mixing matters. Too much water weakens the product. Too little water prevents flow. Work in manageable batches and follow the product instructions instead of improvising.
Test for Moisture
Moisture testing is essential over concrete and useful over wood when the room has a history of leaks, humidity, crawlspace issues, slab contact, or water damage. A surface can look dry while still releasing vapor.
Use the test method required by the flooring manufacturer. Some products call for calcium chloride testing, relative humidity testing, meter readings, or specific documentation. Guessing can lead to adhesive failure, cupping, mold concerns, swelling, or warranty denial.
If moisture is too high, solve the source before installing flooring. A vapor retarder may help in some systems, but it is not a cure for active water intrusion.
Repair Damage Before Covering It
Look for rot, delamination, soft panels, insect damage, crumbling concrete, wide cracks, water stains, mold-like growth, and old repairs that are breaking apart. New flooring hides damage; it does not heal it.
Replace compromised wood panels and correct the cause of the damage. On concrete, evaluate cracks and spalling before patching. Moving cracks, moisture-related damage, or structural issues need more than cosmetic filler.
If the floor feels weak underfoot, stop and investigate framing, joists, slab condition, or moisture before installing finish material.
Choose Underlayment for the Flooring
Underlayment is not universal. Some floors need a vapor barrier, some need sound control, some need uncoupling, some need cushion, and some prohibit additional underlayment entirely. Extra padding under a floating floor can make locking joints flex and fail.
Tile may need cement board, an uncoupling membrane, or a specified substrate. Hardwood may need paper, adhesive, or a particular panel layer. Vinyl plank may need nothing beyond a smooth, flat, clean surface.
Choose underlayment from the flooring instructions and the subfloor condition, not from habit. The wrong layer can create movement instead of solving it.
Plan Height and Transitions
Floor prep changes height. Patch, leveler, backer board, underlayment, adhesive, and the finished flooring all add up. Check doors, appliances, cabinets, exterior thresholds, stair nosings, closet tracks, heat registers, and adjoining rooms before installation.
A dishwasher trapped under a countertop, a door that drags, or a stair transition that becomes awkward is often a planning failure, not a flooring failure. Measure the total build-up before committing to a prep method.
Transitions should be planned while the subfloor is still visible. Waiting until the new floor is installed can leave you with limited options.
Account for Room Conditions
Flooring products are affected by temperature, humidity, and jobsite conditions. A room that is too cold, too humid, recently painted, freshly patched, or still drying from construction can create trouble even when the subfloor looks prepared.
Bring the room into normal living conditions before installation whenever the product calls for it. Heating, cooling, and humidity should be stable enough that the flooring is not being installed into a temporary environment.
Acclimation is not just storing boxes in the room for a random day. Follow the flooring instructions for timing, packaging, stacking, and acceptable conditions. Some products need acclimation, some do not, and some can be harmed by careless storage.
Prepare Concrete Slabs
Concrete needs attention to cracks, moisture, surface profile, contamination, and flatness. Paint, sealer, curing compounds, old adhesive, oil, and dust can prevent patch or adhesive from bonding.
Use products rated for concrete and for the flooring system. Primer may be required before patch or self-leveler. Some adhesives require a specific moisture limit or surface preparation method.
Cracks should be understood before they are hidden. Hairline shrinkage cracks may be manageable, while moving cracks or moisture-related cracks can threaten the finished floor.
Prepare Wood Subfloors
Wood subfloors need secure panels, proper thickness, dry conditions, and fasteners that sit flush. Replace swollen, delaminated, or soft areas. Add fasteners where panels are loose, but avoid blindly screwing into unknown areas.
Panel seams are common trouble spots. Raised seams can telegraph through resilient flooring or stress floating plank joints. Low seams or gaps may need patching if the flooring requires a smooth surface.
Old plank subfloors may need a layer of plywood underlayment before modern flooring. Movement between planks can transfer into the finish if it is not isolated correctly.
Clean Again Before Installation
After sanding, patching, grinding, or cutting underlayment, clean again. Vacuum slowly along edges, corners, seams, and doorways. Dust left behind can affect adhesives, create bumps, or interfere with tape and membranes.
Use a damp wipe only when the product and subfloor allow it, and let the surface dry fully. Do not introduce moisture right before installing a moisture-sensitive floor.
The final clean is boring, which is exactly why it gets skipped. It is also one of the cheapest ways to prevent visible defects.
Dry-Lay the Critical Areas
Before committing to adhesive, fasteners, or the first locked row, dry-lay material at the hard spots. Check doorways, long sight lines, floor vents, cabinets, stair edges, fireplaces, tub fronts, and transitions to other rooms.
This step can reveal tapered walls, narrow final rows, awkward seams, and height changes that were not obvious during prep. A good layout can hide small room irregularities, but a rushed layout can make them the first thing people notice.
If a prep repair changes the floor height near a doorway, test the transition profile before the floor is installed across the room. It is easier to adjust the plan while the subfloor is still accessible.
Do a Final Walk Before Flooring
Before opening flooring boxes, walk the room one more time. Check for squeaks, loose panels, ridges, soft spots, proud fasteners, wet areas, debris, and transition problems. Run the straightedge again over repaired areas.
Confirm that patch and leveler have cured, moisture readings are acceptable, underlayment is approved, and the room conditions match the flooring instructions. Temperature and humidity can matter during installation and acclimation.
This final review is the last inexpensive chance to fix the floor below. Once the finished floor is installed, every missed problem becomes harder to reach.
Final Subfloor Prep Review
Subfloor prep is successful when the base is clean, dry, flat, stable, and matched to the flooring system. Identify the subfloor, remove debris, fix movement, measure flatness, correct high and low spots, test moisture, repair damage, and plan height before installation begins.
Do not rely on flooring to hide a bad base. A careful subfloor makes the finished floor quieter, flatter, stronger, and easier to trust. The work under the surface is what lets the visible floor look professionally installed.