How to Weld: Step-by-Step Guide for Beginners Starts With Safety and Practice Metal
How to Weld: Step-by-Step Guide for Beginners should begin with a simple goal: learn control on practice pieces before trusting a weld to hold anything important. Welding combines heat, electricity, light, fumes, and molten metal, so setup matters as much as technique. This guide walks through beginner welding in practical stages, from protective gear and clean metal to first beads, inspection habits, and knowing when a project needs a trained welder.
Set the Goal Before Striking an Arc
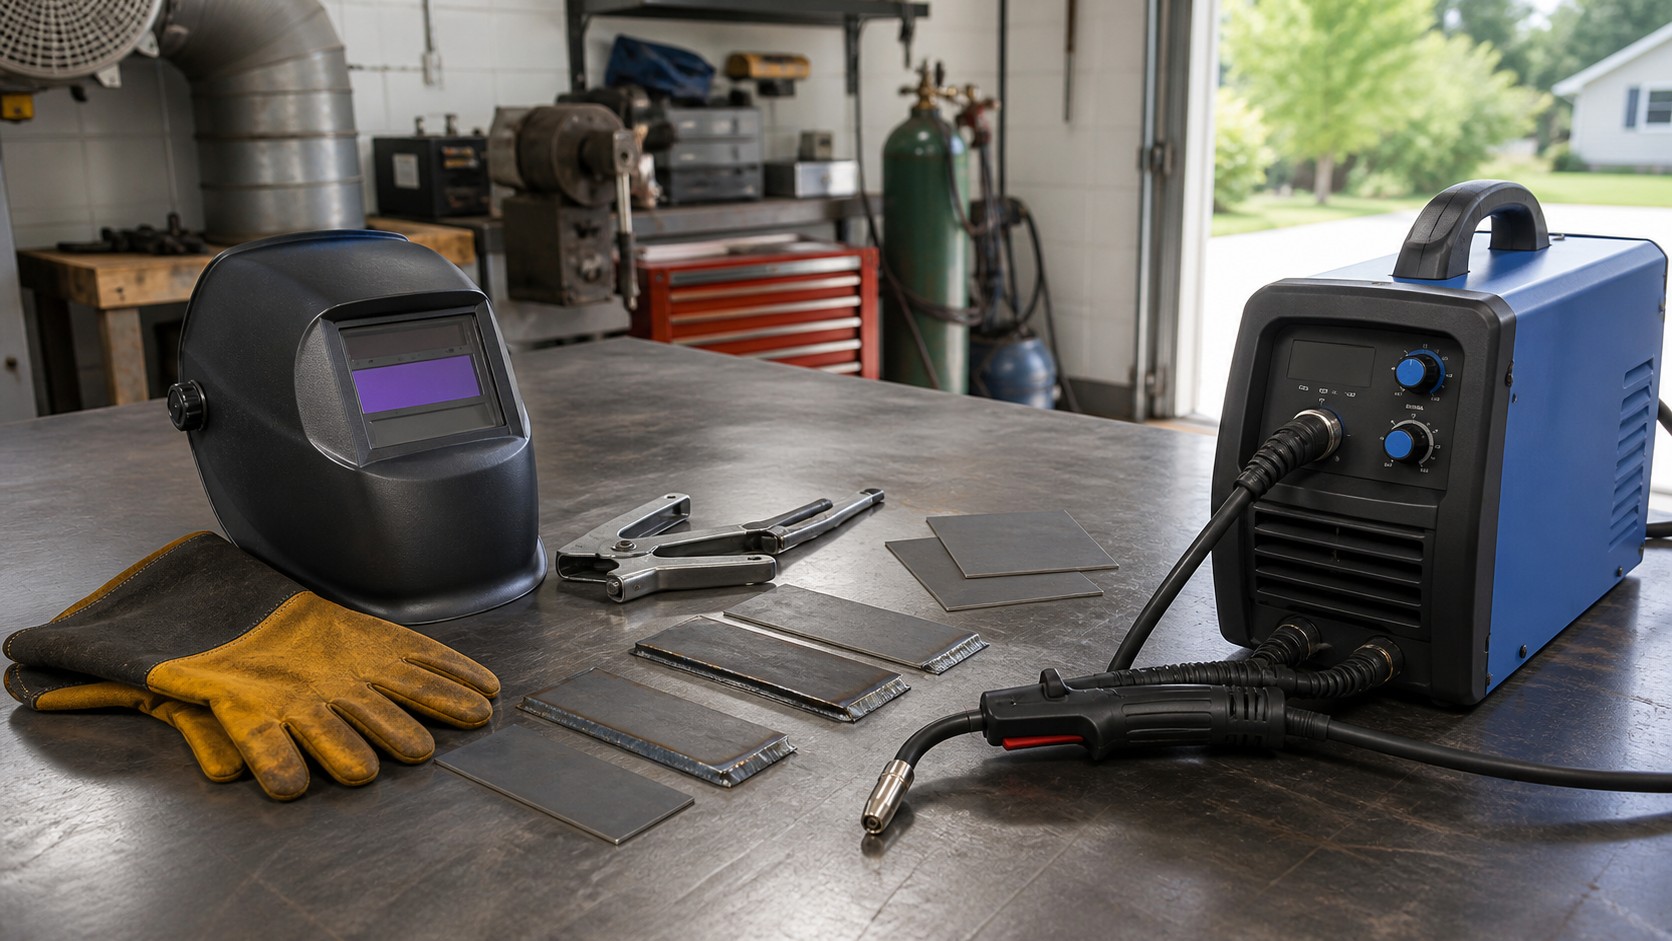
Welding should begin with practice metal because the first goal is control, not construction. A bead on a coupon teaches travel speed, heat, distance, and machine response without pretending the result is ready for real load. That humility is important. Beginners improve faster when the stakes are low and the feedback is visible.
The work area has to be prepared for fire before the machine turns on. Sparks can travel, hot metal looks harmless after the arc stops, and nearby clutter can create risks that have nothing to do with technique. Clearing the bench, protecting the floor, and keeping a fire extinguisher close are basic setup steps. Good welding habits start before the helmet drops.
The first session should be planned as practice, not as a race toward a finished object. Set out several coupons, choose one joint type, and decide what success will look like before the arc starts. That might mean a steadier bead, fewer holes, or a more consistent start and stop. Clear practice goals make welding less overwhelming.
Prepare the Work Area for Fire Safety
Practice metal should be clean, consistent, and thick enough for beginner control. Rust, paint, oil, and mismatched scraps make it hard to know whether a poor bead came from technique or contamination. When the metal is predictable, the lesson becomes clearer. That makes every practice session more valuable.
Personal protective equipment should be comfortable enough that it stays on. Gloves that are too bulky, a helmet that slips, or sleeves that expose skin can distract the beginner at the worst moment. Adjust the gear before welding begins. Safety is easier to maintain when the setup fits the person using it.
Choose Practice Metal Before Projects
The machine deserves a slow introduction. Polarity, wire speed, voltage, amperage, gas flow, and ground contact all affect the arc. Changing settings randomly teaches very little because the result cannot be traced to one cause. Start near the machine chart, test on scrap, and adjust one thing at a time. If possible, buy or cut several identical coupons so the lesson can be repeated under the same conditions. The consistency makes the arc, sound, and bead shape easier to compare from one attempt to the next.
Clean metal is not cosmetic. It helps the arc stabilize, reduces contamination, and gives the weld a chance to fuse correctly. A few minutes with a brush, grinder, or flap disc can save a long session of confusing problems. Beginners should make surface prep part of the routine rather than an optional upgrade.
Flat beads are the sensible first exercise. They let a beginner see the puddle, hear the arc, and coordinate travel speed without fighting gravity or awkward body position. Short beads are better than long wandering passes because they create more starts, stops, and comparisons. Repetition builds recognition.
Understand the Machine Before Adjusting It
The puddle is more useful to watch than the sparks. Sparks are dramatic, but the puddle shows whether metal is flowing, piling up, or outrunning the heat. Learning to see that small molten area takes time. Once it becomes visible, welding starts to feel less mysterious. Inspection should happen before grinding everything smooth. Bead width, toes, undercut, porosity, and tie-in all give clues about settings and motion. Grinding too soon removes the evidence. A beginner who studies the bead learns faster than one who only tries to make it disappear.
Ground contact is a common source of beginner frustration. A poor clamp connection can make the arc unstable even when settings look correct. Clean the contact point, secure the clamp, and keep the lead from pulling on the work. Basic electrical setup can make technique practice much more honest.
Clean Metal Until the Weld Has a Chance
Changing one variable at a time is the simplest way to learn. If wire speed, travel angle, and voltage all change together, the next bead may look different but the reason stays hidden. Keep notes on scrap and repeat the same joint until the change makes sense. That process turns frustration into a usable pattern. Beginners should also clean far enough beyond the exact bead path to give the ground clamp, tack welds, and starts a fair chance. A shiny strip that is too narrow can still leave contamination where the puddle begins or ends.
Some projects should stay off the beginner list. Trailer repairs, railings, lifting brackets, vehicle frames, and anything safety-critical require training, testing, and often professional qualification. Practice welds can look stronger than they are. Knowing that limit is part of responsible DIY.
Records help connect settings to results. Material thickness, process, wire or rod size, polarity, and a quick note about bead appearance can make the next session easier. The notes do not need to be formal. They just need to keep yesterday’s lesson from being lost.
Start With Flat Practice Beads
Welding confidence should grow from repeatable practice, not from one lucky bead. A good beginner path moves from flat coupons to simple joints, then to noncritical shop projects. Each step should be inspected honestly. Skill arrives when the same result can be made on purpose. Starts and stops deserve their own practice. Many beginner beads look acceptable in the middle but fail at the beginning or end because the hand hesitates or rushes. Run short beads that repeat those moments deliberately. A controlled start and a filled stop make later joints much cleaner.
Watch the Puddle Instead of the Sparks
A beginner should learn to identify the puddle under comfortable conditions. Good body position, clear visibility, and clean metal all help the eyes separate the molten pool from glare and sparks. If the helmet is too dark or the work is awkwardly placed, learning slows immediately. Adjust the setup before blaming technique.
Travel angle and stickout should stay consistent enough that the bead changes for understandable reasons. Beginners often move the torch closer, farther, faster, and slower in one pass without realizing it. Short beads make those changes easier to spot. Consistency is the first skill that makes later adjustments meaningful.
Inspect Beads Before Grinding Them Away
A bead can be unattractive and still teach something useful. Look at whether the edges tied into the base metal, whether the bead is too tall, whether holes appeared, and whether the line wandered. These clues point toward travel speed, settings, surface prep, and hand position. Inspection turns each practice coupon into a lesson instead of scrap.
Change One Variable at a Time
Change settings with a reason. If the bead sits high, travel speed or voltage may need attention; if burn-through appears, heat input may be too high for the metal. Make one adjustment and run the same bead again. This discipline prevents the beginner from chasing random improvements. Write the adjustment directly on the scrap with a non-welding-side mark or keep it nearby on paper away from sparks. The small record keeps similar beads from blending together after several attempts.
Technique changes should be isolated the same way machine settings are isolated. Practice one torch angle, one travel speed, or one start technique at a time. The goal is to create a before-and-after comparison the eye can understand. Random practice can build hours without building judgment.
Cooling time also affects the lesson. Repeated beads on a small coupon can heat the whole piece and change how the next pass behaves. Rotate practice pieces or allow cooling when results suddenly change. Heat management is part of welding even during beginner practice.
The same rule applies to body position. If the bead improves only when the wrist is braced or the work is turned slightly, that discovery should be kept. Welding is physical skill as much as machine setup. Comfortable, repeatable posture can solve problems that settings alone will not fix.
Know Which Projects Are Not Beginner Projects
Safety-critical work should be treated with respect from the beginning. A weld on a trailer, railing, vehicle, hoist point, or structural bracket can fail in ways that hurt people. Beginners should use practice projects to build skill, not to test luck. Training, inspection, and qualification exist for good reasons.
Noncritical projects are still valuable. A small welding cart, practice frame, or shop stand can teach fit-up, tack placement, distortion, and cleanup without carrying dangerous loads. These projects make welding feel real while keeping risk reasonable. Choose early builds that can fail harmlessly.
When a project involves safety, the question is not whether the beginner feels proud of the weld. The question is whether the weld has been designed, made, and inspected to an appropriate standard. Most home learners are not equipped to answer that fully at first. Respecting that limit keeps practice productive and responsible.
Keep Records of Settings and Results
A simple record can include material thickness, process, wire or rod size, settings, and a quick photo or description of the bead. The point is not paperwork. The point is keeping useful discoveries from disappearing between sessions. Beginners who track results often improve faster because they stop repeating the same mystery. Photos can help too, especially when they are taken before grinding or brushing changes the bead. Over a few sessions, those records show improvement that may be hard to feel in the moment.
Build Skill Before Trusting Strength
Strength is not proven by confidence alone. It comes from appropriate joint design, clean fit-up, correct settings, adequate penetration, and inspection that matches the job. A beginner can learn all of those ideas on practice metal before attempting anything important. That patience is part of the craft. That standard is useful even for hobby work because it keeps the focus on process instead of bravado. Good welders learn to respect what they cannot yet prove.
The first milestone is repeatability. When clean beads can be made on the same material several times in a row, the beginner has something dependable to build on. From there, new positions, joints, and materials can be added gradually. Welding becomes less intimidating when each step has a visible foundation.
Getting instruction can shorten the path dramatically. A class, mentor, or qualified welder can point out habits that are hard to diagnose alone, especially body position and puddle reading. DIY learning still benefits from outside eyes. Welding is practical work, and practical feedback matters.
The learning curve becomes more enjoyable once early beads are treated as information. A rough pass is not a verdict on the person holding the torch; it is feedback about preparation, settings, movement, or visibility. Change one thing and try again. That simple loop is how welding starts to become understandable.