A textured accent wall works best when the texture has a job. It might soften a plain room, catch light behind a bed, make a dining wall feel warmer, or give a small entry a finished focal point. It should not feel like a patching trick spread across a wall because the surface was never repaired properly.
Before opening a bucket of compound, decide how bold the wall should be from the doorway, from the main seat in the room, and under evening light. A sample board, clean layout, and patient edge work matter more than speed. Texture is forgiving in some ways, but once it dries across a whole wall, every repeated stroke and every rushed corner becomes part of the design.
A: Check for active damage, moisture, loose drywall, peeling paint, and bad seams.
A: Yes. A sample board proves the pattern, pressure, drying time, and paint sheen.
A: Side light reveals ridges, dents, seams, and uneven repairs before texture locks them in.
A: Prime when the wall is stained, glossy, porous, patched, chalky, or uneven.
A: A light, controlled texture is usually easier to blend than a heavy dramatic pattern.
A: Tape carefully, cover adjacent surfaces, and remove or reset tape before buildup gets messy.
A: Sand only after curing, and remove sharp ridges without flattening the whole design.
A: Low or moderate sheen usually keeps texture from looking too shiny or harsh.
A: It can soften small flaws, but it should not hide active damage or poor repairs.
A: View the wall from the doorway, seating area, and side angle before painting everything.
Decide What the Wall Should Change
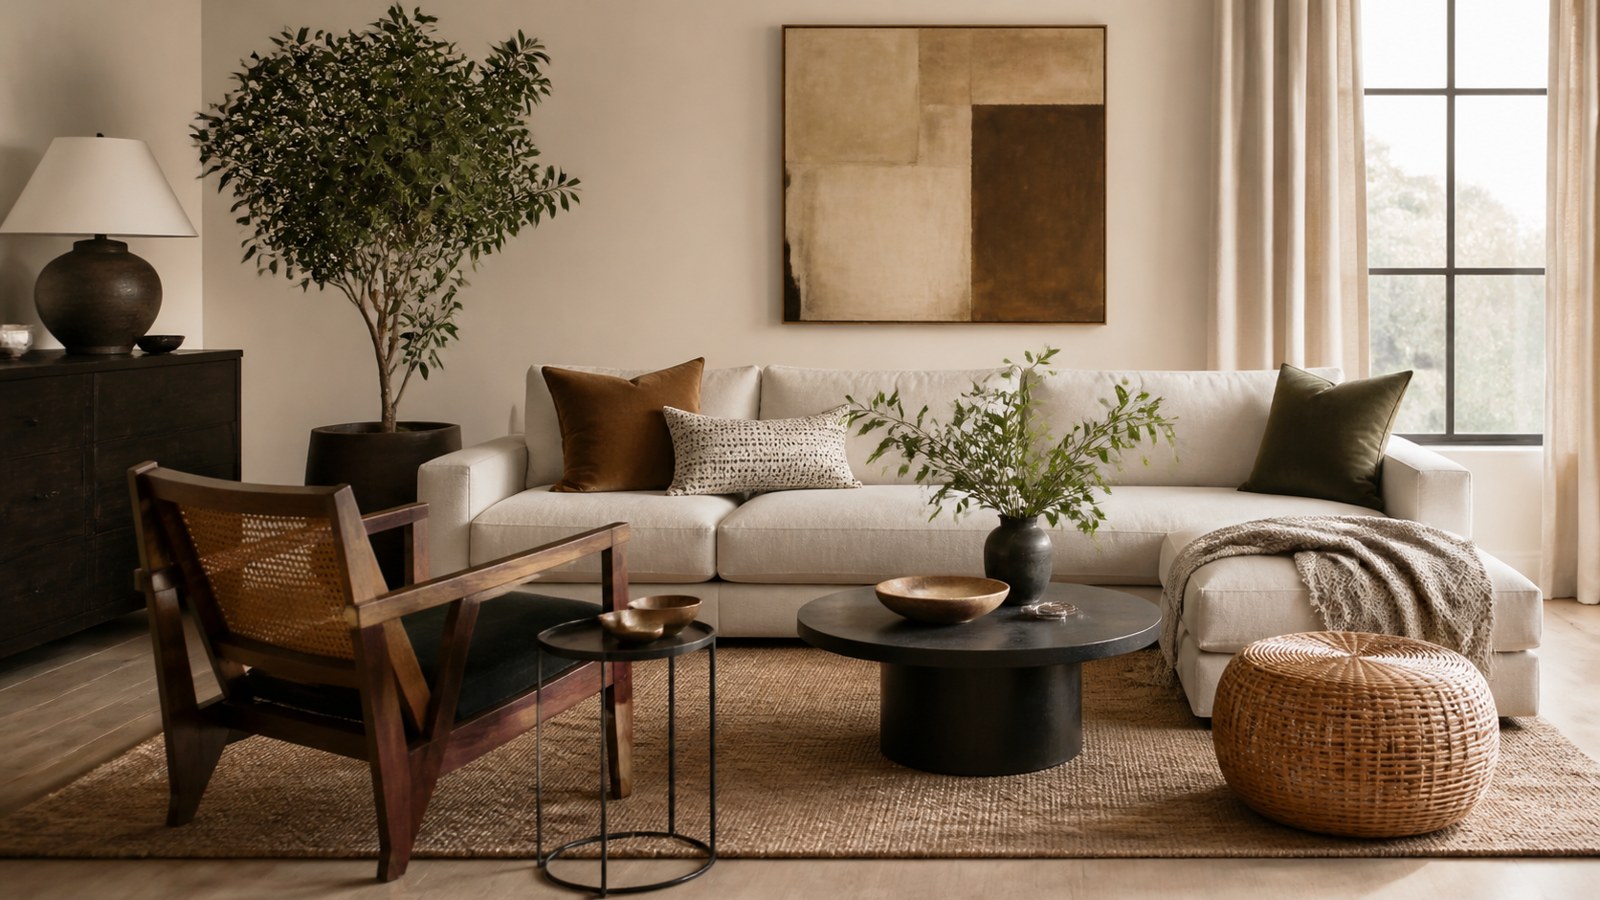
Start with the room, not the tool. A bedroom may need quiet depth behind the headboard. A hallway may need a surface that does not look empty under narrow lighting. A living room may need one wall to hold art, a console, or a fireplace without turning the whole space heavy.
That decision affects every other choice. A subtle sanded finish, limewash-style movement, or soft knockdown reads calm. A heavy combed pattern, raised plaster look, or dramatic trowel texture reads intentional and bold. If the wall already has strong furniture, busy art, or a patterned rug, the texture may need to be quieter than expected.
Do Not Use Texture to Hide Active Damage
Texture can soften small visual flaws, but it cannot solve a wall that is wet, loose, cracked from movement, stained by a leak, or damaged by failing paint. If moisture, mold, crumbling drywall, loose tape, or a recurring crack is present, repair the source before decorating the surface.
This matters because texture makes later diagnosis harder. A leak stain is easier to track on a flat primed wall than under ridges of joint compound. A crack that reopens through a textured wall is more frustrating to repair than a crack discovered before the finish was applied.
Choose a Texture Style That Fits the Room
Common DIY options include skip trowel, light knockdown, brush texture, sponge texture, soft plaster movement, and rolled texture. Each one has a different personality. Skip trowel feels hand-applied and casual. Knockdown can look clean if it is kept light. Brush texture can add movement but becomes busy if the strokes are too visible.
Think about scale. Large walls can handle broader movement because the pattern has room to breathe. Small rooms often look better with a tighter texture that does not crowd the wall. If the wall will hold shelves, art, or a mounted television, avoid a pattern so aggressive that hardware, frames, or shadows fight against it.
Make a Sample Board First
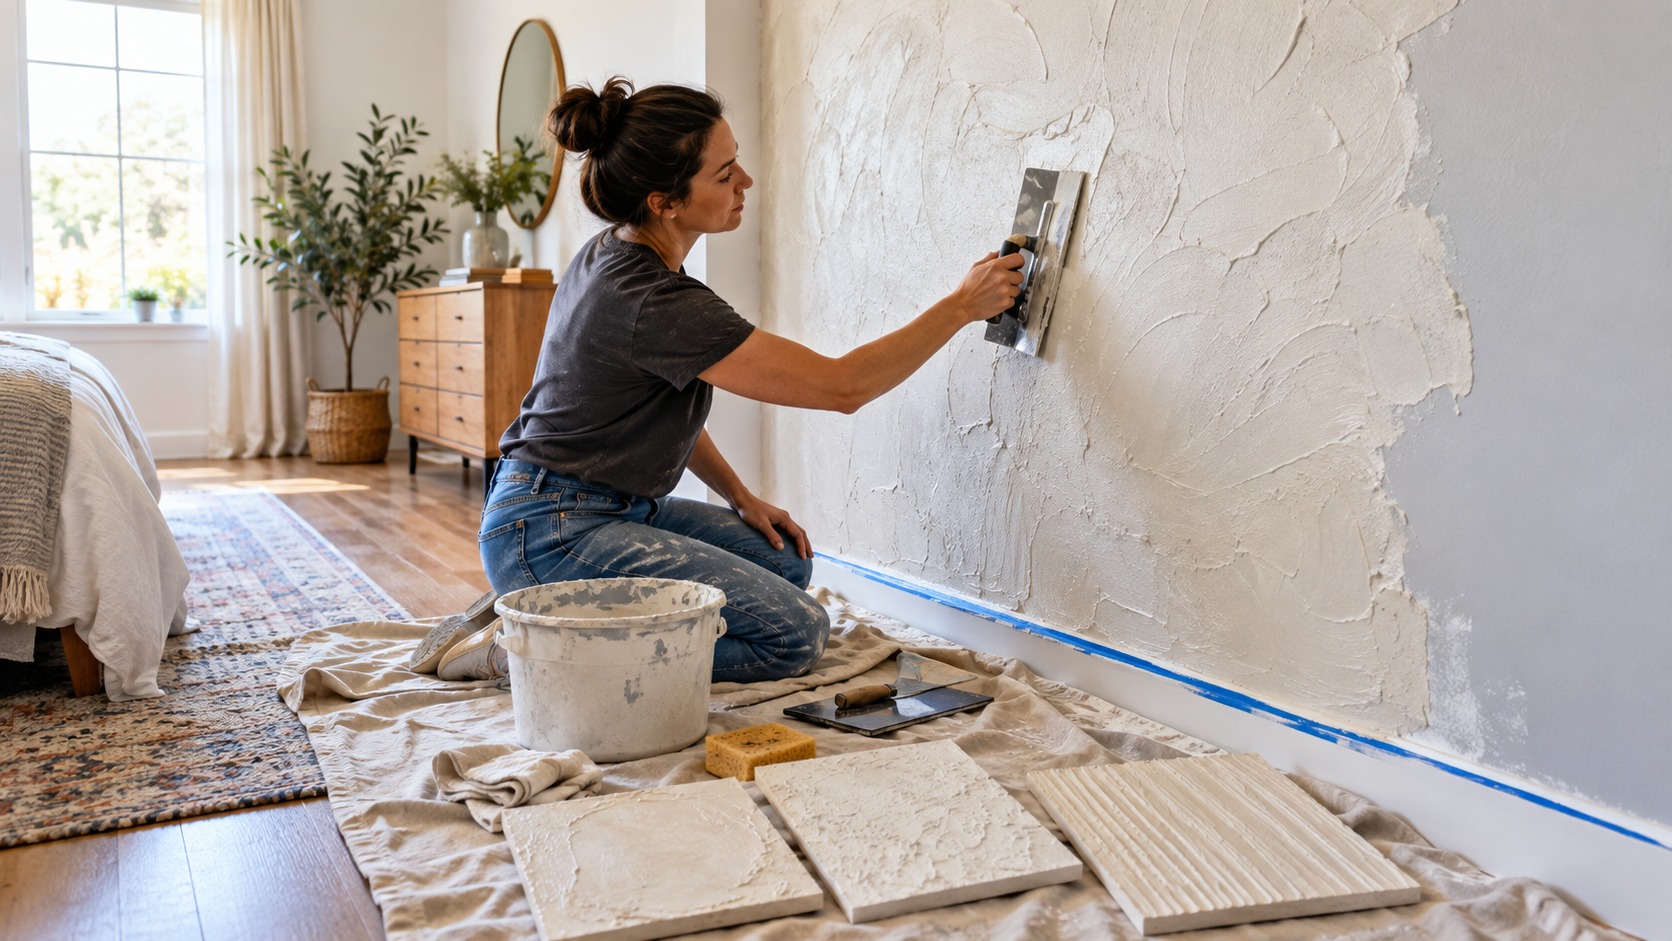
A sample board is the cheapest part of the project and the best way to avoid regret. Use scrap drywall, primed hardboard, or a flat board close in color to the wall. Apply the texture with the same compound, tool, pressure, and drying time you expect to use on the wall.
Do not judge the sample while it is wet. Joint compound shrinks, lightens, and changes shadow as it dries. Prime part of the sample and paint part of it if possible. A texture that looks dramatic in raw compound may become subtle under paint, while a texture that seems harmless wet may cast stronger shadows after color goes on.
Check the Wall With Side Light
Before applying texture, shine a work light across the wall from the side. This reveals dents, ridges, failed seams, nail pops, and old roller lines. Looking straight at the wall often hides problems that side light exposes immediately.
Mark repairs lightly with pencil or painter’s tape. The goal is not to make the wall museum-flat if the texture will be dimensional. The goal is to remove defects that would interrupt the pattern: loose paper, sharp bumps, torn corners, obvious ridges, and depressions that would collect too much compound.
Repair the Surface Before Adding Texture
Fill dents, reset popped fasteners, cut away loose paper, repair torn drywall facing, and flatten failed patches before texture begins. If old paint is glossy, slick, dirty, or chalky, clean and scuff it so primer and compound can bond properly.
Texture placed over weak paint can peel off with the old coating underneath it. Texture placed over dust can fail at the surface instead of the compound. A wall that is boring but stable is a better starting point than a wall that looks ready only because furniture usually hides it.
Prime When the Wall Needs It
Primer is useful when the wall has new drywall compound, repaired paper, uneven porosity, old stains, or a color that may affect the finish. It gives the texture a more predictable base and helps prevent one area from drying differently than another.
Use the primer recommended for the surface and the product. Stain-blocking primer may be needed over old water marks after the source is fixed. Drywall primer may be enough over fresh patches. Let primer dry fully before texture so the surface does not drag or soften under the tool.
Protect Edges, Floors, and Openings
Texture work is messier than it looks. Cover the floor, remove wall plates, protect trim, and tape clean edges at adjacent walls, ceilings, windows, and built-ins. If the wall meets a textured ceiling, decide where the new pattern stops before compound is on the knife.
Electrical openings need care. Turn off power before working around boxes, keep compound out of devices, and do not bury outlets or switches under texture. If the finished surface becomes thicker, box extenders may be needed so covers sit correctly and the installation remains safe.
Pick the Right Material
Many DIY accent walls use all-purpose joint compound because it is available, workable, and easy to sand lightly. Some heavier decorative finishes use specific texture products, plaster-style coatings, or premixed wall treatments. Follow the product label for thickness, working time, primer, and paint compatibility.
Joint compound should be mixed until it is smooth and consistent. For some effects, it may need a little water; for others, it should stay thicker. Add water slowly and mix thoroughly. Compound that changes consistency halfway through the wall can make one section look different from the next.
Choose Tools by the Pattern
A wide taping knife creates broad movement. A trowel can make more organic sweeps. A texture brush can create stipple or fan marks. A roller can apply thin texture quickly but may leave a pattern that looks accidental unless it is controlled.
Use tools you can repeat comfortably. The most artistic tool in the aisle is not helpful if it tires your wrist after ten minutes. A simple knife or brush used with steady pressure usually looks better than a complex tool handled inconsistently.
Lay Out the Work Area
Plan where you will start, where you will stop, and how you will keep a wet edge. On a wide wall, work in sections small enough to finish before the compound skins over. Avoid stopping in the middle of a visible field unless the pattern can hide the transition.
Keep a bucket, tray, knife, brush, sponge, rag, ladder, and light within reach. The wall should be the only thing demanding attention once texture begins. Searching for a clean tool while compound is drying usually leads to rushed strokes and uneven transitions.
Keep Pressure Consistent
Texture is controlled by pressure as much as by material. Press harder and the pattern flattens. Lift too soon and ridges stay high. Hold the knife at a different angle and the wall may develop a new look halfway across.
Practice the pressure on the sample board until your hand knows the movement. Then repeat that motion on the wall. The wall does not need to be mechanically perfect, but it should look like one person made one intentional decision across the whole surface.
Try a Light Skip Trowel Finish
Skip trowel works well when the room needs subtle movement rather than a heavy pattern. Load a knife or trowel lightly, pull it across the wall at a shallow angle, and let the compound skip over the surface. The open spaces are as important as the raised areas.
Keep the texture thin for a modern accent wall. Heavy skip trowel can start to look like exterior stucco indoors. Step back often and check the balance of smooth areas and textured areas. If one section becomes too heavy, feather it while the compound is still workable.
Try a Soft Knockdown Texture
Knockdown texture can look clean when it is restrained. The texture is applied first, allowed to set slightly, and then flattened gently with a knife. Timing matters. Knock it down too soon and the pattern smears. Wait too long and the peaks may tear or remain too sharp.
For an accent wall, a light knockdown is usually easier to live with than a heavy ceiling-style texture. Use the sample board to learn the waiting time in your room. Temperature, humidity, product thickness, and airflow all change how quickly the material sets.
Use Brush Texture Carefully
Brush texture can add energy, but it can also become repetitive fast. If every mark is the same size and angle, the wall may look stamped. If every mark is random, the wall may look chaotic. The best brush textures usually have a rhythm that changes subtly without losing control.
Rotate the brush slightly, overlap strokes lightly, and avoid obvious rows unless the design calls for them. Clean the brush as compound builds up. A clogged brush creates thicker marks and can drag old material through fresh texture.
Control Corners and Ceiling Lines
Edges are where DIY texture often gives itself away. Keep the ceiling line, side corners, baseboard edge, and trim edge neat. Pull tape before the compound becomes rock hard if the product and pattern allow it, so the edge does not chip when the tape is removed.
Use a smaller knife or brush near tight edges instead of forcing the main tool into corners. A clean perimeter makes a hand-textured wall feel deliberate. A messy perimeter makes even a good center field look unfinished.
Step Back Before the Wall Dries
Pause while the texture can still be adjusted. Look from the doorway, from seating height, and from the side. Check whether one corner is heavier, one band is smoother, or one section has marks that repeat too obviously.
Small corrections are easier while the material is wet. Scrape a heavy ridge, feather a bare spot, or blend a transition before it dries. Do not keep fussing forever, though. Overworking compound can make the wall muddy and flatten the intentional movement.
Let the Texture Cure Fully
Dry-looking texture may still contain moisture underneath. Thick areas take longer to dry than thin areas. Painting too soon can trap moisture, soften the surface, or cause uneven sheen after the finish coat.
Follow the product directions and give the wall more time if the room is cool, humid, or poorly ventilated. Use gentle airflow if appropriate, but avoid blasting dust across the wall. The texture should feel firm and dry before sanding, priming, or painting.
Sand Only What Needs Sanding
Most textured walls do not need broad sanding. The purpose is to remove sharp points, crumbs, accidental ridges, or tool marks that would catch paint oddly. Sanding the whole wall aggressively can flatten the pattern you worked to create.
Use light pressure and a fine abrasive. Wear a mask, control dust, and vacuum carefully before primer. A clean surface matters because paint can lock dust into the texture and leave dull or rough patches.
Prime Before Paint
Primer helps paint cover the texture evenly. Fresh joint compound absorbs paint differently than older painted wall areas, and the high and low spots can flash if the surface is not sealed first. Primer also reveals spots that need a small touch before color.
Use a roller nap that reaches into the texture without flooding it. Brush corners and edges first, then roll the field. Inspect the primed wall in good light before moving to finish paint. This is the last easy moment to correct a ridge, bare spot, or rough edge.
Choose Paint Sheen With Care
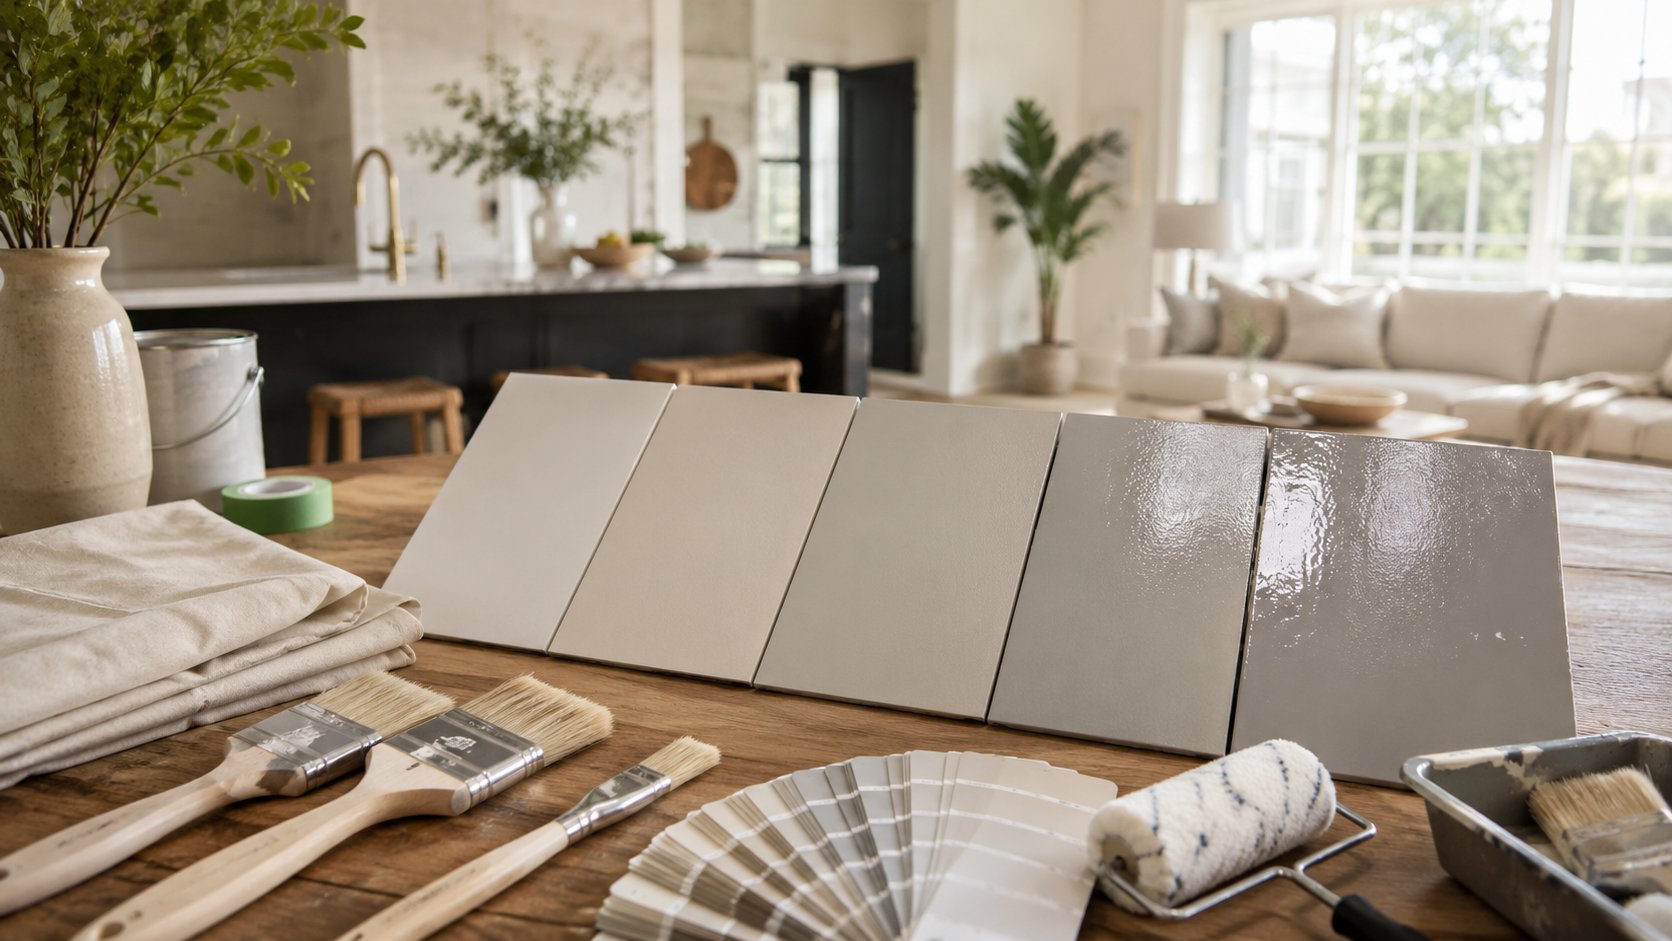
Sheen changes how texture reads. Flat and matte paints soften shadows and hide small surface issues. Eggshell can add durability while still staying calm. Satin or semi-gloss can make ridges brighter and flaws more obvious, especially under side light.
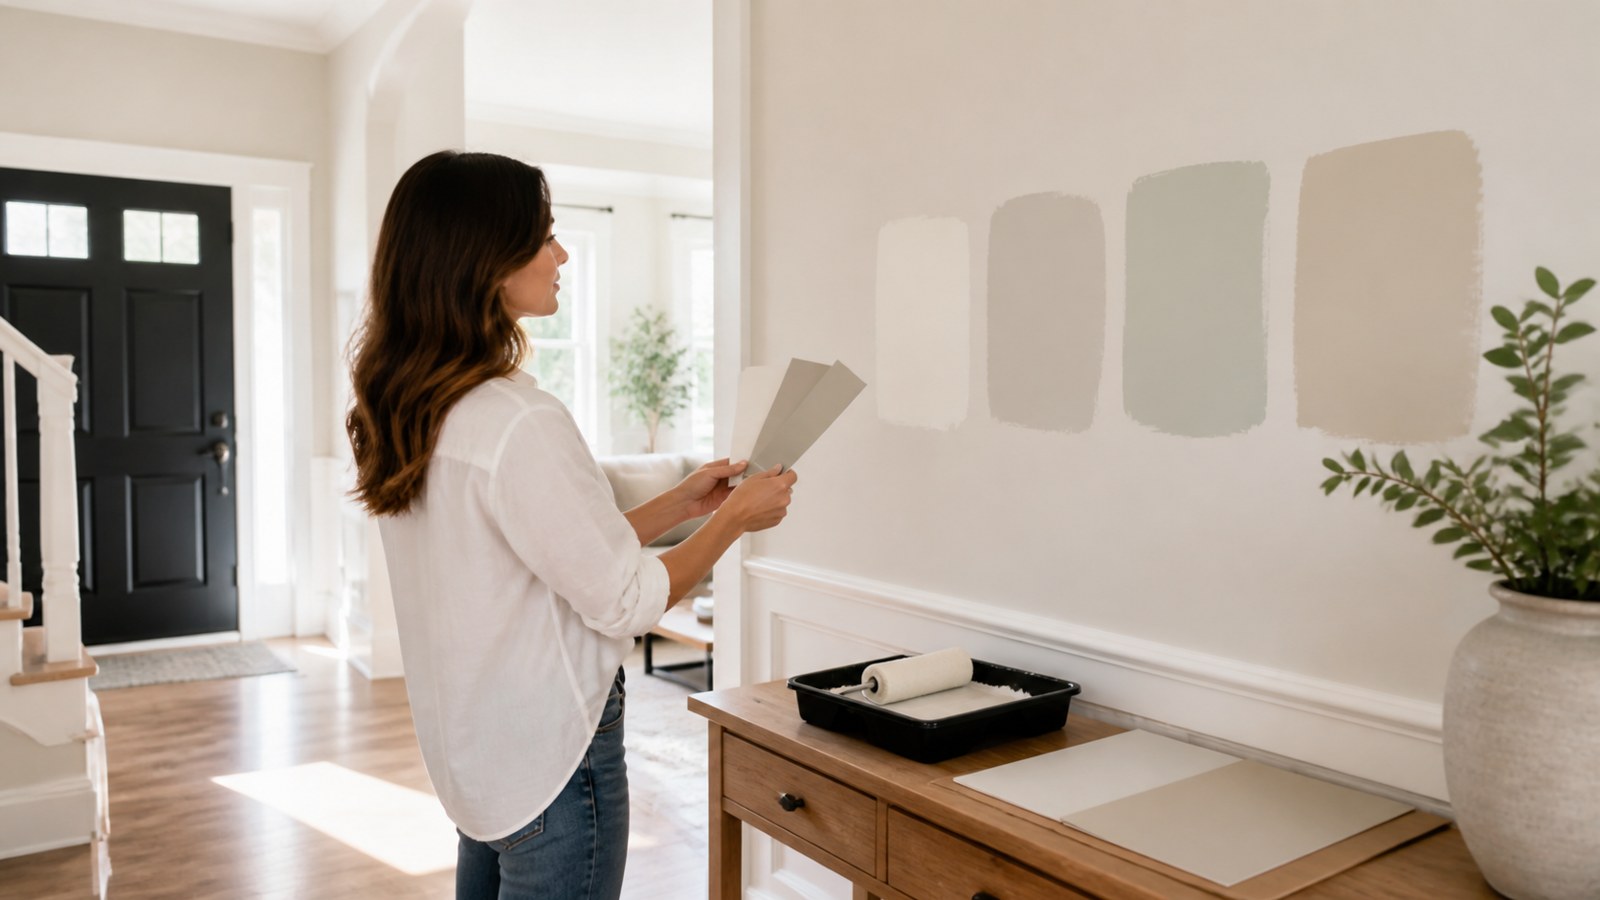
The room’s lighting should guide the decision. A wall with strong window light may need a lower sheen than a darker room. If the accent wall is meant to feel subtle, avoid a sheen that makes every ridge compete for attention.
Plan for Future Touch-Ups
Textured walls are harder to patch invisibly than flat walls. Save the product name, paint color, sheen, tool type, and a photo of the technique. Keep the sample board if you have room. It becomes a reference if a future dent, anchor hole, or water stain needs repair.
When hanging art or shelves, measure carefully before drilling. Extra holes in a textured wall take more work to hide. Use hardware appropriate for the wall and the load, and avoid crushing high texture points behind brackets or frames.
Know When Another Accent Is Better
Texture is not the only way to create an accent wall. Board and batten, picture molding, wallpaper, paneling, limewash paint, a strong color, built-in shelving, or art may fit the room better. If the wall is already rough, moisture-prone, or likely to change soon, another treatment may be smarter.
This is especially true in rentals, busy kids’ rooms, or spaces where furniture may move often. A textured wall can be beautiful, but it is more permanent than paint alone. Choose it because the room benefits from dimension, not because it seems like the fastest way to make a wall different.
Final Textured Accent Wall Review
A good textured accent wall starts with a design purpose, a stable surface, and a tested pattern. The best results usually come from restrained texture, clean edges, consistent pressure, enough drying time, primer, and paint sheen that supports the room instead of exaggerating every mark.
Take the time to sample, repair, protect, apply, inspect, and document the finish. When the wall is planned that way, the texture feels like part of the room rather than a shortcut. It adds depth without making the house harder to maintain, and it gives the space a focal point that still looks intentional after the tools are cleaned up.