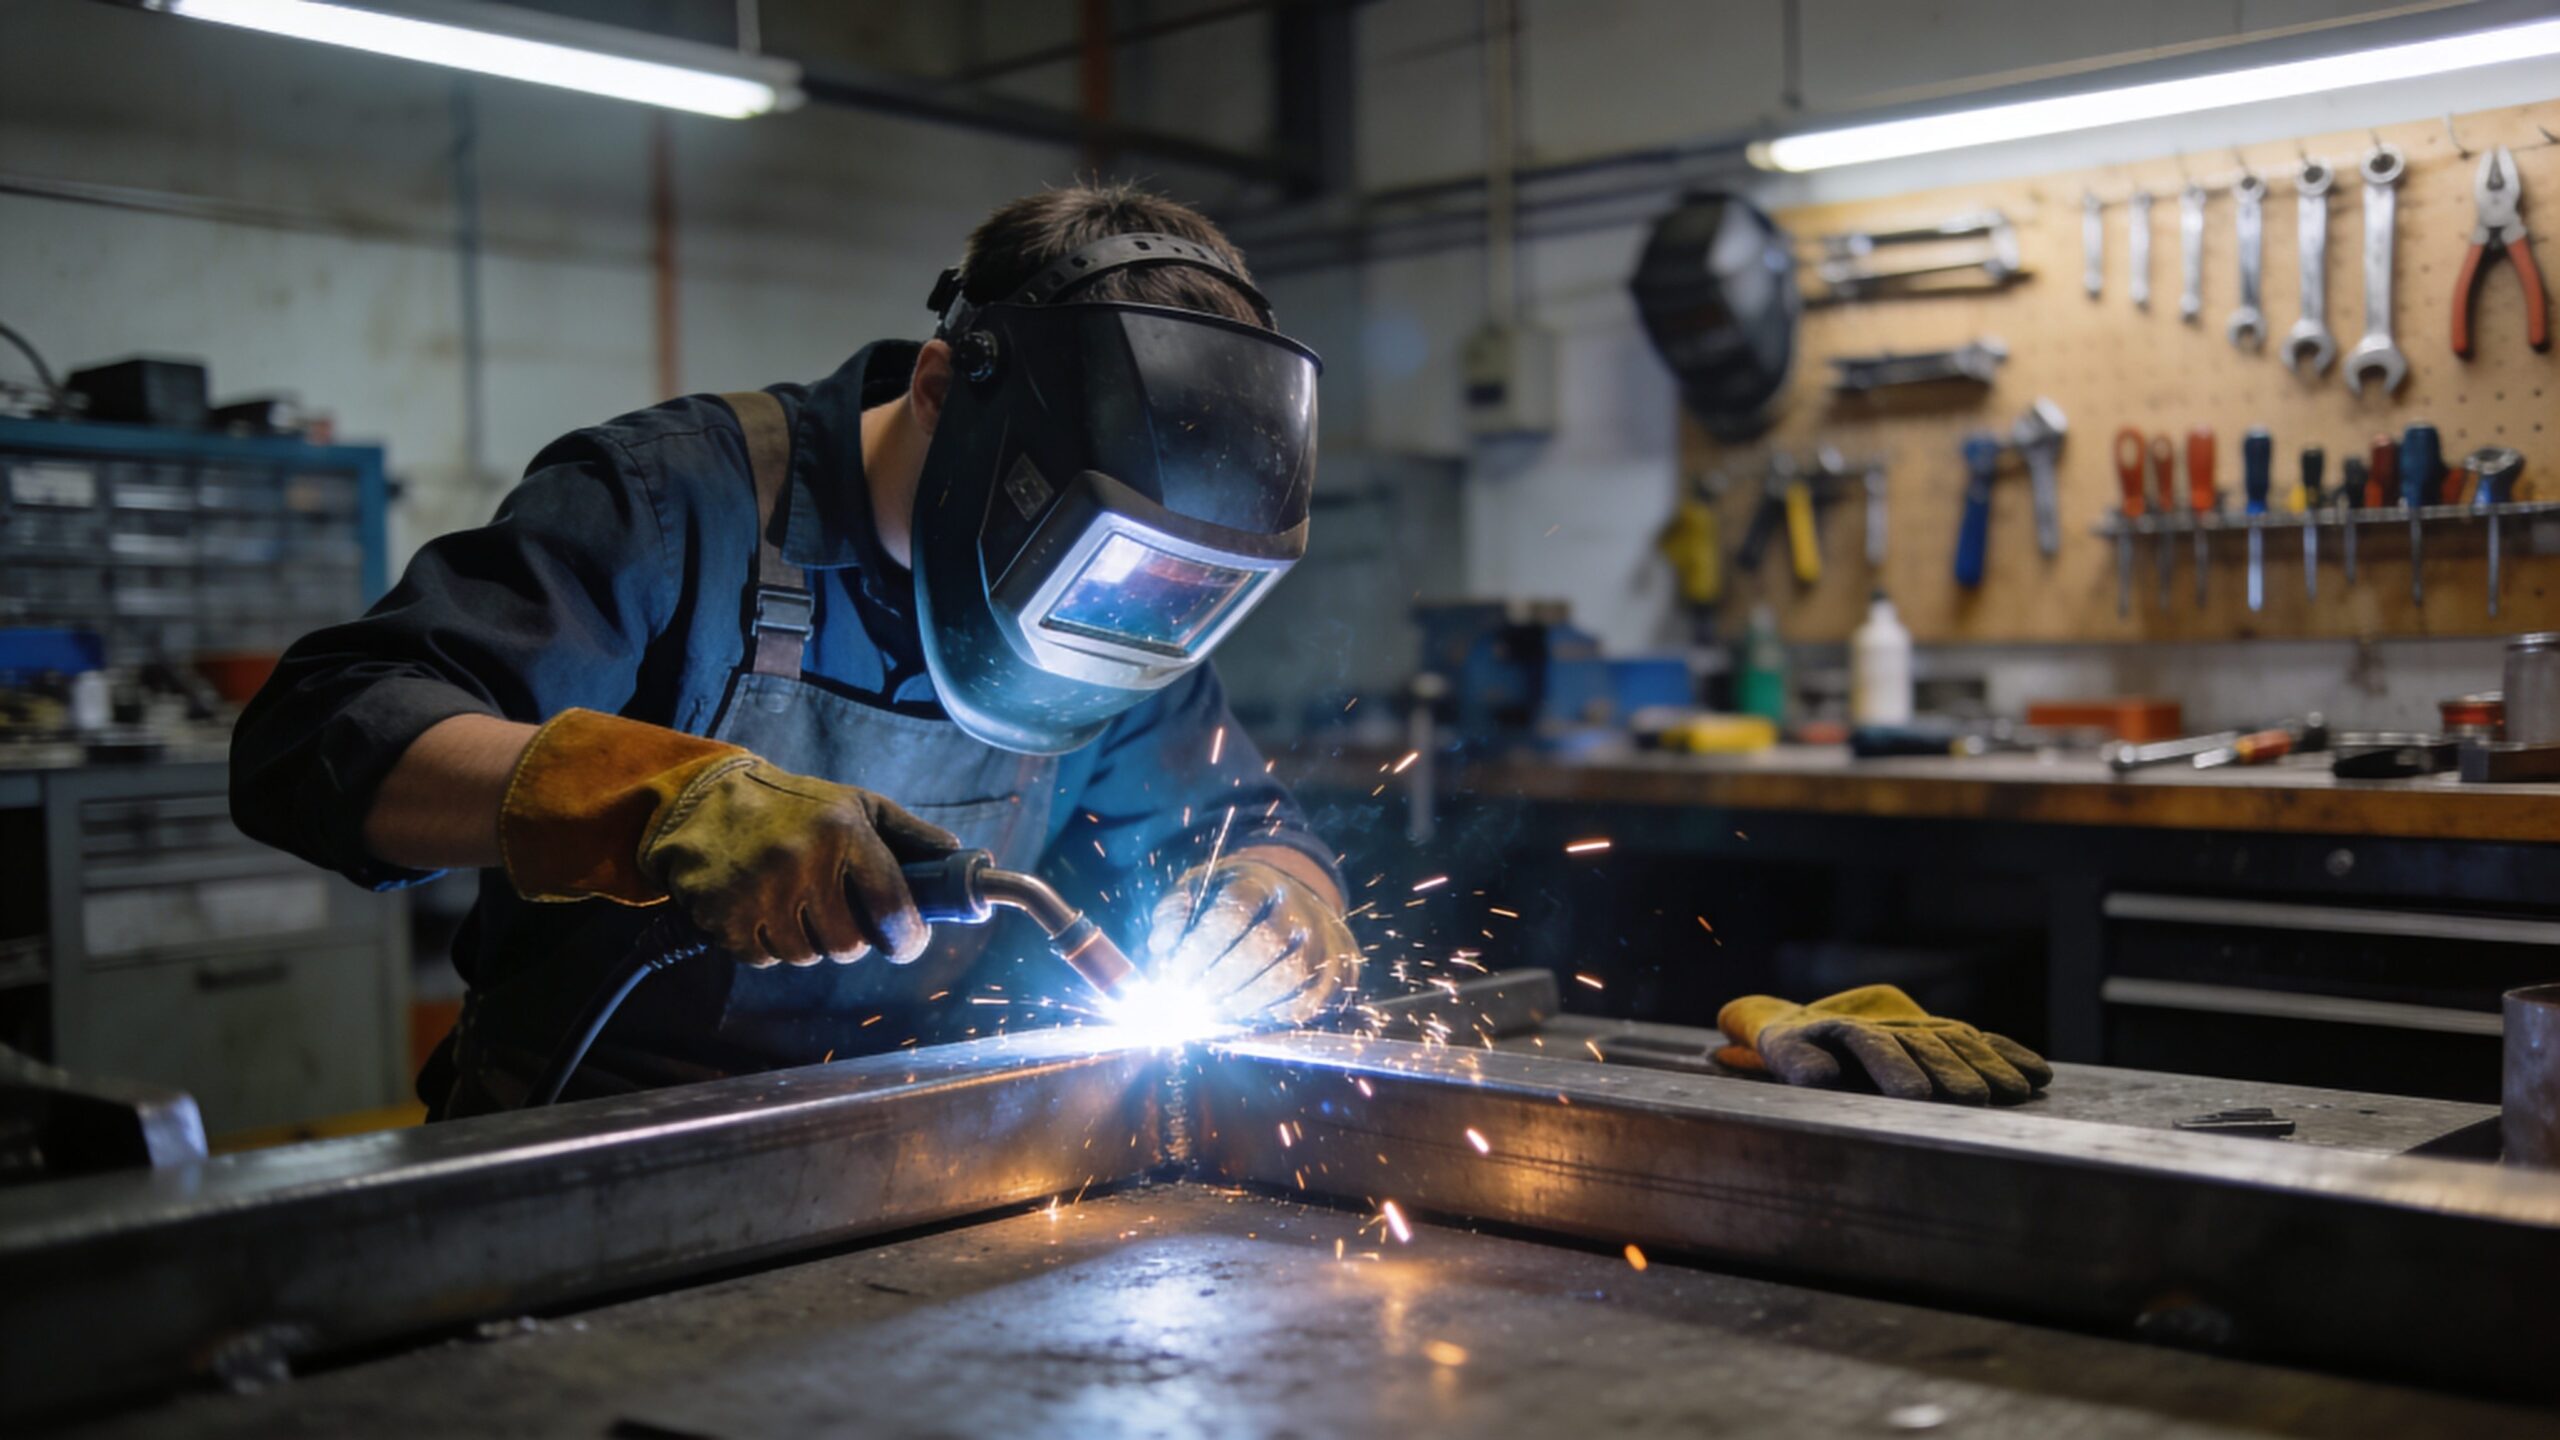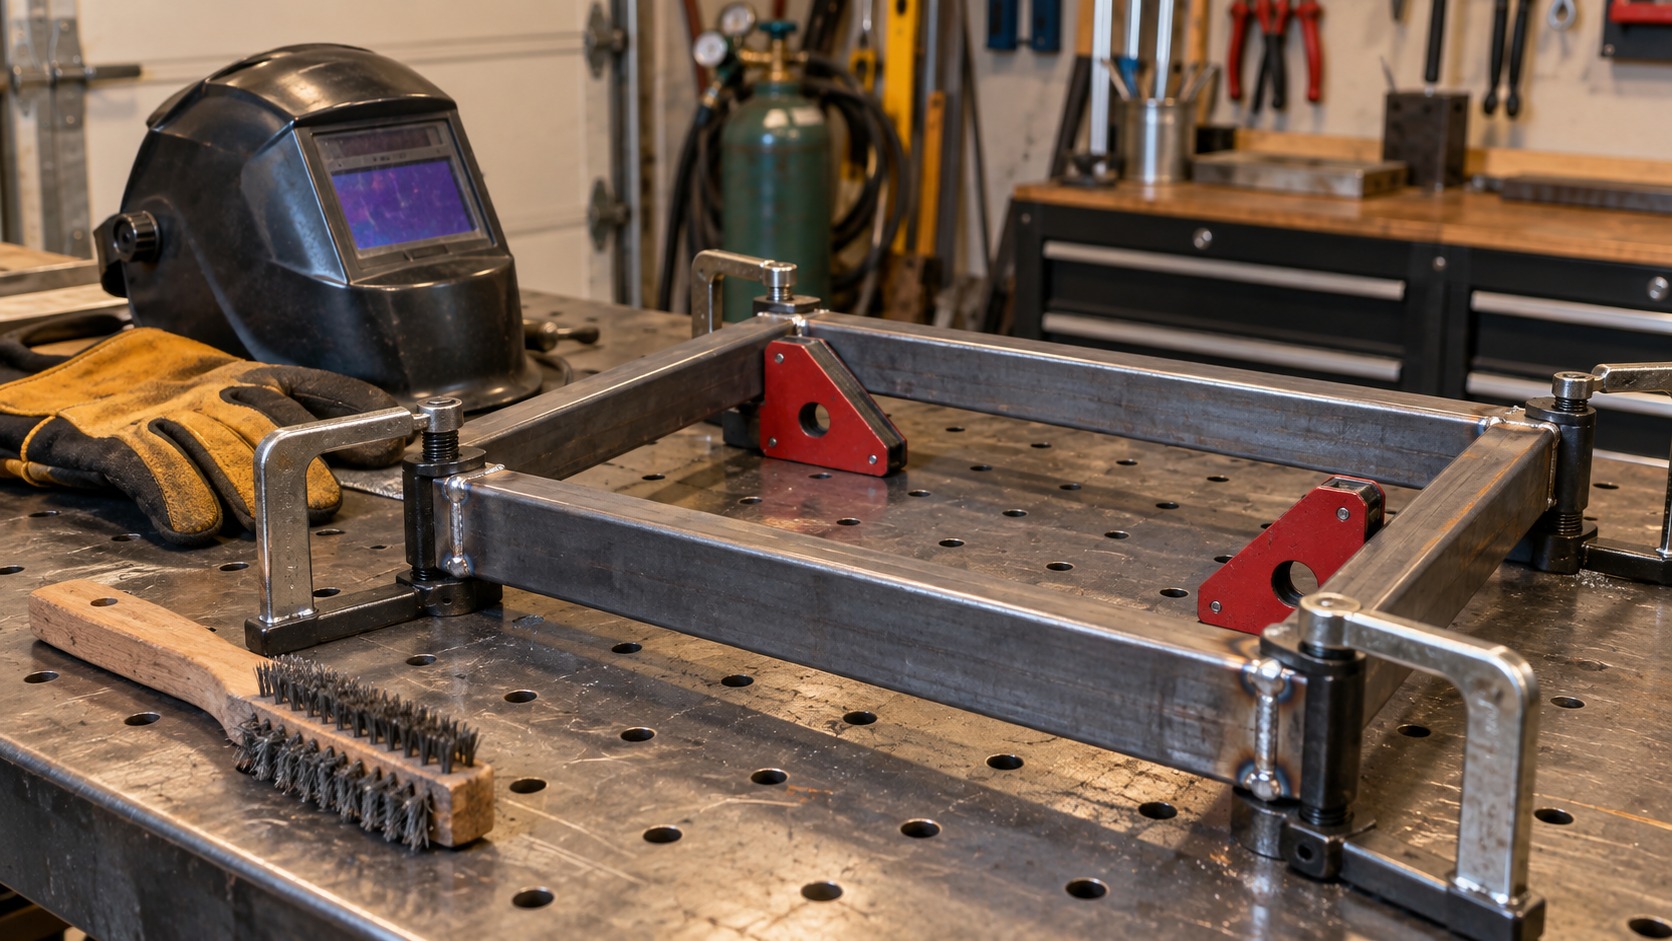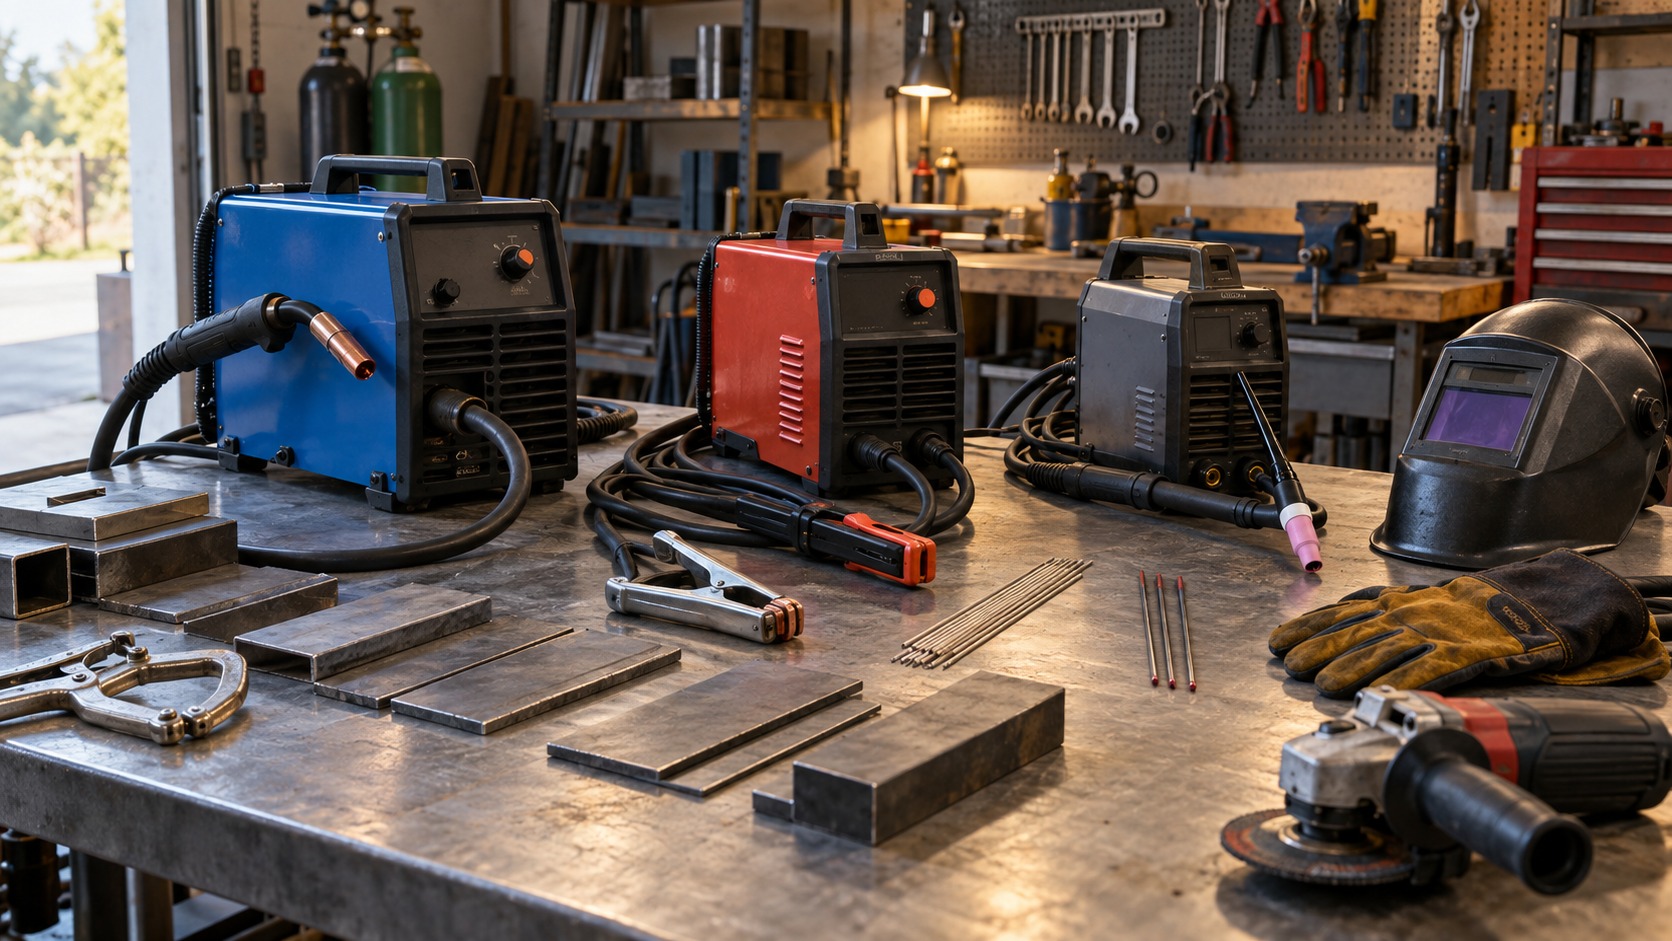
The right welder is the machine that matches the metal, thickness, workspace, power supply, and kind of practice you are willing to do. A bigger machine is not automatically better, and a bargain welder is not a bargain if it cannot run the material your projects actually use.
Start with the projects before comparing brands. Brackets, carts, gates, furniture frames, auto panels, exhaust work, farm repairs, aluminum parts, and decorative metalwork all point toward different welding processes, power needs, and accessories.
A: Choose the project list first, then match the machine to material, thickness, and location.
A: MIG is often beginner-friendly for clean indoor steel, but it is not the best answer for every job.
A: Flux-core helps outdoors and in portable repair situations where shielding gas is inconvenient.
A: Stick suits rugged work, thicker steel, and rougher conditions, but it takes practice.
A: TIG makes sense for precision work, thin material, stainless, and some aluminum needs.
A: Match amperage to the thickest metal you realistically plan to weld.
A: Yes. A 240-volt welder may need electrical work before it can be used safely.
A: Duty cycle tells how long the welder can run in a ten-minute period before cooling.
A: Include safety gear, consumables, gas, clamps, grinder, storage, and practice steel.
A: Confirm projects, process, amperage, power, duty cycle, safety gear, consumables, and practice plan.
List the Projects Before the Machine
Write down the first few projects you realistically want to build or repair. Include the metal type, approximate thickness, location, appearance expectations, and whether the weld has to carry meaningful load. That list is more useful than shopping by machine size alone.
A small art stand, a welding cart, a trailer repair, a tube gate, and an auto body patch are not the same problem. Some need clean-looking beads. Some need penetration. Some need low heat. Some need outdoor tolerance.
If you are new, choose a welder that supports the work you will practice most often. Learning on the right process for your material is hard enough without fighting the wrong machine.
Know the Main Processes
MIG welding uses wire feed and shielding gas for clean, controlled work on steel when conditions are right. Flux-core welding also uses wire feed but can run without shielding gas, which makes it useful outdoors or where wind would disturb gas coverage.
Stick welding is rugged and useful for heavier repairs, outdoor work, dirty material, and farm or structural repair situations, but it has a steeper learning curve for many beginners. TIG welding offers precision and beautiful control, especially on thin material and aluminum, but it is slower and demands more coordination.
No process does everything best. A good choice starts with matching the process to the metal and the environment instead of choosing the most complicated machine on the shelf.
MIG for General Home Projects
MIG is often the most approachable process for clean mild-steel projects in a garage or shop. It works well for carts, brackets, furniture frames, fixtures, light fabrication, and many repairs when the metal is clean and shielded from wind.
The tradeoff is gas. A MIG setup usually needs a cylinder, regulator, hose, proper wire, and indoor or wind-protected conditions. That adds cost and storage needs, but it also gives cleaner welds with less spatter than flux-core in many situations.
For a beginner who wants to build common steel projects indoors, a capable MIG or MIG-capable multiprocess machine is often a practical starting point.
Flux-Core for Outdoor Repairs
Flux-core welding is useful when you need portability, outdoor tolerance, or a simpler setup without shielding gas. It can handle wind better than gas-shielded MIG and is common for fences, gates, outdoor brackets, farm repairs, and quick steel fixes.
It usually creates more smoke, spatter, and slag cleanup than MIG. It also needs the right polarity and wire for the machine. A poor setup can make flux-core feel worse than it really is.
If your projects happen outside and the finish does not need to look showroom-clean, flux-core may be more useful than a gas-only shop setup.
Stick for Rugged Work
Stick welding is durable, portable, and well suited to thicker steel, repairs, outdoor conditions, and less-than-perfect material. It does not need a wire feeder or shielding gas, and electrodes are easy to carry.
The learning curve is real. Arc starts, rod angle, travel speed, slag removal, and rod selection all matter. Thin material is harder because burn-through comes quickly.
Choose stick when rugged repair work matters more than speed or cosmetic bead appearance. It is a strong option for heavy brackets, farm equipment, structural repairs within appropriate limits, and outdoor steel work.
TIG for Precision
TIG welding gives excellent control over heat and filler metal. It is favored for clean visible welds, thin materials, stainless, aluminum, and precision fabrication. It can produce beautiful work when the operator has the patience to learn it.
The downside is speed and coordination. TIG uses a torch, filler rod, often a foot pedal or hand control, and careful surface preparation. It is not usually the fastest path for heavy, rough repairs.
Choose TIG because the projects require precision, appearance, or material control, not because it looks impressive in videos. It rewards practice but does not hide poor prep.
Metal Thickness Drives Amperage
Thickness is one of the biggest buying factors. Thin sheet metal needs low, controllable heat. Thick plate needs enough amperage and duty cycle to create a sound weld. A machine that is comfortable on one range may struggle on the other.
Check the machine’s rated output and material range, but read those numbers carefully. Marketing claims may describe ideal conditions, not your actual outlet, duty cycle, or skill level.
Measure the material you expect to weld most often. Guessing “medium steel” is not enough. A welder for auto body patches and a welder for heavy trailer brackets are different purchases.
Power Supply Matters
A 120-volt welder is convenient because it can use common household outlets, but it has limits. It may be excellent for thin to moderate steel, small repairs, and learning work, yet run out of capacity on thicker material.
A 240-volt machine can provide more output and more comfortable performance for heavier projects, but it requires the right circuit, breaker, receptacle, and workspace. Dual-voltage machines offer flexibility if you understand what changes when plugged into each voltage.
Do not ignore extension cords. Undersized or long cords can starve the welder and create poor performance or heat. Use the machine’s electrical requirements as part of the buying decision.
Duty Cycle Is Not Fine Print
Duty cycle tells you how long the welder can run at a given output before it needs to cool. A light-duty machine may handle short hobby welds easily but pause during long beads, repeated joints, or thicker material.
For occasional brackets and practice coupons, a modest duty cycle may be fine. For production work, long repair sessions, or heavy fabrication, downtime becomes frustrating.
Compare duty cycle at the amperage you expect to use, not only the best-looking number in the brochure. A machine may have a generous duty cycle at low output and a much shorter one near its top range.
Shielding Gas and Consumables
The welder is only part of the purchase. MIG and TIG setups need gas, regulators, hoses, wire or filler rod, contact tips, cups, nozzles, electrodes, tungsten, clamps, and spare parts. Consumables affect both cost and weld quality.
For MIG steel, common gas mixes are easy to source in many areas, but cylinder ownership or exchange rules vary. For TIG aluminum, argon and AC capability may matter. For flux-core or stick, wire and rod selection becomes the routine cost.
Before buying, check whether consumables are available locally. A machine that uses odd parts can become annoying when a tip or liner wears out mid-project.
Workspace and Ventilation
Where you weld affects which machine makes sense. Indoor garage welding favors clean processes, good ventilation, fire-safe surfaces, and control over sparks. Outdoor welding needs wind-tolerant processes and safe clearance from dry grass, vehicles, siding, and stored materials.
Welding fumes, UV light, sparks, and hot metal are not small concerns. A good helmet, gloves, jacket, ventilation plan, fire extinguisher, and clean work area are part of the purchase.
If the workspace cannot safely support welding, no machine is the right machine yet. Prepare the area before striking an arc.
Portability and Storage
Portability matters if you will repair gates, trailers, farm equipment, or outdoor projects away from the bench. A small flux-core or stick setup may be easier to move than a gas-shielded setup with a cylinder.
For shop work, a cart can make a larger MIG setup practical. Store gas cylinders upright and secured. Keep leads, ground clamps, torches, and consumables organized so setup does not become a chore.
Be honest about how often you will move the machine. A heavy setup is fine if it lives in one corner. It is frustrating if every project requires hauling it across the property.
Controls and Beginner Settings
Some welders use simple voltage and wire-speed controls. Others include synergic settings, digital menus, memory presets, spool gun modes, TIG features, and process switching. More controls can help once you understand them, but they can also distract a beginner.
Look for a clear setup chart, readable controls, and enough manual adjustment to learn. Auto settings are helpful for starting, but practice still means changing one variable at a time and inspecting the result.
A beginner-friendly welder should make setup understandable, not mysterious. You should know what changed when the bead improves or gets worse.
Multiprocess Machines
Multiprocess welders can be appealing because one box may support MIG, flux-core, stick, and sometimes TIG. They are useful when you genuinely need more than one process and understand the accessory requirements.
Read the details. Some multiprocess machines include only scratch-start TIG, lack AC TIG for aluminum, or require extra torches, gas equipment, or spool guns. “TIG capable” does not always mean it does the TIG work you imagine.
A multiprocess welder is a smart choice when flexibility matters. A single-process machine may be better when you know exactly what work you will do most.
Aluminum Changes the Decision
Aluminum is not just shiny steel. It conducts heat quickly, forms oxide, and often needs different process choices. MIG aluminum may require a spool gun or push-pull setup. TIG aluminum usually requires AC TIG capability.
If aluminum is central to your projects, do not buy a steel-focused welder and hope accessories solve everything later. Confirm that the machine, torch, gas, filler, and power supply can handle the aluminum thickness you plan to weld.
If aluminum is only a maybe, buy for your real steel projects first and revisit aluminum when it becomes a real requirement.
Budget for the Whole Setup
The welder price is only part of the cost. A realistic setup may include gas cylinder, regulator, cart, helmet, gloves, jacket, clamps, magnets, grinder discs, wire, rods, filler, contact tips, nozzles, anti-spatter, practice steel, and better work lighting.
A cheaper welder plus good safety gear and consumables may be more useful than a larger machine that leaves no budget for the items needed to weld safely. Setup quality affects weld quality more than beginners expect.
Price the complete first month of use, not just the box. If the machine requires accessories to do the process you want, include them before comparing models.
Think About Inspection
Choosing a welder also means choosing how you will judge the welds. Some projects only need clean appearance and good fit-up. Others need strength, penetration, and confidence under load. The more serious the project, the more inspection matters.
Beginners should cut apart practice welds, look at penetration, check for porosity, and compare beads after changing one setting at a time. Welds can look acceptable on the surface while still lacking fusion.
If a project affects a trailer, vehicle suspension, lifting point, railing, structural bracket, or safety-critical part, get qualified help. A hobby welder is a learning tool, not a license to repair everything.
Plan the Upgrade Path
A first welder should not trap you immediately. Check whether the machine can accept common wire sizes, standard consumables, a spool gun, better ground clamp, longer leads, or gas conversion if those features matter later.
Some small flux-core machines are perfect for simple repairs but have little room to grow. Some dual-voltage MIG machines can start on 120 volts and become more capable when a 240-volt circuit is available. Some multiprocess units are flexible but still limited in one process.
Buy enough machine for the work you can name, plus reasonable room for growth. Avoid buying for imaginary future jobs that would require a completely different skill set, workspace, and power supply.
Safety Gear Is Part of the Budget
A welder budget should include an auto-darkening helmet, gloves, jacket or sleeves, safety glasses, hearing protection, clamps, chipping tools, wire brush, grinder, fire extinguisher, and a safe work surface. Skipping safety gear to afford a larger machine is a bad trade.
Welding exposes skin and eyes to UV light. Sparks travel. Hot metal looks exactly like cold metal. Grinding creates its own hazards. Treat the support gear as required equipment.
Good clamps and clean metal also improve weld quality. Safety and quality often come from the same careful setup habits.
Practice Before Real Loads
Do not make the first real project a load-bearing repair. Practice on scrap of the same material and thickness. Cut, bend, grind, or break test coupons when appropriate so you learn what a good weld looks and feels like.
Keep notes on settings, wire or rod, gas, material thickness, prep, and what changed. That record turns practice into learning instead of random sparks.
When a weld matters structurally, get training or professional help. Owning a welder is not the same as being qualified for every repair.
Final Welder Selection Review
Choose a welder by matching process, material, thickness, power supply, workspace, duty cycle, and learning goals. MIG is friendly for many clean shop projects. Flux-core is useful outdoors. Stick is rugged for heavier repairs. TIG rewards precision and patience.
Budget for gas, consumables, safety gear, clamps, and practice material. The right welder should make your likely projects safer and more repeatable, not just add more settings. Start with the work, then buy the machine that fits it.