Squaring a board is less about one perfect cut and more about choosing a dependable reference, keeping that reference visible, and checking the board before each irreversible step. A board can look straight at a glance and still have a crowned edge, a damaged end, or a slight twist that throws off shelves, frames, boxes, trim, and furniture parts.
The goal is to turn an imperfect piece of lumber into a part with a flat face, one straight edge, a clean end, and corners that can be trusted during assembly. Once that happens, measuring becomes easier, joinery fits better, and the project feels calmer because every later mark has somewhere reliable to start.
Use the process below as a practical board-squaring routine. It works with hand tools, power tools, or a mixed setup, but the habit stays the same: pick the reference, mark the waste, cut with support, tune carefully, and confirm square before building anything around the piece.
A: Check the board for movement, damage, twist, and the best reference face.
A: It is the flat face you trust for layout, measuring, and checking later cuts.
A: Yes. A straight reference edge keeps square marks and measurements consistent.
A: No. Trim and verify one end before measuring final length.
A: It shows which side of the line the blade should remove.
A: Multiple lines reveal drift, twist, and cutting errors before assembly.
A: Tune it carefully with a plane, shooting board, sanding block, or controlled recut.
A: Use the same reference end, gang-mark parts, and rely on stops when possible.
A: It matters most for frames, cabinets, shelves, doors, tabletops, and joinery.
A: Confirm the face, edge, ends, length, and matching parts before glue or fasteners.
Start by Reading the Board
Before measuring length, look at the board as a physical object instead of a perfect rectangle. Sight down each edge. Check for bow, cup, twist, checks, knots, dents, rounded corners, and torn grain. A board with one bad end may still be useful, but the bad area should not become the reference for the entire project.
Set the board on a flat surface and press the corners. If it rocks, the board is twisted or the bench is not flat. Flip it over and test again. A twisted board can sometimes be used for short parts, hidden blocking, or rough framing, but it is a poor starting point for a visible shelf, drawer part, face frame, tabletop edge, or small project where the finished part must sit flat.
Choose the best face before doing anything else. The best face may be the flattest side, the cleanest-looking side, or the side with grain that should face out. Mark it lightly with a cabinetmaker’s triangle, a small pencil mark, or another symbol you will recognize later. That mark tells you which surface controls the rest of the layout.
Pick One Reference Face
The reference face is the surface your square, gauge, fence, or measuring tool trusts. If you keep changing which face controls the work, small errors begin to stack. One mark may be measured from the front, another from the back, and a third from an edge that is not straight. The board may still look close, but it will not assemble cleanly.
Use the flattest and most stable face as the reference whenever possible. If the board is rough, plane or sand only enough to make the face usable before marking final work. If the board has a show face and a hidden face, decide whether accuracy or appearance should control the first layout step. In most beginner projects, a flat reference is more important than a pretty reference because a pretty crooked face can mislead every mark after it.
Keep the reference mark visible until the part is installed. A tiny triangle, the word “face,” or a light arrow on a hidden area is enough. If several boards are being squared at once, mark each one before cutting so parts do not get swapped, flipped, or measured from a different side later.
Create a Reliable Reference Edge
After the reference face is chosen, create or choose one straight edge that will control square lines. On dressed lumber, a factory edge may be close enough for rough work, but do not assume it is accurate for fine cuts. Check it with a straightedge, a known-straight board, or by placing it against another edge and looking for gaps.
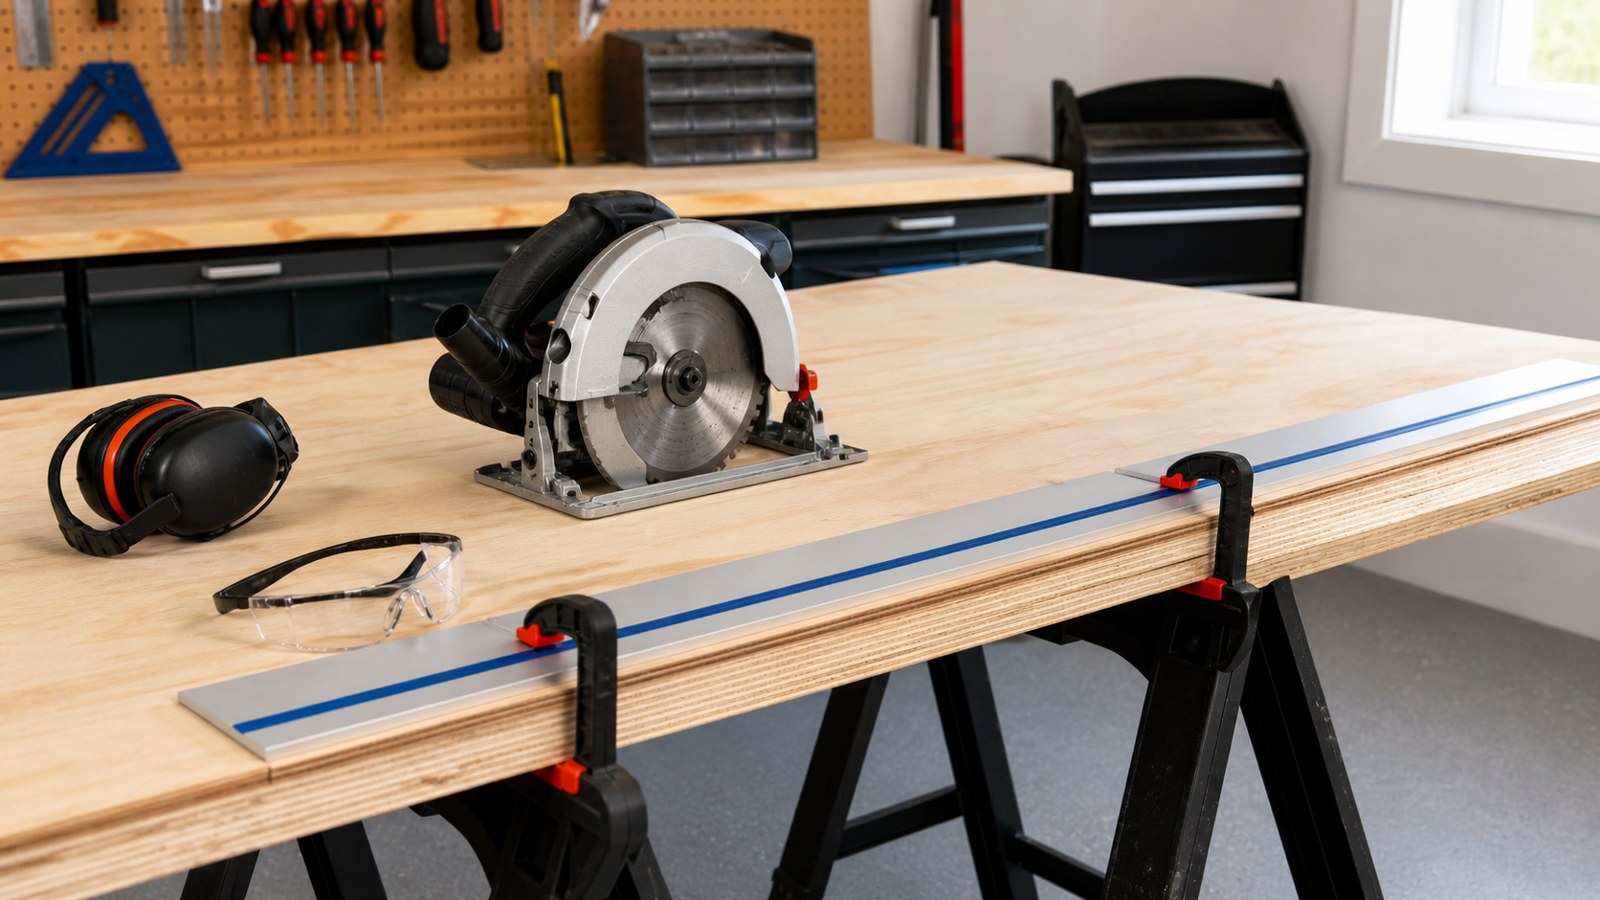
If the edge is crooked, straighten it before using it as a measuring reference. A jointer, table saw with a straight-line jig, track saw, hand plane, or careful circular-saw guide can all work depending on the setup. The tool matters less than the outcome: one edge should be straight enough that a square seats firmly without wobbling, rocking, or riding over damaged spots.
Mark the reference edge after it is established. Many mistakes happen when a board is turned around on the bench and the square gets placed against the opposite edge by accident. A small face-edge symbol keeps the process grounded.
Trim One End Before Measuring Length
The end of a board is often the least trustworthy part. It may be rough from the mill, dented from shipping, split from drying, or cut slightly out of square. Measuring final length from that end carries the problem into the project. Trim one end square first, then measure from the clean end.
Do not remove more wood than needed. Mark a cleanup line just past the damaged or questionable area, support the board well, and make the cut. Then check the new end against the reference edge and face. If the end is close but not perfect, tune it before using it as the starting point for final length.
This step feels slow, but it saves frustration. A clean starting end makes repeated parts more consistent and prevents the common problem where one board is technically the right length but has a corner that will not close.
Use the Square Correctly
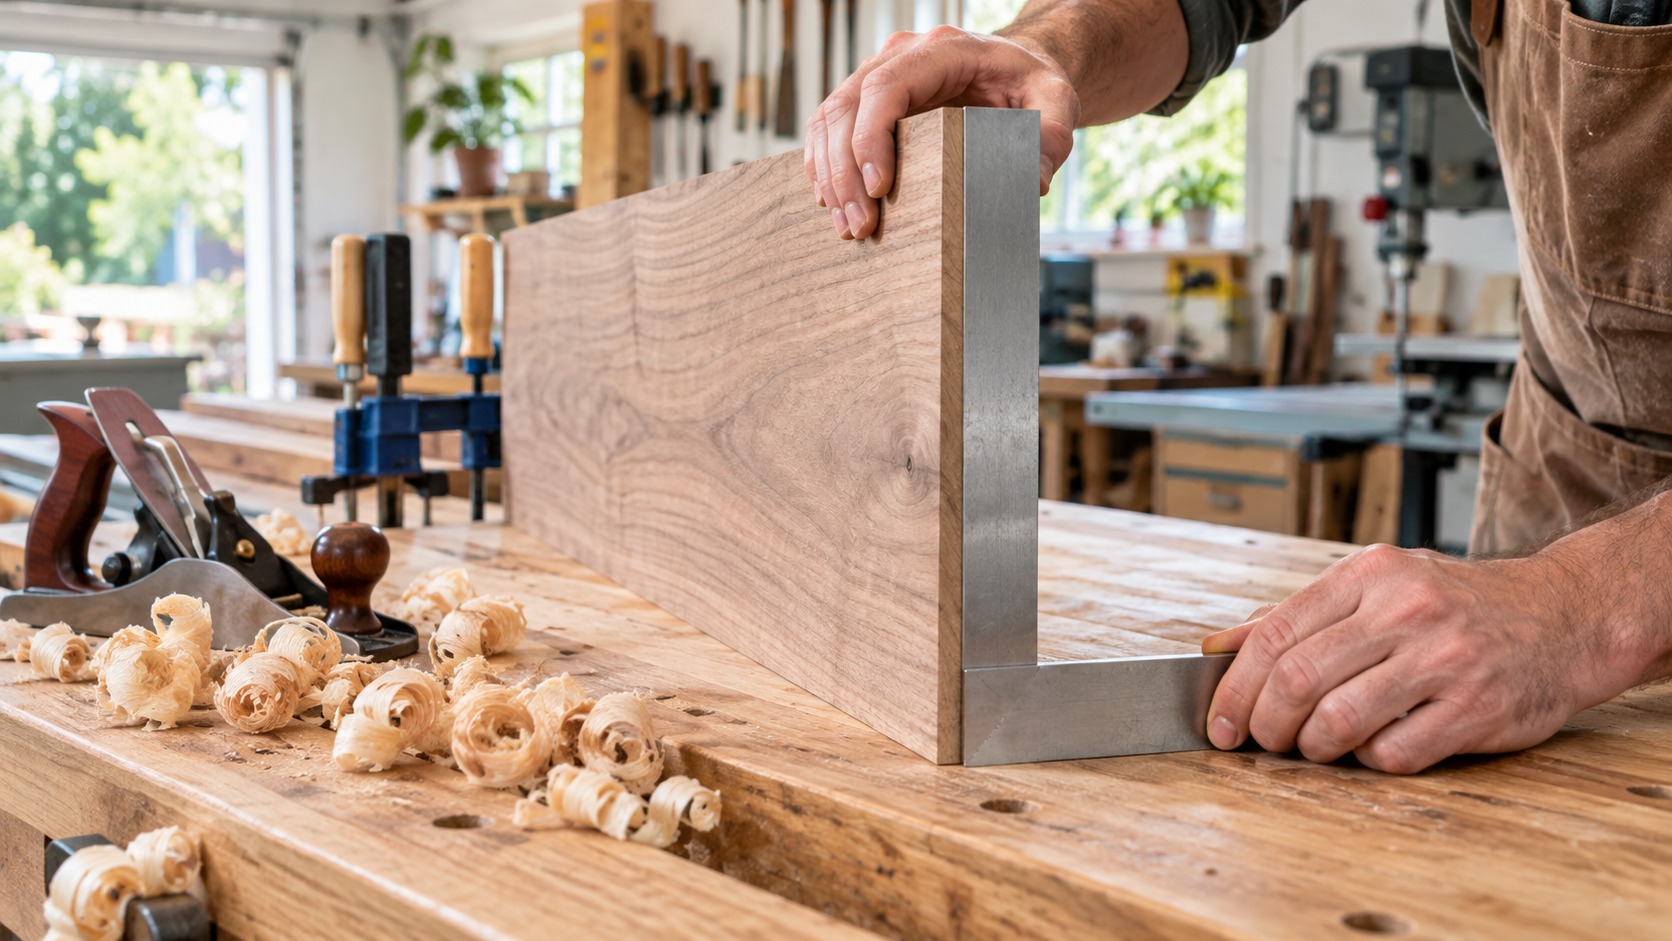
A square only works when it is seated against the right surface. Hold the stock of the square tight to the reference edge, keep dust and chips out from under it, and draw the line with the blade flat on the board. If the board edge is rounded, splintered, or wavy, the square may look aligned while actually sitting crooked.
Use the right square for the job. A combination square is useful for most small boards because it can mark ninety-degree lines and repeat offsets. A speed square is quick for framing lumber and rough carpentry. A try square or engineer’s square is helpful for shop work where a small error will show.
Check your square if results keep coming out wrong. Draw a line from one edge, flip the square over, and draw the same line again. If the lines separate, the square may be damaged or inaccurate. Beginners often blame their cut when the layout tool was the quiet problem.
Mark the Waste Side Clearly
Every cut line has a keeper side and a waste side. Marking both sides mentally is not enough once the saw starts, especially when several parts are on the bench. Put an X, scribble, or arrow on the waste side so the blade removes the correct material.
Saw kerf matters. The blade removes a thin strip of wood, and that strip has to come from the waste side. If the blade is centered on the finished line, the part will usually end up short. If the blade wanders into the keeper side, the piece may need to be remade or redesigned.
Use a sharp pencil for general work and a marking knife for very precise work. A pencil line has width, so decide whether you are cutting to the near edge, far edge, or center of the line. A marking knife gives the saw or chisel a crisp shoulder, but it can leave a visible line if placed on a show face by mistake.
Carry the Line Around the Board
A line across only one face can be enough for rough work, but square cuts are easier when the line wraps onto the edges and sometimes the opposite face. Carrying the line around gives the saw more visual guidance and gives you more places to check after the cut.
Start from the reference face and reference edge. Mark across the face, then rotate the board and continue the line from the same reference. If the lines do not meet cleanly, stop. The square may have slipped, the edge may not be straight, or the board may not be shaped well enough for accurate layout.
Wrapped lines are especially helpful for thick boards, posts, legs, rails, and any part that will be visible from multiple sides. They also make it easier to spot a cut that started straight but drifted as it went through the board.
Support the Board Before Cutting
A board that moves during the cut will not stay square. Clamp it, brace it against a bench hook, support the offcut, or use a sacrificial backer when tear-out matters. The support method should prevent vibration without forcing the board into a bend.
Long boards need support on both sides of the cut. If the offcut drops at the end, it can tear fibers, pinch the blade, or pull the saw off line. Short boards are safer when held with a clamp, stop, or jig instead of fingers close to the cut.
Take a moment to think about where the blade exits. Tear-out usually happens on the exit side, so place the best face accordingly or add backing where needed. A clean square end is not just about the angle; the fibers should also be intact enough for the finished use.
Cut Proud, Then Tune
When accuracy matters, cut just to the waste side of the line rather than trying to land perfectly in one aggressive pass. Leaving a small amount of material lets you plane, sand, shoot, or trim the end to the final line with more control.
A shooting board and sharp block plane are excellent for tuning end grain on smaller boards. A sanding block can help, but it must stay flat and square. Freehand sanding can round the corner and make the end look acceptable while actually making it less accurate.
Power-tool users can also tune carefully. A miter saw with a stop block, a table saw sled, or a track saw with a guide can produce very clean square cuts, but the setup still needs to be checked. Do not assume a factory detent, fence, or guide is perfectly aligned without testing it on scrap.
Check Square From More Than One Direction
After cutting, check the end from the reference face and the reference edge. Place the square against the reference edge and look for gaps along the end line. Then flip or rotate the board and check the related faces. A cut can look square from one surface and still lean slightly across the thickness.
Use light behind the square if gaps are hard to see. Do not force the square into position; let it show the truth. If the end is high on one side, tune that side carefully. If the whole end is angled, it may be faster to recut than to sand endlessly.
Also check the length after tuning. Removing material to square the end can shorten the part. If several parts must match, square and tune the first one, then use it as a setup reference rather than measuring every later piece from the tape again.
Make Matching Parts as a Set
Matching parts are where square-board habits really pay off. Shelves, rails, frame sides, drawer parts, legs, and trim returns often need pairs or groups that are identical. A part can be square and still cause trouble if its matching partner is slightly longer or shorter.
Use a stop block, story stick, or the finished first part to transfer length. Stack matching pieces when appropriate and check that their ends line up. If a project has four rails, mark them as a group before cutting all of them. This keeps one small measuring decision from being repeated four different ways.
When using a stop block, keep dust and chips away from the stop. A single chip trapped between the board and the stop can change the length of one piece. Check the first and last pieces in a batch so drift is caught before assembly.
Know When Square Is Critical
Not every board needs furniture-level precision. Rough blocking, temporary braces, garden stakes, and hidden supports can tolerate more variation than cabinet parts or face frames. The trick is knowing when square will affect the finished result.
Square matters most when parts meet other parts, when ends are visible, when hardware relies on alignment, or when several pieces form a frame. A crooked shelf end can leave a gap against a side panel. An out-of-square rail can rack a door. A slightly angled trim return can catch the eye even after paint.
Spend your precision where it pays off. Hidden parts still need to be safe and functional, but visible joints, repeated parts, and load-bearing assemblies deserve the extra check.
Fix Small Errors Before Assembly
If a board is a little long, tune it before forcing the assembly together. If one end is out of square, correct it before glue, screws, or nails lock the problem into place. Fasteners can pull parts together, but they can also twist a project and hide stress until later.
Dry-fit the parts with the reference marks still visible. Look at corners, gaps, diagonal measurements, and how the pieces sit on the bench. If a frame is supposed to be square, compare diagonals before fastening. If a shelf is supposed to sit between sides, test the fit without finish or glue in the way.
Small corrections are easiest when the project is still in pieces. Once the board is part of a glued frame, a painted shelf, or a built-in assembly, every adjustment becomes slower and riskier.
Build a Repeatable Squaring Routine
A reliable routine prevents mistakes better than memory. Read the board, choose the reference face, establish the reference edge, trim one end, measure final length, mark the waste side, wrap the line, support the cut, tune the end, and check the result. The same sequence works on small shop projects and larger carpentry tasks.
Keep the routine visible until it becomes natural. Write it on a shop card, tape it near the saw, or turn it into a quick mental checklist. The point is not to make woodworking slower forever; it is to keep early decisions from becoming hidden errors.
As skill improves, the steps become faster. You will spot poor reference edges sooner, choose better boards, mark waste sides automatically, and recognize when a cut needs tuning. Speed comes from repeatable accuracy, not from skipping the checks that make the board dependable.
Final Board-Squaring Review
To square a board well, start with the material itself. Find the flattest face, create one straight reference edge, trim away the questionable end, and measure from the clean reference. Mark the waste side, respect the saw kerf, support the cut, and tune the end until the square confirms the result.
The real benefit shows up later. Shelves sit flatter, frames close more cleanly, trim returns look sharper, and beginner woodworking projects feel less frustrating. A board that is square gives every later step a fair starting point, and that is why the extra care at the beginning is worth it.