Make the Removal Decision Before Picking Up a Scraper
Removing a popcorn ceiling can give a room a cleaner appearance, but the visible scraping is only one part of the project. The first decisions concern the material you would disturb, the condition of the surface underneath, and the amount of finishing needed to achieve the ceiling you want. Some textured finishes contain asbestos, and an older painted surface can introduce additional concerns. Appearance and a home’s approximate age cannot establish whether the proposed work is safe. Arrange an appropriate assessment before disturbance, then decide whether removal, professional treatment, or leaving the ceiling intact is the right route. Once assessment establishes which materials may be disturbed and how, good preparation protects the rest of the home and makes the eventual repair and painting much more manageable.
A: No. Appearance cannot establish whether the material contains asbestos.
A: No. Assessment belongs before exploratory disturbance of suspect material.
A: Its relevance depends on what was sampled and the proposed work; review the scope with the assessor.
A: No. Attachment and preparation may disturb existing material and require assessment.
A: The texture may have concealed joints, patches, or substrate irregularities.
A: Stop and review the method instead of switching to aggressive unplanned disturbance.
A: Torn facing generally needs appropriate repair preparation before finishing.
A: Correct the moisture source and evaluate damage before refinishing the ceiling.
A: Only the written scope establishes that; request separate confirmation of repair, primer, and finish coats.
A: Complete cleanup, any required verification, dry coatings, and correctly restored fixtures determine readiness.
Establish What You Would Be Disturbing
A popcorn finish may look like a simple decorative coating, but its appearance does not identify its composition. Keep the surface undisturbed while you determine the appropriate assessment for the planned renovation. The EPA’s household asbestos guidance recommends trained professional involvement when suspect material would be disturbed. Testing and a suitable plan belong before scraping, sanding, drilling, or exploratory work, including attempts to remove a small trial patch.
If testing identifies asbestos, stop the DIY removal plan and use qualified local professionals to establish the next steps. A negative result should still be interpreted in the context of what was sampled and the work proposed. Discuss other relevant coatings or materials with the assessor. This guide’s later surface-removal discussion applies only after the materials and method have been appropriately cleared.
Understand What a Smooth Ceiling Requires
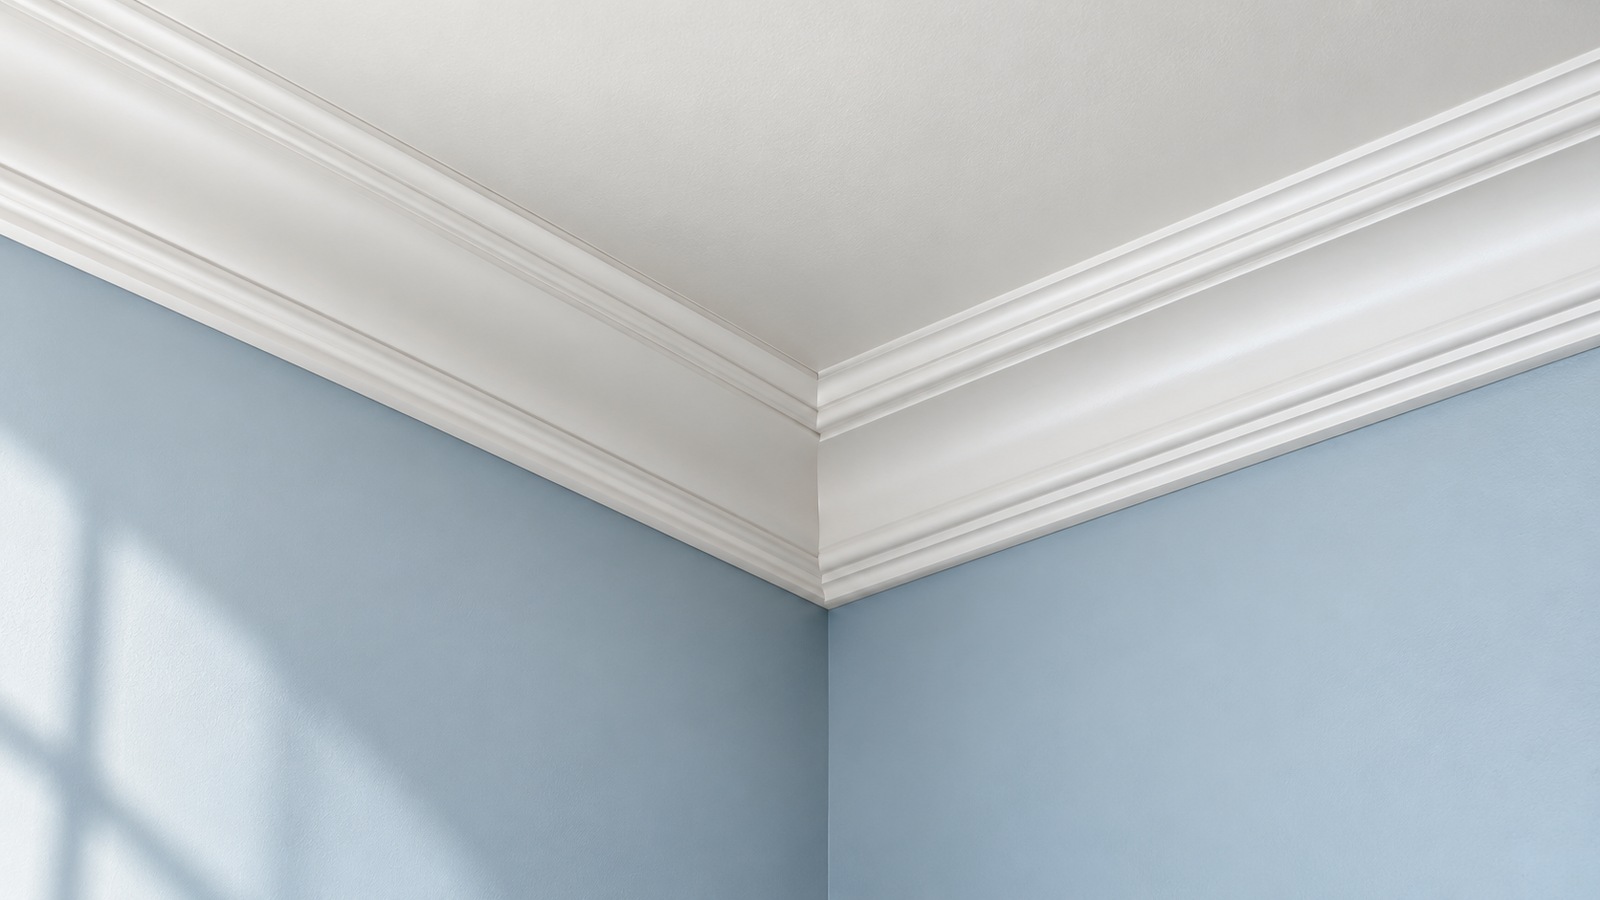
Texture can conceal uneven drywall joints, small repairs, and changes in the substrate. Removing it does not automatically reveal a paint-ready plane. The ceiling may need localized repairs, broader skim coating, sanding, and priming before finish paint looks even. Strong window light makes those imperfections especially visible, so evaluate the desired finish under the room’s actual lighting.
Decide whether you want a genuinely smooth ceiling or a lighter, intentional texture. The second option can require less perfection in the underlying surface, although it still needs sound preparation. Ask a finisher to explain what level of appearance the quoted work will deliver. A proposal that includes scraping alone is a different project from one that includes a completed, painted ceiling.
Existing water damage adds another task. Identify and correct the source before restoring the surface. Loose paper, softened board, mold concerns, or a sagging area may require a repair strategy beyond cosmetic refinishing. Do not use a new finish to conceal an unresolved moisture problem.
Compare Removal With Other Routes
Keeping a sound ceiling unchanged can be a reasonable decision when the appearance is acceptable and no disturbance is needed. Covering or professionally treating a ceiling may also be possible, but those choices require their own assessment and installation plan. Attaching a new layer can still disturb the existing material, add weight, alter fixture clearances, and change access. Compare the complete approved approach rather than assuming that covering is automatically a safer or cheaper shortcut.
Price the Work From Testing Through Paint
Divide the estimate into assessment, protection, removal, waste handling, substrate repairs, finishing, and painting. Add any electrical work needed to remove or reposition fixtures. This makes it easier to understand why two estimates for the same room differ. One contractor may include a finished ceiling while another stops once the loose texture is gone.
Ask how the quote handles discoveries. Extra paint layers, damaged drywall facing, old patches, and difficult access can change the work. State whether the home will be occupied and whether furniture can leave the room. Agree on who restores the space, cleans adjoining areas, and reinstalls items that were removed for access.
Prepare the Room as a Contained Work Area
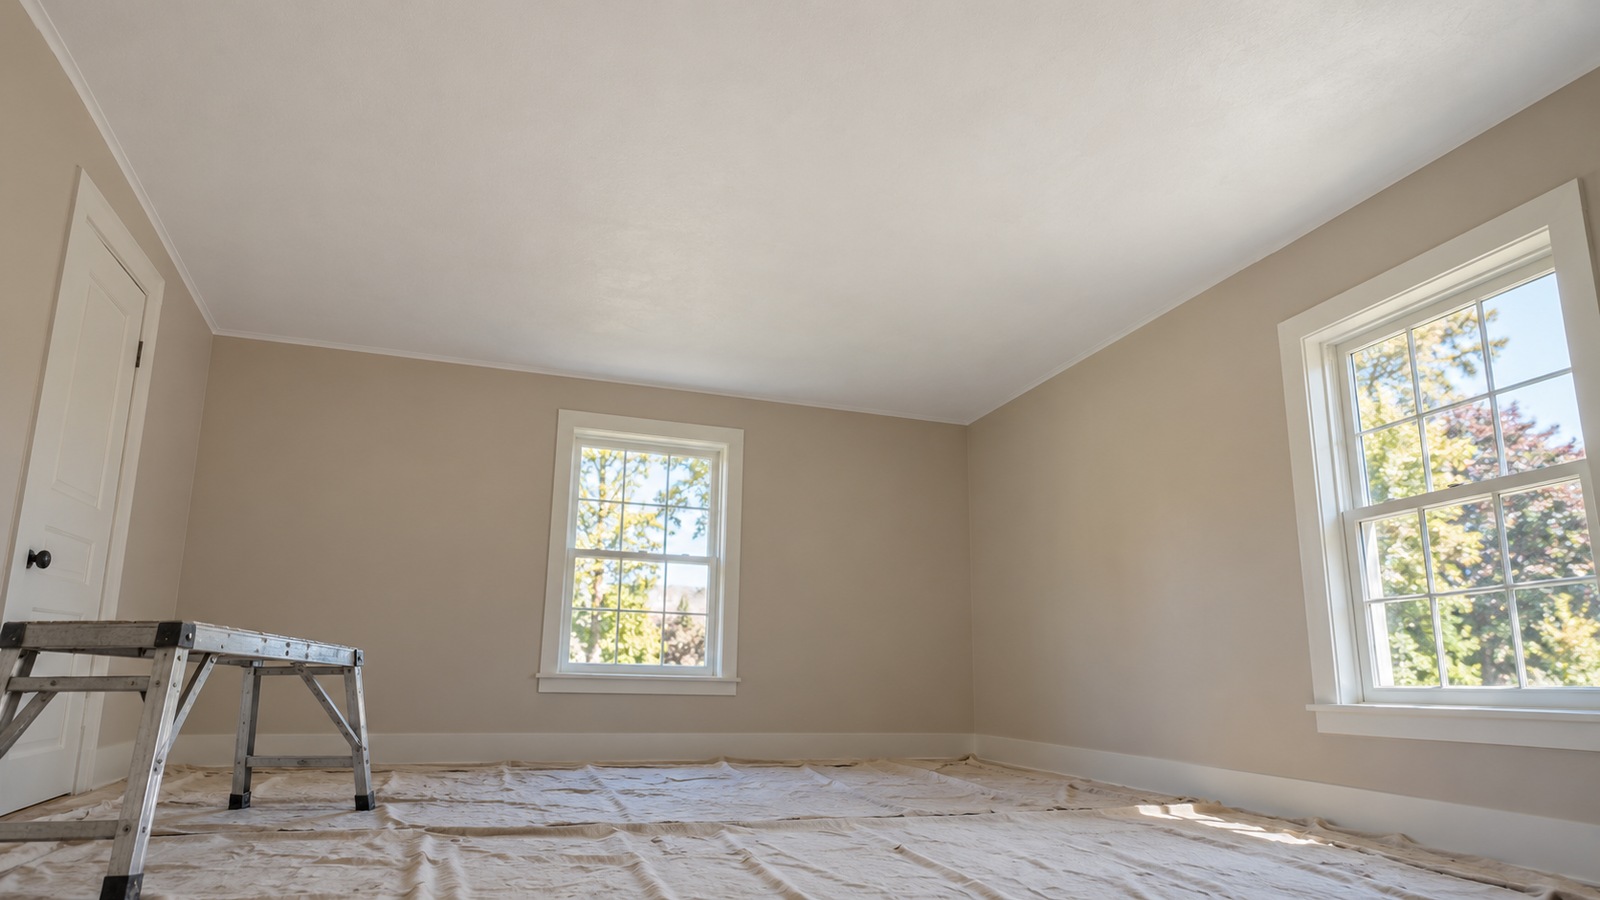
Once the work has been cleared and its method established, remove furniture and belongings wherever possible. The fewer objects left in the room, the easier it is to protect surfaces and clean thoroughly. Cover immovable items according to the work plan. Protect the floor with an arrangement that tolerates the anticipated moisture and debris without becoming a slippery walking surface.
Control movement into and out of the room. Keep children, pets, and unrelated household activity away from the work area. Discuss ventilation and HVAC handling with the person responsible for the work method rather than improvising fan placement. A fan that merely sends dust into another room defeats the purpose of isolation.
Work platforms and lighting deserve their own plan. Use equipment appropriate for stable overhead work, and reposition it instead of reaching too far. Arrange enough light to see the scraper edge and emerging substrate. Crowded floors, trailing cables, and poorly protected doorways make a slow finishing task more difficult than it needs to be.
Deal With Fixtures Before Surface Work
Ceiling lights, fans, detectors, and vents interrupt the finish and can be damaged by moisture or debris. Establish what needs temporary removal, what must remain functional, and who is qualified to handle the work. Have electrical equipment safely isolated before any related work, with an electrician where needed. Do not spray around energized equipment or assume that switching off a wall switch resolves every electrical exposure.
Record fixture locations and the existing mounting arrangement before removal. Store small parts together and label them away from the work surface. Plan the final ceiling thickness and finish around reinstalling the fixtures correctly. An otherwise attractive ceiling is incomplete if devices are left unsupported, obstructed, or awkwardly recessed.
Test the Assessed, Unpainted Finish Before Scaling Up
This walkthrough applies only after assessment has established that the texture and underlying coatings can be disturbed by this method. For water-responsive, unpainted texture on sound drywall, start with a small reachable patch rather than wetting the entire ceiling. Use a hand sprayer to dampen the texture with plain water, let it soften, and test the edge with a wide drywall knife held nearly parallel to the ceiling. AWCI’s Problem Solved guidance on unpainted popcorn removal describes wetting and a 6–12-inch scraper; it does not clear an unknown coating for DIY work. The finish should release without digging into the board. If water beads on paint, the coating stays hard, or paper begins lifting, stop; extra force and soaking are not the next steps.
Repeat the Successful Patch Without Overwetting
Once the trial releases cleanly, continue in small overlapping areas that you can scrape from a stable platform. Keep the blade edge smooth, maintain the shallow angle, and catch the falling softened material in the protected work area. Use enough moisture to soften the texture without soaking the gypsum or allowing runoff around electrical openings. Reposition the platform as the work moves; reaching farther changes both balance and blade pressure.
Leave firmly bonded remnants for the agreed finishing method rather than gouging them out. Examine exposed seams and paper after each area, and pause if damage increases. This controlled sequence—dampen a patch, allow softening, lift gently, inspect—gives useful feedback before a whole room is affected. Painted, resistant, damaged, or unexpectedly layered surfaces need a revised plan, often involving a finisher, instead of dry sanding to force the same approach.
Manage Debris Throughout the Project
Collect loose material according to the agreed handling and disposal plan. Do not let piles accumulate where platforms or ladders need to move. Use cleaning equipment suited to the assessed material and task; an ordinary household vacuum is not a universal dust-control solution. The work area should remain organized enough that the next small section can be reached without walking through debris.
Waste rules depend on the materials and the location, so confirm the accepted disposal route before starting. Keep containers and protective coverings secure during transport through the house. Avoid shaking dusty coverings into occupied space. A clear route from the work area to the collection point reduces incidental mess and repeated cleanup.
Include cleanup in the schedule rather than treating it as a quick final chore. Remove residue from protected surfaces before taking the protection away. Inspect nearby ledges and door areas where fine material can settle. If the assessment or work plan calls for professional clearance or verification, complete that step before the room returns to normal use.
Agree on the Finished Surface Before Starting
Describe the intended ceiling texture, paint, fixture treatment, and the lighting used for the final review before removal begins. A smooth finish viewed in diffuse daylight can show imperfections under a wall-mounted light, so agree on a representative sample or review condition. Include corrections discovered after priming in the scope and schedule. Decide who removes and reinstalls fixtures and who completes painting. That agreement belongs before disturbance, when the contractor can price the whole result rather than only scraping away texture.
Repair the Surface After It Has Dried
Allow the substrate to dry adequately before judging its condition or applying repair materials. Damp areas can look different from dry areas and may not be ready for the next coating. Inspect joints, fastener locations, torn paper, and old patches under side lighting. Use repair products and preparation steps compatible with the actual substrate and damage.
Localized imperfections may be repairable individually, while broad unevenness can call for skim coating across a larger area. Torn facing needs appropriate treatment so it does not bubble beneath wet compound. Build the finish in suitable layers and allow the required drying time. Rushing a thick repair can create more sanding and visible shrinkage later.
Make the Final Finish Work in Real Light
A ceiling that looks smooth from directly below can reveal ridges when daylight crosses it. Inspect from the doorway and along the strongest window-light direction before priming. Use controlled dust management for any approved sanding and remove residue as directed by the coating system. Priming and an initial coat can reveal defects that deserve correction before the final finish, so leave time for that inspection rather than declaring the job complete at the first uniform color.
Choose Paint and Reassemble Carefully
Select primer and paint for the repaired surface, room conditions, and desired appearance. A flat ceiling finish often reduces the visibility of minor irregularities, although it cannot compensate for poorly finished joints. Follow product requirements for application conditions and recoating. Keep the light arrangement consistent while working so missed areas and lap marks are easier to spot.
Reinstall fixtures and devices only when the surface and coatings are ready. Confirm that lights, fans, ventilation, and detectors have been restored correctly. Examine the ceiling around each opening for unpainted edges or damaged trim. Small corrections are easier before furniture returns and the work equipment leaves the room.
Allow Time for the Parts You Cannot Rush
A popcorn ceiling project is often scheduled too tightly because the scraping looks straightforward. Assessment, drying, repair coats, priming, and paint all create dependencies. A small room with difficult coatings may take more effort than a larger ceiling with a readily removable cleared finish. Build the schedule around the actual condition and the finish standard you want, allowing the room to remain unavailable until the work is complete. The useful measure of success is a sound, safely handled, well-finished ceiling. If assessment changes the removal route or a trial reveals extensive repair needs, revise the plan before continuing. Keeping the work deliberate protects both the house and the result. A smooth surface is worthwhile only when the preparation and decisions behind it are equally sound.