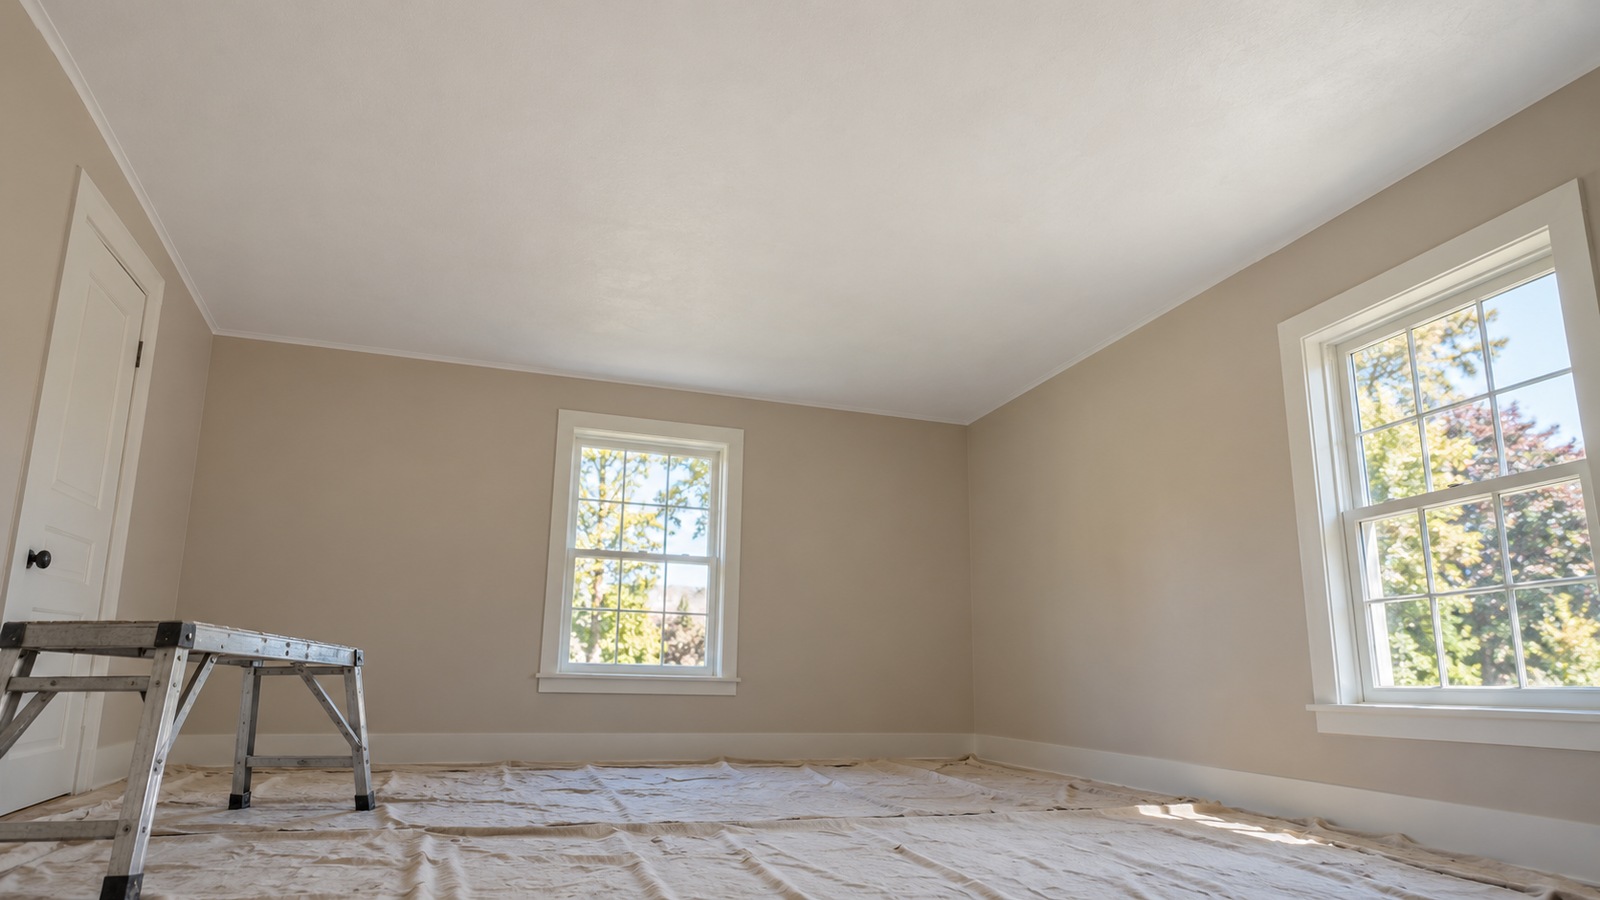
Give the Ceiling a Deliberate Place in the Room
A ceiling occupies an enormous part of a room, yet it often receives less thought than a small rug or a single lamp. Changing that surface can make the room feel brighter, warmer, taller, or more architecturally complete. The right ceiling idea depends on what is already overhead, how much height you can spare, and whether you want a subtle finish or a visible feature. A fresh coat of carefully chosen paint may be enough in a low bedroom, while shallow beams or planks can give a plain living room a stronger identity. Start by deciding what the room needs, then choose a treatment that delivers that effect without creating unnecessary repair work. Budget should include preparation, fixtures, edge details, and safe installation as well as the material you see. For the smallest intervention, repair and paint the existing plane; for a middle route, feature one area with planks or shallow trim; for extensive work, price coffers, attachment, and coordinated lighting together. These are scope choices, not nationwide price bands.
A: Paint adds very little thickness, although repairs may still be necessary.
A: Yes, if its color and lighting create the atmosphere you want; test a substantial sample first.
A: They should be treated as decorative unless specifically engineered as structural members.
A: They may conceal it temporarily, but the leak and damaged substrate need attention first.
A: A compatible undertone often works better than trying to duplicate every color and grain feature.
A: No. Attachment systems, support needs, and application limits differ by product.
A: Draw its full grid with the room's doors, lights, and boundaries before buying trim.
A: Most finishes need a suitable smooth, sound substrate; follow the wallcovering instructions.
A: Preparation, support materials, perimeter details, service changes, protection, and cleanup belong in the scope.
A: Arrange assessment before planned work could disturb a suspect older finish.
Read the Existing Surface Before Choosing a Finish
Look across the ceiling with daylight entering from the side. Raking light reveals ridges, patched areas, sagging lines, and shadows that ordinary overhead lighting can hide. Photograph the surface from the doorway and the main seating position. Those views help distinguish a finish problem from a room that simply needs a more considered color or better lighting.
A stain, soft area, or recurring crack deserves investigation before decoration. Covering a water mark with planks leaves the underlying cause unresolved and can make later repairs harder. Existing texture also changes the scope of work: do not scrape, drill, sand, or cover suspect materials without an appropriate assessment. For older finishes, establish a safe work plan before comparing decorative options.
Use Paint for the Most Flexible Starting Point
Paint offers a substantial visual change with relatively little added thickness. A white ceiling can work beautifully, but whites vary in warmth and brightness. Test a large sample beside the wall color rather than selecting from an isolated chip. A warm white may suit timber and cream furnishings, while a cooler white can make those same materials look unexpectedly yellow.
Taking the wall color onto the ceiling creates a continuous envelope, especially in a small bedroom or study. A lighter version of the wall color produces a gentler transition. Deeper colors can make a tall space feel intimate, although the result depends heavily on windows and lamps. Try the sample in morning light and after dark before committing to the entire surface.
Sheen matters as much as color. Flat finishes tend to soften the appearance of minor irregularities, while more reflective finishes emphasize the surface and the light source. Select a coating suited to the room and the substrate, particularly where humidity is an issue. The preparation required for a polished result can exceed the time spent rolling the finish coat.
Make Low Ceilings Feel Intentional
In a low room, choose changes that preserve headroom and reduce visual clutter overhead. A smooth painted surface, a simple perimeter detail, and well-proportioned lighting often do more than a deep decorative grid. Measure from the finished floor to the lowest proposed feature, including lights and trim. Judge the result from a seated position as well as standing: an overhead treatment should feel comfortable during everyday use, not merely attractive in a photograph.
Bring Warmth With Wood or Manufactured Planks
Planks introduce direction, texture, and a softer material character. Natural wood varies from board to board, while manufactured products may offer a more consistent appearance. Bring samples into the room and compare them with floors, doors, and furniture. A ceiling does not need to match the floor exactly; a related undertone is often enough to make the combination feel coherent.
The installation system is part of the design decision. Some products use tracks or clips, while others require a suitable fastening base and specific support arrangements. Consult the exact product instructions for attachment, clearances, acclimation, and room limitations. Armstrong’s residential installation guidance distinguishes several systems rather than treating all ceiling planks as interchangeable. Include the perimeter trim and fixture openings when estimating the finished appearance.
Choose a Direction That Suits the Whole Space
The long lines of a plank ceiling influence how people read the room. Running boards toward a distant window can emphasize depth, while another orientation may relate more naturally to a fireplace or kitchen island. Tape out a few representative lines on a safe sample surface or draw them over a room photograph. Follow the visual experiment with a support check, because the available framing and installation system may constrain the final direction.
Open-plan rooms need particular care. A ceiling treatment that looks balanced over the dining table may end awkwardly beside the kitchen. Decide whether the feature will continue through the whole space or stop at a clear architectural boundary. Avoid arbitrary changes that leave a thin strip of unrelated finish along one side.
Board width and joint spacing affect the pattern too. Narrow boards create a busier rhythm, while broad boards produce fewer lines. Repeated knots, dark joints, or strong grain can become visually dominant overhead. A restrained sample may be more comfortable across a large area than a dramatic single board suggests.
Add Shallow Beams Where the Room Needs Structure
Decorative beams can organize a plain ceiling without requiring exposed structural timber. Hollow beam products reduce weight compared with solid members, but they still need secure attachment appropriate to the assembly. Select their depth and spacing with the room dimensions in mind. A few well-positioned beams can establish rhythm, whereas oversized members in a modest room can feel oppressive.
Plan the beams around lights, detectors, vents, and existing access points. Do not treat those services as details to solve after the beams arrive. If a proposed arrangement requires electrical changes or affects a required device, include the appropriate professional work in the plan. Decorative beams should never be assumed to carry structural loads.
Consider a Coffered Look Without Overcrowding
A coffered ceiling uses a grid to create recessed-looking panels. Its success comes from proportion and careful alignment, not simply from adding more trim. Sketch the grid over the actual room, including doorways and any off-center light. Shallow applied trim can suggest the pattern in a room that cannot accommodate deep coffers, provided the existing ceiling is suitable and the attachment method is sound. Count the intersections, finishing labor, and perimeter transitions before deciding that a simple material list represents the full budget.
Use Wallpaper or Pattern as a Focused Feature
Ceiling wallpaper can suit a bedroom, dressing area, or small dining room where a pattern becomes part of the atmosphere. Surface condition is critical because loose paint, texture, and uneven patches interfere with adhesion and appearance. Overhead installation is also physically demanding. A small ceiling may be a manageable professional installation even when the rest of the room is a DIY project.
Check how the pattern repeats and where its strongest elements will land. A design that looks balanced on a vertical sample may feel crowded above a bed. Order with the manufacturer’s repeat and waste guidance in mind, and allow for future repair needs. Moisture exposure, ventilation, and the condition of the underlying finish should guide whether wallpaper belongs in the room at all.
Explore Metal and Tile With a Clear Material Brief
Pressed metal and decorative ceiling tiles can provide a distinctive period or contemporary character. Compare actual samples for depth, reflectivity, weight, and edge details. Some panels are intended for direct attachment, while others belong in a suspended system. The room’s height, substrate, and service access requirements help determine which approach makes sense.
A bright metallic finish reflects lamps and windows differently from a painted panel. View it under the lighting you expect to use rather than choosing from a product image. Pattern scale also changes the effect: a strong repeat can become overwhelming in a small room. Leave enough quiet surfaces elsewhere for the ceiling to remain a considered focal point.
Ask how cut edges, perimeter pieces, and fixture penetrations are finished. Those small details often separate a complete installation from a collection of attractive panels. Purchase compatible components rather than improvising an edge treatment after most of the work is complete. Where a product has fire, moisture, or attachment restrictions, follow its documented application limits.
Think About Future Repairs Before Closing the Surface
A ceiling finish will eventually meet another household project, whether that means replacing a light, repairing a pipe above the room, or changing the layout. Ask how individual pieces can be removed and replaced without dismantling the whole treatment. Keep product identification and a few suitable spare components where they will remain dry and undamaged. A beautiful ceiling becomes more practical when its maintenance route is understood from the beginning.
Discuss cleaning as well as repairs. Deep profiles collect dust differently from a flat painted surface, and delicate wallpaper does not tolerate every cleaning method. Choose a treatment that fits the level of care you expect to provide. Where access is difficult, a simpler finish may offer the most lasting satisfaction because it can be refreshed without recreating a complicated assembly. That practical advantage belongs in the design comparison alongside color, pattern, and initial cost.
Compare the Work Behind Each Budget Level
Use the same room and finish standard when comparing these routes. The order below describes relative scope on a sound ceiling, not fixed price bands: expensive access or extensive preparation can change the ranking. Ask for repair, installation, perimeter finishing, service changes, and cleanup in every quotation so the less elaborate option is actually complete.
| Route | Work you are buying | What can expand it |
|---|---|---|
| Repair and paint | Prepare the existing plane, sample color, prime where needed, and coat. | Widespread texture correction, stain investigation, or difficult access. |
| One plank or shallow-trim feature | Prepare a limited field, install its supported system, and finish every exposed edge. | Fixture relocation, backing, numerous cuts, or transitions into adjoining rooms. |
| Full coffers or coordinated panels | Lay out the complete ceiling, install repeated members, and finish joints and services together. | Many intersections, uneven boundaries, elaborate profiles, and lighting alterations. |
Keep Access and Lighting in the Design
Ceiling improvements should work with the room’s practical needs. Maintain required access to equipment and junctions, preserve ventilation paths, and keep detectors in suitable locations. Have an electrician assess proposed changes to fixtures or circuits. Recessed lights, surface lights, pendants, and fans each have support and clearance requirements that a decorative finish cannot replace.
Light placement also changes how the finish looks. Grazing light makes texture and uneven joints more visible, while a softer distribution can reduce harsh shadows. Test a portable light against your sample where practical. Do not promise that a new ceiling will solve a dim room if the underlying lighting arrangement is still inadequate.
Choose One Strong Idea and Finish Its Edges
The most convincing ceiling upgrade usually starts with a single clear intention: brighten a dark room, add warmth, introduce proportion, or give an otherwise plain space a focal point. Compare two or three treatments against that intention and reject those that compromise height, access, or maintenance. Before ordering, resolve the perimeter, corners, lights, and transitions to adjoining rooms. A restrained treatment with clean edges and appropriate lighting will often feel more complete than an elaborate design with unfinished details.