Fence posts fail for predictable reasons: shallow holes, weak soil, trapped water, poor bracing, undersized gate posts, wrong materials, or concrete that holds moisture where the post needs to dry. A straight fence starts below grade, long before rails or panels are attached.
The goal is to set each post deep enough, straight enough, and dry enough for the fence it has to carry. Corners, ends, and gates need extra attention because they handle more pull, swing, and wind load than ordinary line posts.
Use this guide to plan and install fence posts that resist leaning and rot. Always confirm local rules, frost depth, utility locations, and product instructions before digging.
A: Use the applicable installation design and local site requirements, including soil, frost, fence loading, and gate conditions; a general depth ratio is not a complete specification.
A: No single setting method suits every site. Select a documented approach appropriate to the post, soil, and fence loads before starting excavation.
A: Only when the exact product permits that method and its specified water and placement procedure is followed.
A: Not by itself. Its usefulness depends on the complete drainage detail and surrounding soil, and the wood must still be suitable for its exposure.
A: Assess their location, dimensions, remaining material, and disturbed soil against the new support design before accepting them.
A: Treatment varies by intended use. Verify the lumber identification and supplier documentation for the required ground-contact exposure.
A: Wait until the post foundation meets its specified loading conditions, then follow the gate system's support and hardware requirements.
A: Avoid improvising a forced correction. Consult the product guidance and installer about a sound reset or replacement procedure.
A: Those may be private installations requiring separate locating; confirm coverage rather than assuming an unmarked area is clear.
A: Check post alignment, gate operation, base moisture, soil movement, and connection condition, comparing any changes with installation records.
Confirm the Line Before Digging
Start with the property line, permit rules, HOA requirements, easements, and utility marking. A post hole in the wrong place is not a small mistake once concrete is poured. Mark corners, ends, gates, and changes in direction before laying out the line posts.
Use stakes and string to show the full fence run. Stand back and look from both sides. Check driveways, sidewalks, trees, slopes, meters, sprinkler heads, drainage areas, and neighbor access. A fence that is straight on paper can still feel wrong in the yard.
Gate openings deserve special layout attention. Mark the actual clear opening, hinge side, latch side, swing direction, and the space needed for mowers, trash bins, wheelbarrows, or service access.
Call for Utility Marking
Fence posts require digging, and digging can hit buried utilities. Call the local utility marking service before holes are started. Public utilities may include gas, electric, water, sewer, cable, and communication lines.
Private lines may not be marked by the public service. Irrigation, landscape lighting, pool lines, drainage pipe, invisible pet fencing, detached garage power, or homeowner-installed lines may need separate locating or careful hand digging.
If a utility crosses the planned fence line, adjust the post layout before digging deeper. Do not guess around marked lines with an auger.
Choose the Right Post Material
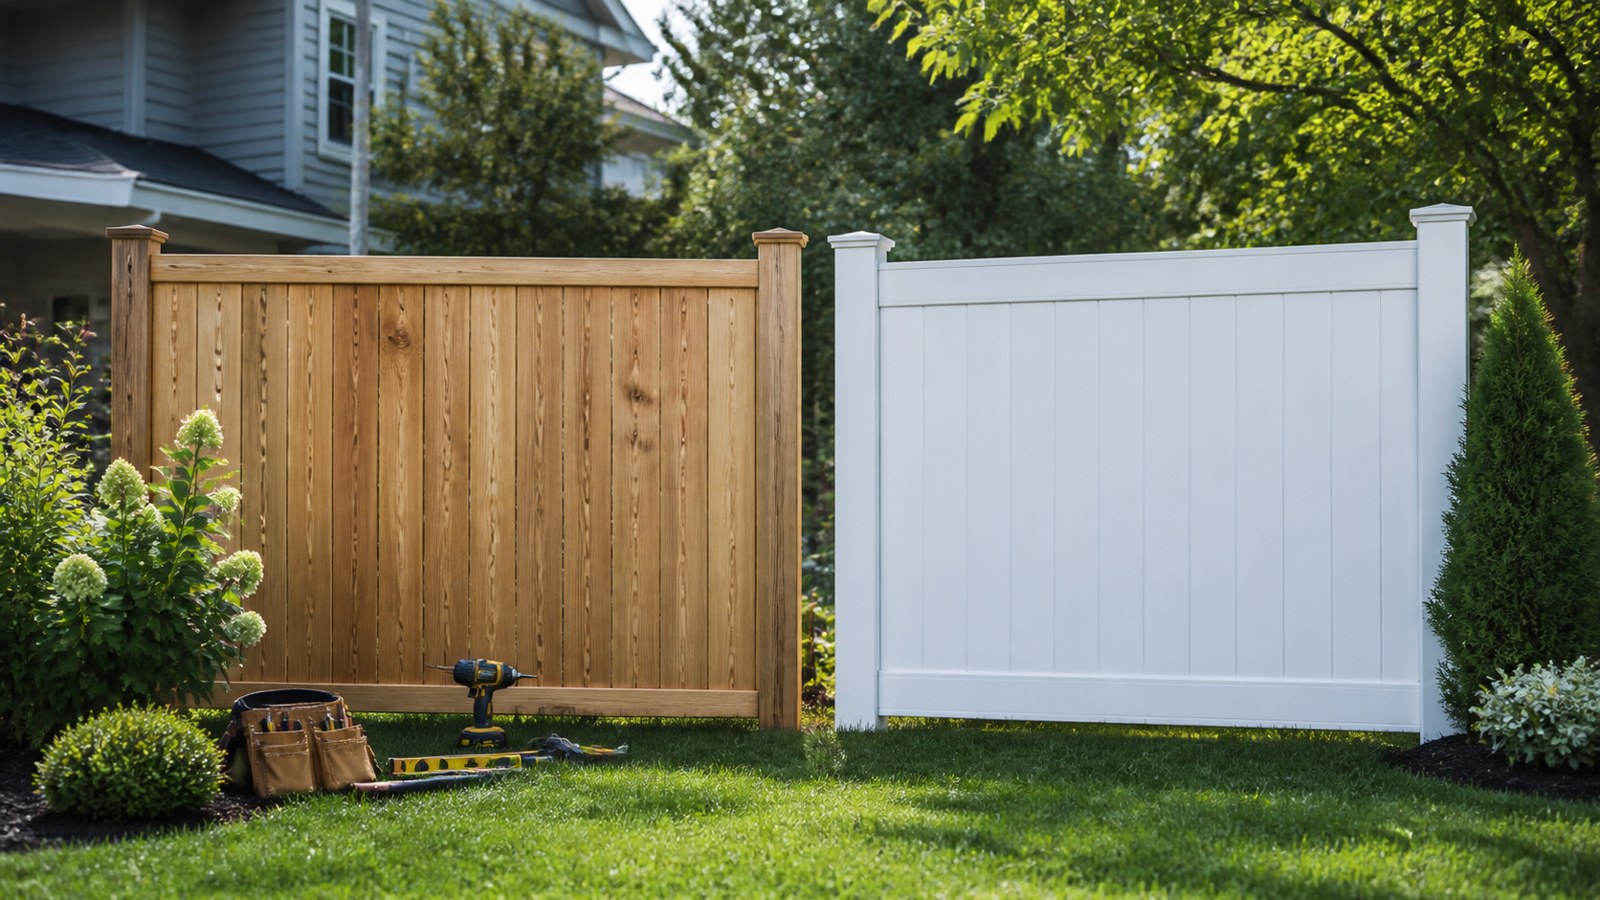
Post material affects lifespan. Ground-contact-rated treated lumber, cedar, steel posts, metal post systems, and vinyl sleeves all behave differently. The right choice depends on soil moisture, fence height, wind exposure, budget, style, and maintenance expectations.
If using wood, confirm that the post is rated for ground contact. Not all treated lumber is meant to be buried or set in concrete. Cut ends may need preservative treatment according to the product instructions.
Steel posts can reduce rot concerns and may stay straighter over time, but they require compatible brackets and a finished look that fits the fence style. Choose the system before spacing and rail attachment are finalized.
Dig Deep Enough for the Site
Post depth depends on fence height, soil, frost depth, wind, gate load, and local practice. A common rule of thumb is to bury about one-third of the post length, but local code and conditions matter more than a generic rule.
In frost areas, footings may need to extend below frost depth so movement does not lift or tilt the posts. In sandy, loose, wet, or expansive soil, deeper holes or larger footings may be needed. Tall privacy fences catch more wind and need stronger support.
Gate posts, corner posts, and end posts often need more depth and diameter than line posts. They carry concentrated loads and movement that ordinary posts do not.
Size the Hole Correctly
A post hole needs enough diameter for concrete or backfill to support the post. Holes that are too narrow make it hard to adjust plumb and do not provide much resistance against movement. Holes that are sloppy or bell-shaped in the wrong direction can waste concrete and make alignment harder.
Keep the sides as clean and vertical as practical. Remove loose soil from the bottom. If water collects in the hole, stop and understand the drainage issue before setting the post.
Use a string line to keep the hole centers aligned. It is easier to adjust a hole now than to force a post into the wrong line later.
Control Water at the Base
Rot often starts where water sits against the post. Drainage strategy depends on material, soil, climate, and installation method. Some installers use gravel at the bottom of the hole; some use concrete shaped to shed water; some use metal posts or brackets to keep wood away from soil.
If concrete is used around a wood post, the top should be crowned or sloped away from the post so water does not pool. A flat concrete collar can hold water against the wood and speed decay.
Do not bury untreated cut ends or leave soil piled against the post. Keep the grade shaped so water moves away instead of collecting around the base.
Shape Concrete With a Purpose
Concrete should support the post and help shed water. A flat dish at grade can collect rain and irrigation water around the wood. Shape the top so water runs away from the post and does not sit in a collar.
Follow the concrete product instructions for mixing, water amount, cure time, and temperature limits. Too much water weakens the mix and can make the post easier to move before it sets. Dry-pack and fast-setting products should still be used according to directions.
Do not hide poor alignment inside a giant lump of concrete. The post should be correctly placed and braced first; concrete is support, not a substitute for layout.
Set Posts Plumb in Two Directions
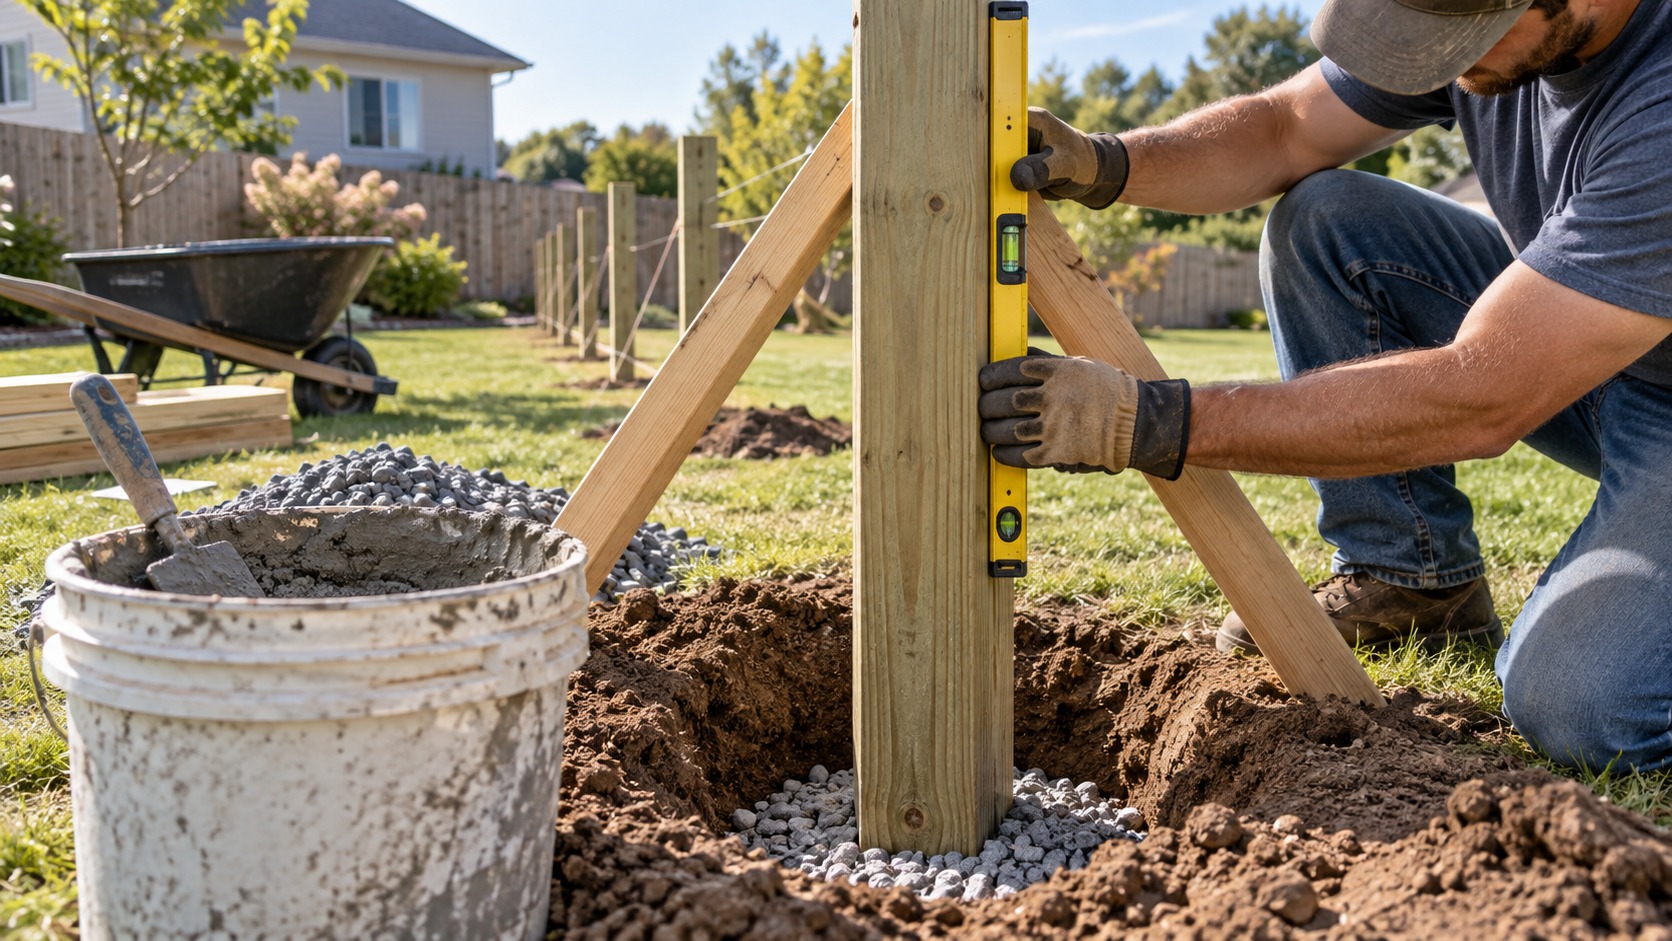
A post can look straight from one angle and lean from another. Check plumb on two adjacent faces, then check the top against the string line. Work slowly at corners, ends, and gates because those posts control the rest of the fence.
Use temporary braces before the backfill or concrete sets. Braces should hold the post without pulling it off the string line. Recheck plumb after bracing because the post can shift while the brace is tightened.
Set height consistently. If the yard slopes, decide whether the fence steps, follows the grade, or uses longer posts in low areas before cutting anything final.
Brace Posts Until They Hold
Concrete and compacted backfill need time to stabilize. Do not hang rails, panels, or gates while the post can still move. Heavy gates are especially risky because they can twist a fresh post before it has a chance to cure.
Use braces that resist movement from both directions. Wind, gravity, and small bumps can shift an unbraced post. Check the posts again after the first hour and before leaving the job for the day.
If a post moves while curing, correct it immediately. Waiting until rails are installed usually turns a small alignment fix into a larger rebuild.
Handle Gate Posts Differently
Gate posts carry hinge weight, latch impact, and repeated movement. They need to be stronger than standard line posts. A wide gate, double gate, or driveway gate may need larger posts, deeper holes, more concrete, metal reinforcement, or a different design.
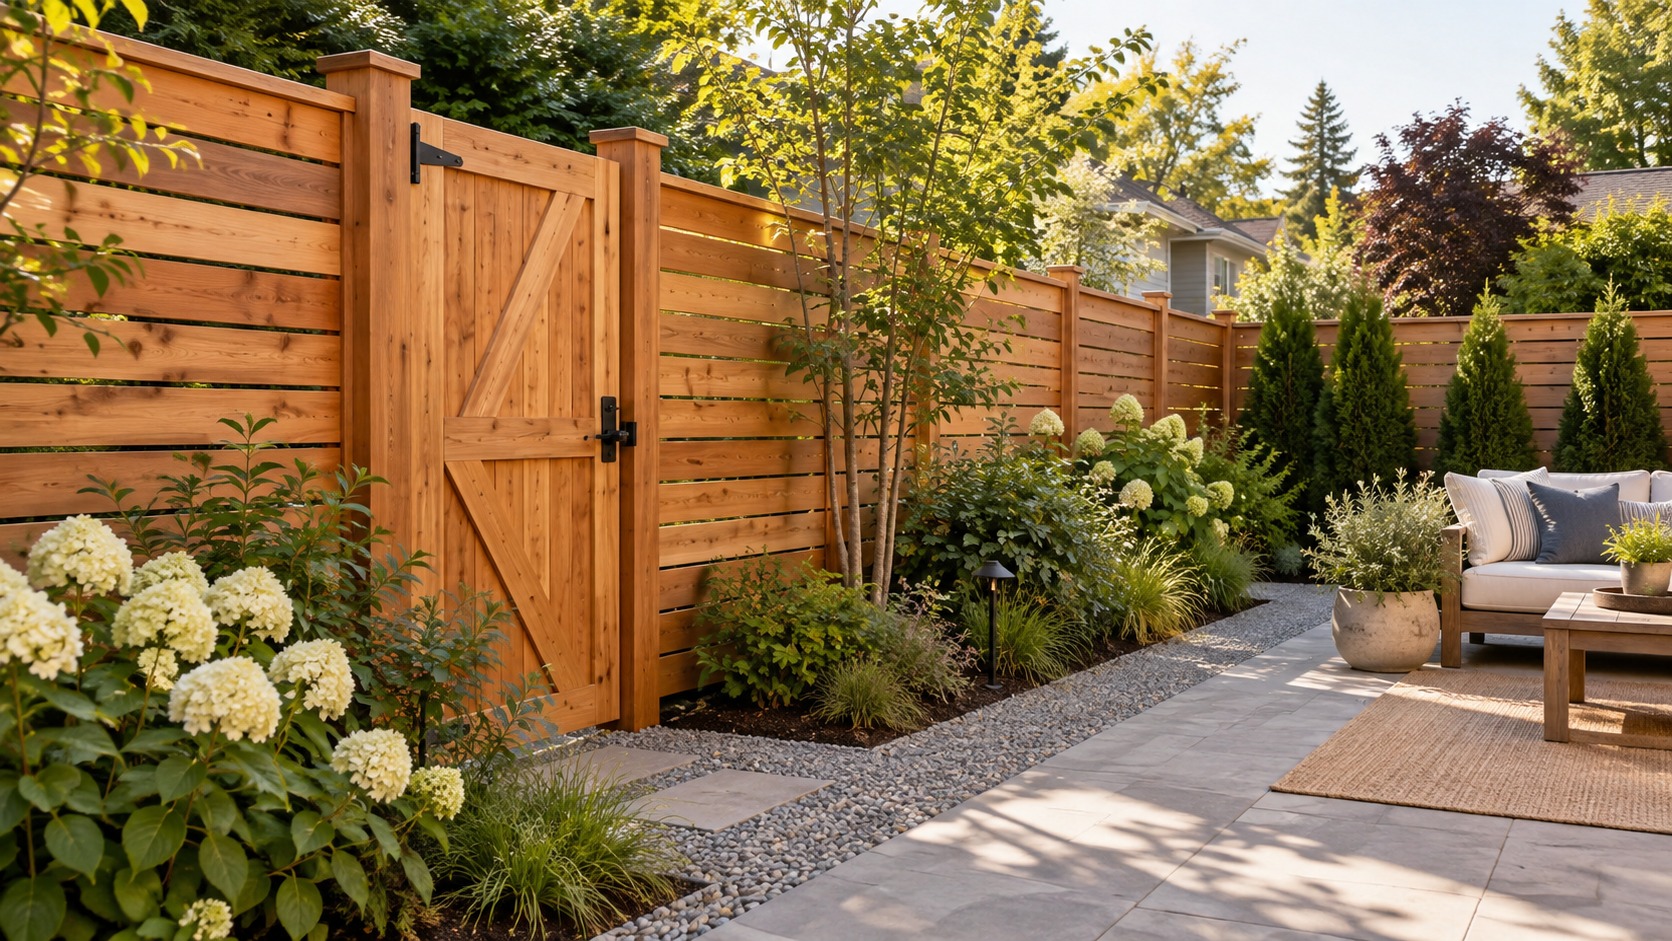
Plan gate hardware before setting the posts. Hinges, latches, drop rods, stops, and clearances all affect post position. A gate also needs room to swing without dragging on slope or hitting landscaping.
Let gate posts cure fully before hanging the gate. Once the gate is installed, check swing, latch alignment, and post movement before calling the opening finished.
Account for Frost and Expansive Soil
In cold regions, frost can lift shallow posts and tilt the fence. In areas with expansive clay, wet and dry cycles can push posts around. Local footing depth and installation practice matter because soil movement is regional.
Ask the building department, fence supplier, or experienced local installer what depth and footing style is expected. A fence that works in sandy, warm soil may fail in freeze-thaw conditions or heavy clay.
If the soil is unstable, wet, rocky, or recently disturbed, pause before setting posts. The right fix may be deeper holes, larger diameter, different backfill, drainage work, or a different post system.
Compact Backfill in Lifts
If using soil, gravel, or crushed stone backfill instead of full concrete, compact it in small lifts. Dumping loose backfill into the hole and tamping only the top does not lock the post in place.
Use the right backfill for the soil and fence type. Some installations benefit from concrete, some from compacted gravel, and some from engineered post systems. The choice should match drainage, load, and local practice.
Keep checking plumb as each lift is compacted. Tamping can move the post if pressure is uneven.
Protect the Post Tops
Water also enters from above. Post caps, sloped cuts, or protected tops help reduce water sitting on end grain. This matters most for wood posts, especially where rain, snow, or sprinklers hit regularly.
Use compatible caps and fasteners. A cap that traps water or splits the post can create its own problem. If posts will be cut after installation, treat exposed cuts where the product requires it.
Do not ignore sprinkler patterns. Constant spray on posts, rails, and panels can shorten the life of the fence even when the posts were installed well.
Wait Before Adding Fence Loads
Rails, panels, pickets, and gates all add force to the posts. If they are installed before the post base is stable, they can pull posts out of plumb. This is especially true on long runs where small errors compound from post to post.
Respect cure times and recheck alignment before attaching rails. If a line post moved overnight, fix it before the fence panels lock the run together. Once rails are fastened, correction usually means removing more work.
Wind matters too. A tall privacy fence can act like a sail. Posts should be fully stable before large solid panels are attached.
Watch for Early Failure Signs
Fence post problems usually announce themselves before the whole fence fails. Look for leaning near gates, gaps opening at rails, soft soil around the base, standing water, cracked concrete collars, loose hardware, or posts that twist after storms.
Early correction can save the rest of the fence. A single weak gate post can damage hinges, latch hardware, adjacent rails, and nearby panels if it is ignored.
Check posts seasonally, especially after freeze-thaw cycles, heavy rain, windstorms, or irrigation changes. Maintenance is easier while the post is only beginning to move.
Do Not Let Panels Decide the Post Spacing
Prebuilt panels are convenient, but the posts still need to land correctly. Slopes, gate openings, corners, end posts, and property-line changes may require custom spacing or trimmed panels. Forcing the yard to match panel width can create awkward gaps or weak transitions.
Lay out the structural posts first, then decide how rails or panels will fit between them. If a short bay is unavoidable, place it where it looks intentional and does not weaken a gate or corner.
Keep Soil and Mulch Away From Wood
After installation, do not mound soil, mulch, gravel fines, or decorative rock against wood posts. Material piled around the base can trap moisture and hide early decay. Keep the base visible enough to inspect.
Landscape fabric, edging, and irrigation should be arranged so water does not constantly sit against posts. A fence can be installed correctly and still fail early if landscaping changes the moisture pattern later.
Check Alignment Before Rails
Before rails or panels go on, sight down the full run. Check post spacing, height, plumb, and line. A small post error becomes much more visible when straight rails connect the posts.
Measure gate openings again. Confirm that panels or rail lengths fit the actual spacing, not the planned spacing from the sketch. Adjustments are easier before the fence structure ties everything together.
If one post is wrong, fix it before continuing. Building around a bad post usually makes the finished fence look wavy, stressed, or poorly planned.
Final Fence Post Review
Fence posts last longer when the layout is correct, holes are deep enough, water can escape, materials are rated for the exposure, and posts are braced until they hold. Corners, ends, and gates deserve extra strength because they carry more force.
Take time below grade before focusing on panels and pickets. A fence with straight, durable posts is easier to build, easier to maintain, and less likely to lean or rot before the rest of the fence has lived its useful life.